Video Editing
Writing a strong CV has always been a challenge for job seekers. A good CV is not enough to stand out from the crowd. It should enable your potential employer to get a feel for your personality and understand how you will fit in.
What if there was a tool that you could use to create a compelling CV with a video.
Video CVs are becoming one of the most effective tools for job seekers and employers. Luckily, anyone can create a video CV on their own these days with the help of online video maker tools.
Getting a professional video resume will take you a couple of minutes. Choose one of the customizable templates and create your resume online.
Here’s an example of a video CV that we’ve created to show how easy the process is:
Are you ready to create a video CV like this one? Here’s a step-by-step tutorial, to guide you.
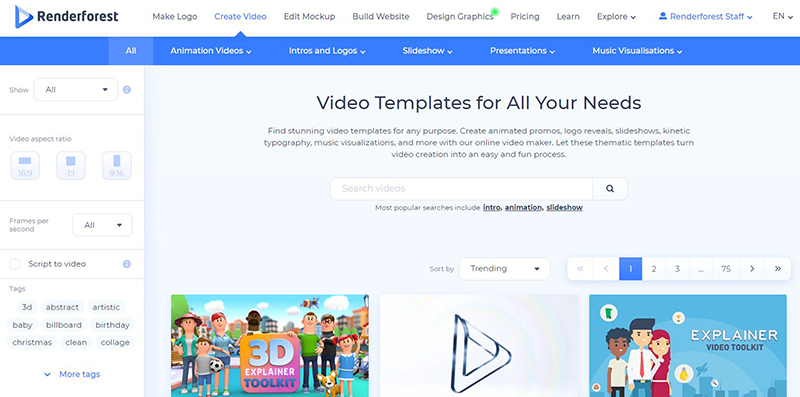
To start creating your video, go to the “Create Video” section on the top menu, and search the keyword you need, “CV” in this case, to choose a template or a preset for your resume. Or you can find what you need by using our advanced filter.
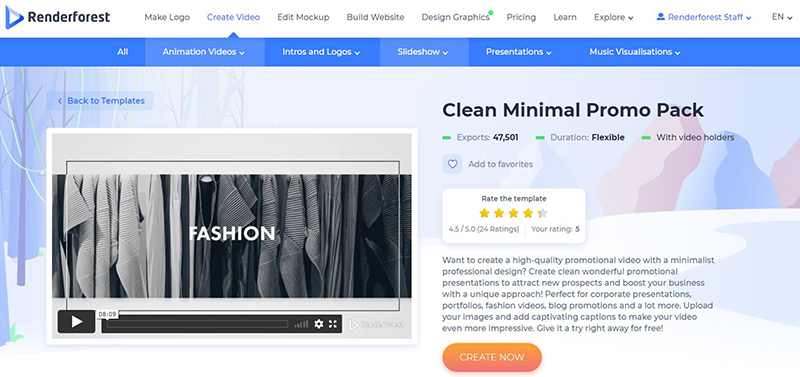
The video above is created with our “Clean Minimal Promo Pack” template. Choose the template or preset you need and click “Create now” to start.
Here you have two options to create your video: use our ready-made presets or create your own video by adding the scenes you need.
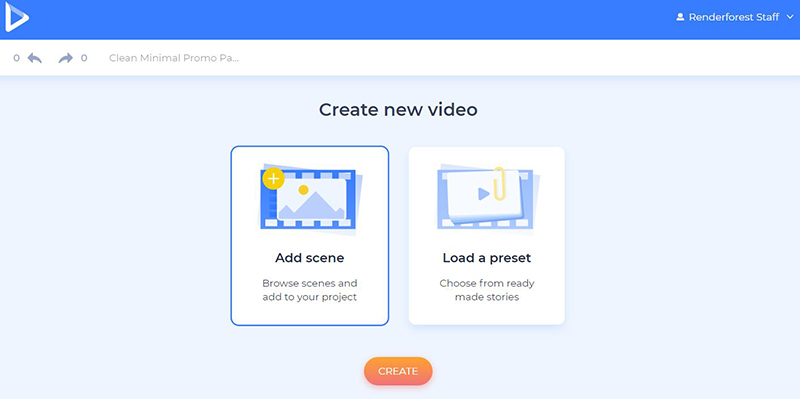
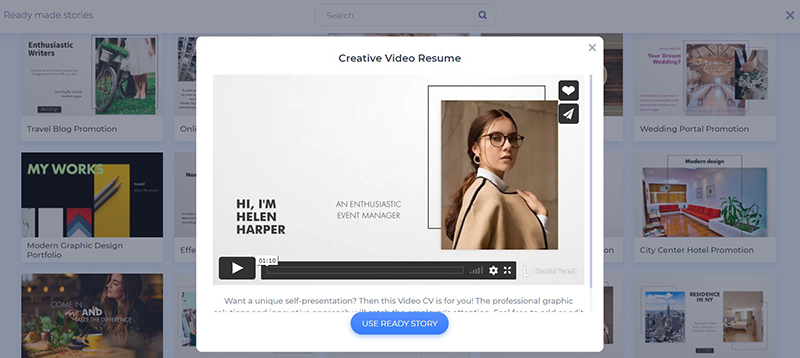
If you’re in a hurry and want to send your CV as soon as possible, click on “Load a preset” and create your video with one of our ready-made presets. The video above is created with the “Creative Video Resume” preset. Presets are really easy to customize, so pick the video you need and click on “Use ready story” to edit the scenes and descriptions.
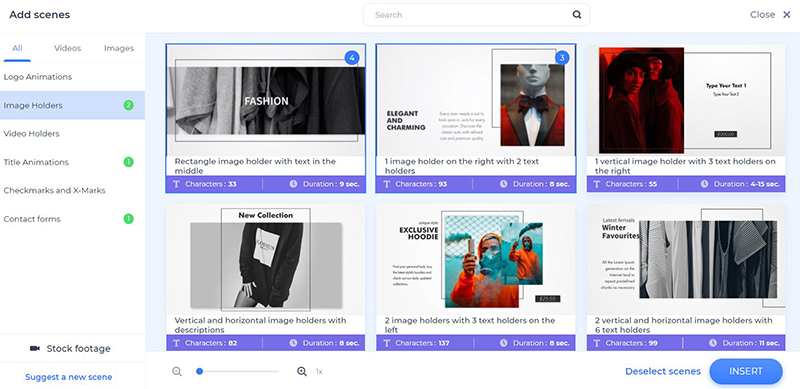
However, if you want to create a completely new project, click on “Add scene” and select all the necessary scenes. This template offers six scene categories: logo animations, title animations, video and image holders, checkmarks and x-marks, and contact forms. Select the scenes you need and click “Insert”.
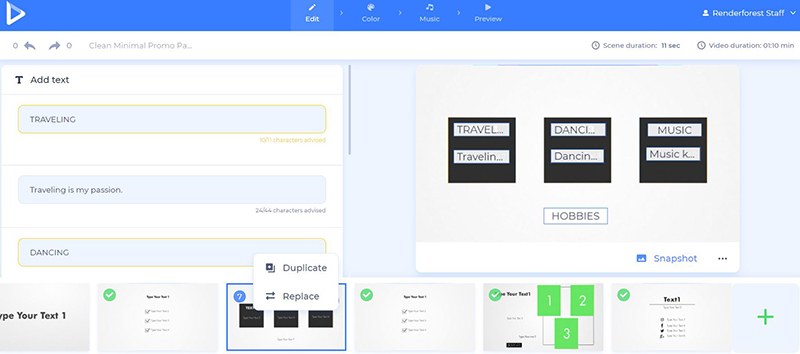
On your dashboard, you can move the scenes, duplicate and delete them, as well as add some new ones in between.
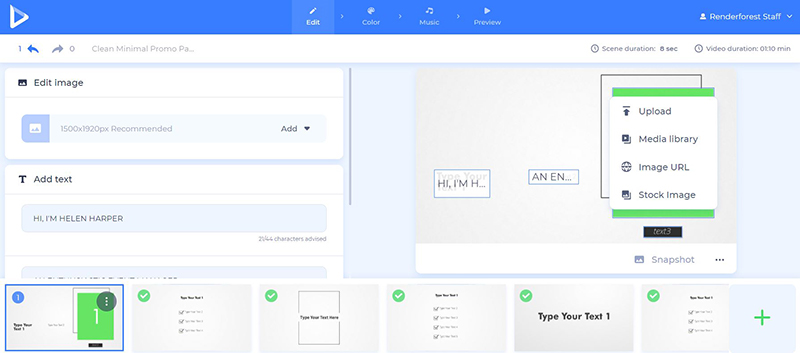
Add your images to the scenes with image holders by choosing one of the options: paste the URL link of the image file, upload one from your device, or pick an already uploaded file from your “Media library”.
Once you add the image, you can crop, and resize it on the spot, to match the frame size of the image holder.

In this preset, we don’t have a video scene. However, you can add one if it is necessary. To upload your video, you have the same options as for the image holders: via video URL, via your device, or pick an already uploaded video from your “Media library”.
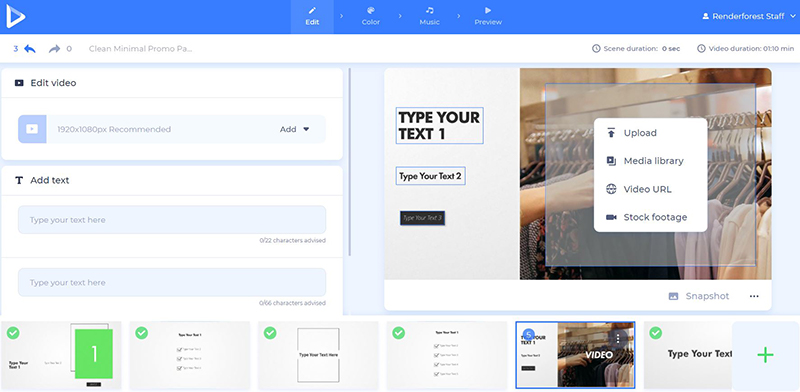
If you don’t have any suitable video or image files, choose the “Stock footage” or “Stock image” option. Here you’ll find a huge collection of media files that you can use in your video CV. Type in the keyword, choose a file, and click “Insert” to confirm.

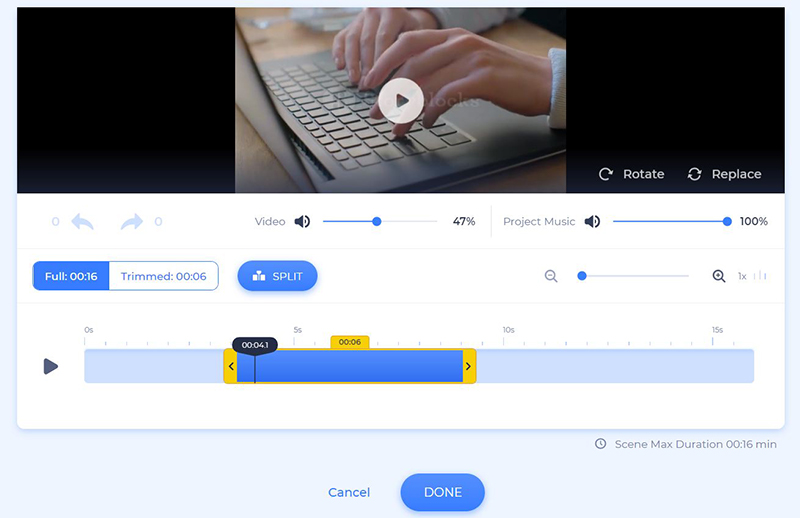
Once you add a video, you can trim it, and choose the parts you need to include in your video CV. You can also mute the video and choose a track or a voiceover for the whole video later on.
And, of course, add your contact information and experience to the scenes with text holders. Click on the text fields, type in, or paste your text and save it. Make sure to pay attention to the number of characters, not to exceed them.

Now, it’s time to choose the main colors of your video in the “Color” section. Choose the color combinations offered by our team, or create your own schemes in the “Custom colors” field.
Click “Generate” to see the changes in your scenes.

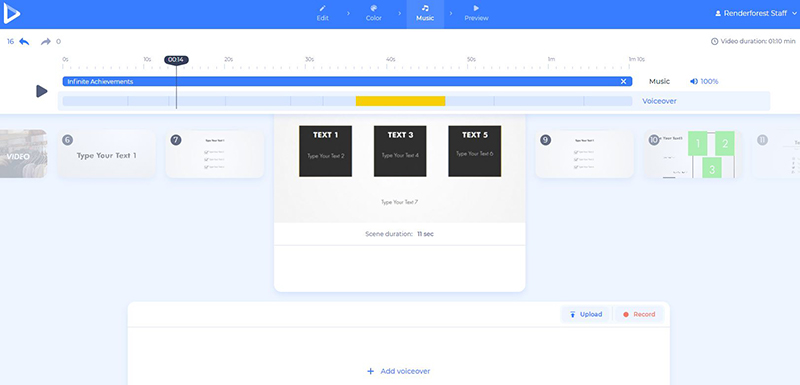
Next, go to the “Music” section and add a suitable music track by either choosing one from our library or uploading it from your device.
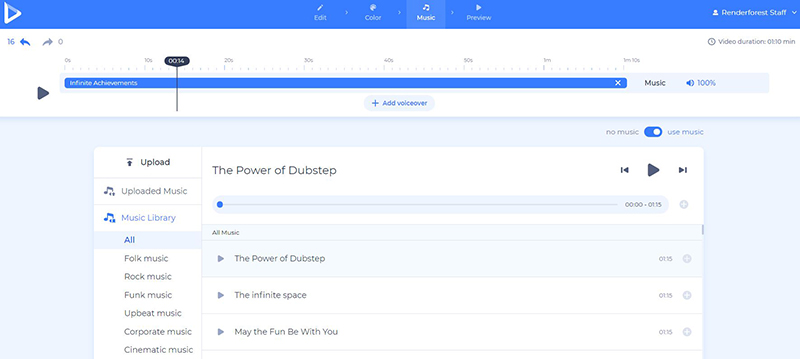
You can also upload or record your own voiceover to enhance your CV and make it more informative. To do so, go to the “Voiceover” section, where you can also try the advanced trimmer tool.
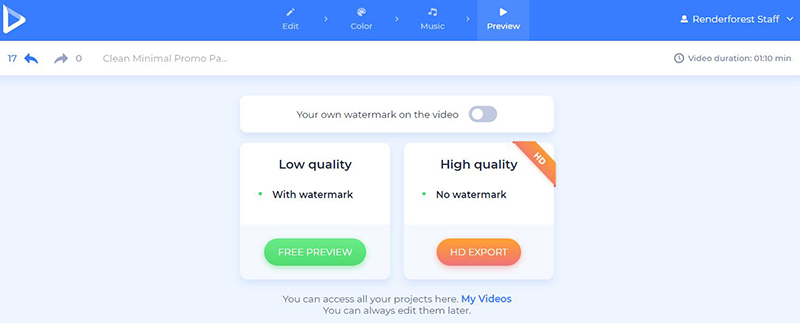
Your video CV is ready! To see the result before downloading it, go to the “Preview” section and click on the “Free preview”. Your video will be ready in a couple of minutes.
Now it’s time to download your video CV! There are two ways for you to do it. The first one is the free option, which offers SD360 quality videos with the Renderforest watermark.
With the other “HD export” option, you can choose one of our paid subscriptions and download your video in high quality and without a watermark. All the details about our pricing are available here.
All your projects are automatically saved in the “My Videos” section. Feel free to go back and make all the necessary changes to get the perfect version of your videos.
Are you ready to get your dream job? Create a powerful video CV and make your potential employer even more impressed by you.
Click the button below to start:
Share this
Article by
Dive into our Forestblog of exclusive interviews, handy tutorials and interesting articles published every week!
Read all posts by Renderforest StaffCreate Professional
in Minutes without Technical Skills.


Create Professional
in Minutes without Technical Skills.
Sign Up Now. It’s Free!