

AI
AI can make a bad video look better. It cannot make every bad video look good.
That difference matters. A grainy clip needs a different fix than a blurry one. A low-resolution video needs different treatment than a video ruined by compression. A shaky phone recording, a dark webinar, an old family clip, and a downloaded social media video should not all be pushed through the same “enhance” button.
This guide shows you how to enhance video quality with AI in a practical way: diagnose the problem, choose the right fix, avoid over-processing, and export a version that still looks clean after YouTube, Instagram, TikTok, LinkedIn, or your website compresses it.
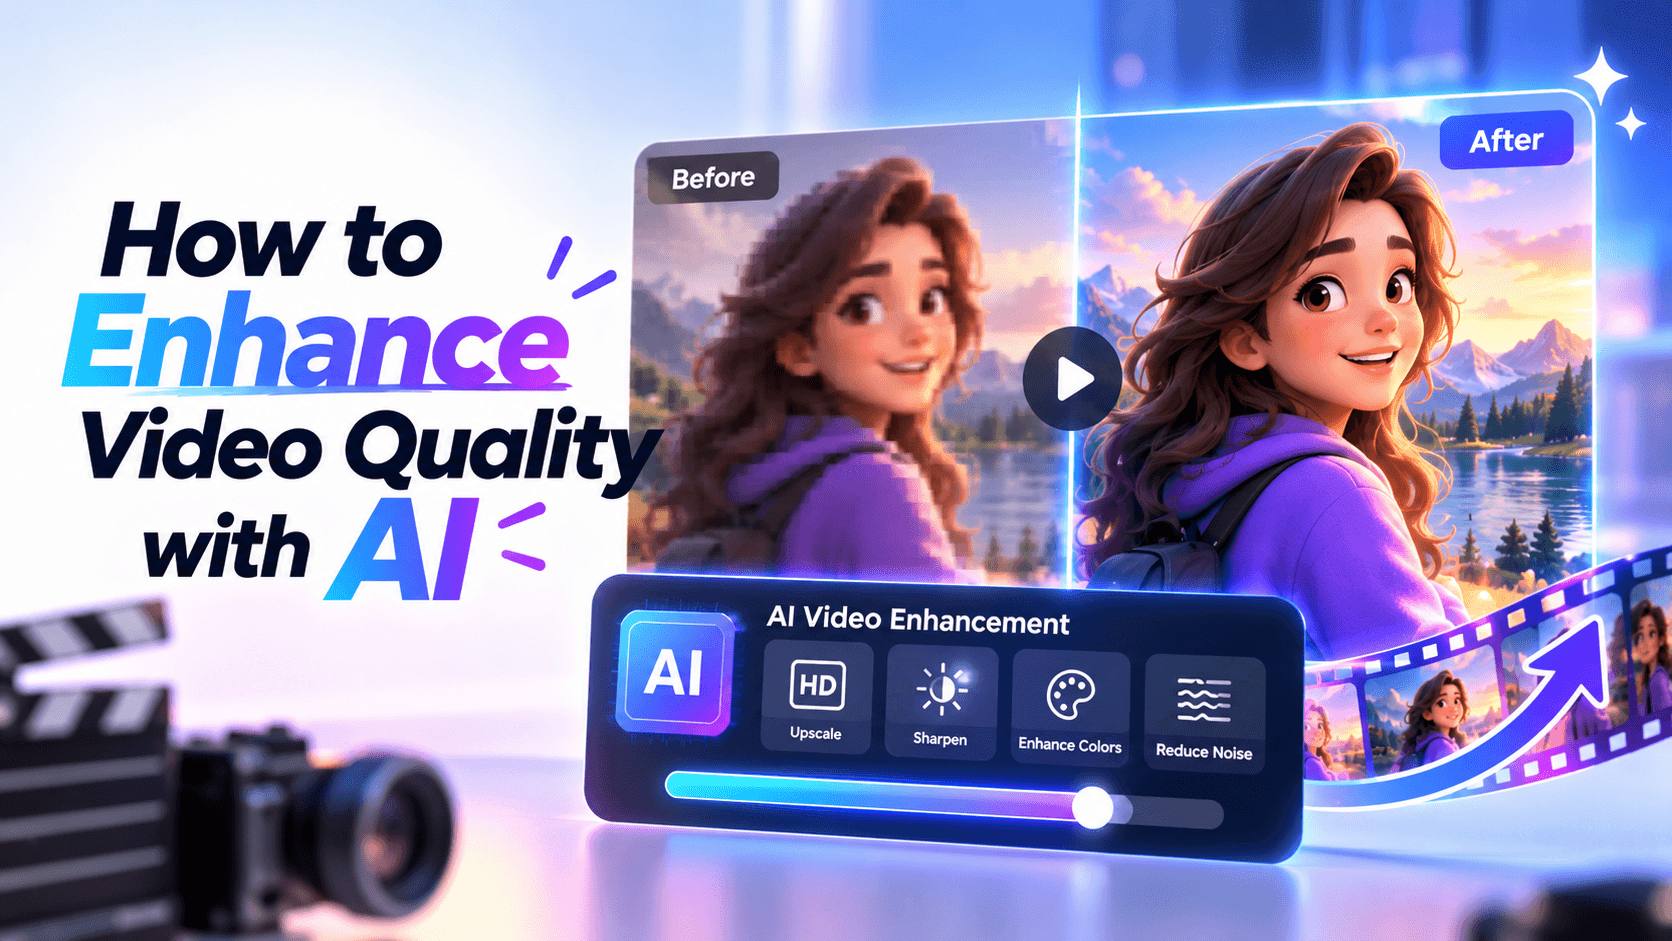
To enhance video quality with AI, start by identifying what is wrong with the clip. Then use the right AI tool or editing workflow to upscale resolution, reduce noise, sharpen details, stabilize motion, improve color, deblur soft footage, restore old video, or clean up speech audio.
A good AI video enhancement workflow looks like this:
The mistake most people make is trying to improve everything at once. Better results usually come from fixing the biggest problem first.
AI video enhancement uses machine learning models to analyze video frames and predict how the footage could look cleaner, sharper, smoother, brighter, or more detailed.
Depending on the tool, AI can help with:
These improvements are not the same thing.
Upscaling increases the apparent resolution. Denoising reduces grain. Deblurring tries to recover lost sharpness. Stabilization smooths camera movement. Color correction improves brightness, contrast, saturation, and balance. Export optimization prevents your improved video from falling apart again after upload.
That is why “enhance video quality” is too broad as an editing instruction. You need to know what kind of quality problem you are trying to solve.
The best AI enhancement workflow starts with diagnosis. If you misread the problem, AI can make the video worse.
The key is to fix the cause, not just the symptom.
A blurry video does not always need sharpening. Sometimes it needs a higher-quality source file. A noisy video does not always need more brightness. Sometimes brightening makes the noise worse. A low-quality social download may not be worth upscaling if the original upload is available.
Start by asking one question: what is the main thing making this video hard to watch?
Use this framework before touching any enhancement settings.
Video quality has six layers:
Most weak videos have more than one issue, but one issue usually matters most.
For example:
The “enhance” button is not the workflow. It is one step in the workflow.
AI video tools are impressive, but they are not magic. They work best when there is enough information in the source video to make a reasonable prediction.
The honest rule: AI can improve weak footage, but it cannot recover detail that was never recorded.
If a face is only a few pixels wide, AI can invent a cleaner-looking version, but it cannot guarantee accuracy. If a product label is unreadable in the original, AI may sharpen the shape without restoring the correct text. If the video is heavily motion-blurred, the tool may create strange edges or artificial textures.
Use AI to improve usability. Do not use it to create false precision.
The exact workflow depends on the tool, but the order matters more than the buttons.
Before using AI, find the cleanest version of the video.
Use the original camera file if you have it. Avoid enhancing a video that has already been downloaded from Instagram, TikTok, WhatsApp, YouTube, or another compressed platform unless that is your only option.
Every extra upload, download, and compression pass removes information. AI has less to work with when the video has already been crushed by platform compression.
Best source order:
If you can get the original, get it. That single step can improve quality more than any AI tool.
Do not process a long file if you only need a short section.
Trimming first saves processing time, reduces cost in tools with usage limits, and makes it easier to check the result carefully. It also lets you test enhancement settings on a small section before applying them to the full clip.
Use a difficult section for testing: a face, a moving hand, small text, a product label, low-light footage, or a fast-motion moment. If the AI handles the difficult part well, the rest of the clip will usually be easier.
If the video is grainy, denoise first.
Sharpening noisy footage makes the noise sharper too. You may get a video that looks “crisp” in a still frame but dirty in motion. AI denoise should clean the grain while preserving edges and important detail.
Use denoise for:
Do not push denoise too far. Heavy noise reduction can turn skin into plastic, remove fabric texture, flatten hair, or smear product details.
A good denoise pass should make the image calmer, not waxy.
Stabilization smooths camera movement. It usually works by analyzing motion and cropping the frame slightly to compensate.
Use stabilization for:
Stabilize before adding captions, logos, lower thirds, or product callouts. If you add graphics first, then stabilize, the graphics may move in an unnatural way or the frame may crop them.
Watch the edges after stabilization. Strong stabilization can create warping, bending walls, or strange motion around people. If that happens, reduce the strength or use a shorter section.
Sharpening is easy to overdo.
A little sharpening can make a soft video look clearer. Too much creates halos, harsh edges, buzzing textures, and an artificial “AI-enhanced” look.
Use sharpening for:
Use deblur when the video is soft because of motion or focus problems. But set expectations carefully. AI deblur can help with mild blur. It cannot reliably fix footage where the subject is badly out of focus or smeared by fast movement.
The test is simple: if the enhanced video looks better while playing, not just paused, the sharpening is probably working.
AI upscaling can turn a low-resolution video into a larger, cleaner-looking file. It is useful when you need a clip to fit a higher-resolution project or look better on modern screens.
Use AI upscaling when:
Do not upscale just because 4K sounds better. If the final video will be watched mostly on mobile, a clean 1080p export may look better than an over-processed 4K file.
Upscaling should improve clarity without making edges look artificial. Watch for fake skin texture, crunchy outlines, strange hair, shimmering text, and over-sharpened backgrounds.
Color is part of quality. A video can be sharp and still look amateur if the exposure, contrast, or white balance is wrong.
Fix:
Start with small corrections. If you brighten a dark video too much, you may reveal more noise. If you increase saturation too much, skin tones can look orange or products can look inaccurate.
For business, education, product, and social videos, the goal is usually clean and natural, not cinematic.
Viewers often judge video quality by audio quality.
A visually improved video still feels low quality if the voice is muffled, noisy, echoey, or buried under music. For tutorials, product demos, webinars, podcasts, courses, and business videos, speech clarity is part of the enhancement workflow.
Use AI audio cleanup when:
Do not remove all room tone if it makes the voice sound robotic. A clean but unnatural voice can be just as distracting as a noisy one.
Sometimes the best way to improve a video is not to repair every second of weak footage. It is to use the weak footage more selectively.
For example:
This is where a broader creative workflow matters. You can use an AI video editor to rebuild rough footage into a more polished asset with scenes, text, music, voiceover, and branded structure. If the original footage is too weak to carry the whole video, an AI video generator can help create supporting visuals or B-roll that improves the final piece without over-processing the source.
A video can look good in the editor and still look bad after upload.
Platforms compress video. If your export settings are weak, YouTube, Instagram, TikTok, LinkedIn, or your website player has less quality to work with.
Before exporting, check:
For YouTube, Google’s official upload guidance includes recommended encoding settings for resolution, aspect ratio, codec, frame rate, and bitrate. It also recommends encoding and uploading content at the same frame rate it was recorded. Source: YouTube recommended upload encoding settings.
For most everyday workflows, export an MP4 at the same frame rate as the original, with a high enough bitrate for the resolution. Avoid re-exporting the same clip repeatedly. Each compression pass can reduce quality.
The order below works for most videos.
This order is not universal, but it prevents the most common problems.
Do not upscale first if the video is very noisy. Do not sharpen before denoising. Do not add captions before stabilization. Do not color-correct a version you plan to replace with a better source file.
Different videos need different fixes.
A single-click enhancer may be fine for a quick social clip. For client work, product videos, training, or ads, use a controlled workflow.
4K is not automatically better.
If the source is poor, upscaling can make artifacts more visible. It can also create larger files without meaningful improvement. A clean 1080p video often looks better than a fake-looking 4K upscale.
Use 4K when the final platform, screen size, or editing workflow benefits from it. Otherwise, focus on clarity.
Over-sharpened faces look harsh and unnatural. Skin texture can become crunchy, hair can shimmer, and facial edges can develop halos.
For people-focused videos, sharpen less than you think. Viewers notice unnatural faces quickly.
Noise reduction can make a video cleaner, but too much of it removes real texture.
Watch skin, fabric, hair, grass, product packaging, and small text. If those details look smeared, reduce the denoise strength.
If you have access to the original file, use it.
A WhatsApp video, Instagram download, or screen recording has already lost detail. AI may improve it, but the original file will almost always give better results.
Bad audio makes a video feel low quality even when the picture is fixed.
For talking-head videos, webinars, product demos, courses, and ads, clean the voice before calling the video finished.
Enhancement settings should change based on the footage.
A dark indoor clip needs different treatment than a sunny outdoor shot. A product close-up needs different sharpening than a face. Old footage needs a different approach than a modern compressed screen recording.
Some AI enhancements look good in a screenshot but strange in motion.
Always watch the enhanced clip while it plays. Look for flickering edges, shimmering details, unstable text, warped backgrounds, and unnatural motion.
If you enhance the video and then export it at a low bitrate, you can lose much of the improvement.
Use export settings that match the final platform. The final file should give the platform enough visual information to work with.
Old videos need patience. They often have several problems at once: low resolution, interlacing, noise, color fade, camera shake, damaged frames, and soft detail.
A good old-video workflow looks like this:
Do not try to make old footage look like it was shot yesterday. That often creates a fake result. The better goal is to make it easier to watch while preserving the character of the original.
For family videos, archival clips, and historical footage, natural restoration usually beats aggressive enhancement.
Low-light footage is one of the most common problems for phone videos, event recordings, and indoor content.
The challenge is that brightening the video often reveals more noise. That is why the order matters.
Use this workflow:
Do not expect AI to recover detail from completely black shadows. If the camera did not capture detail there, the tool may invent texture or create blotchy artifacts.
The best fix for low-light video is still better lighting at the recording stage. AI is the backup plan.
Blur can come from several causes:
AI deblur and sharpening can help when the blur is mild. They struggle when the video is severely out of focus or motion-smoothed beyond recognition.
Use this workflow:
If the enhanced version looks artificial, reduce the strength. A slightly soft but natural video is often better than a sharp but strange one.
AI upscaling is useful when you need a low-resolution clip to fit a larger project, look better on large displays, or match the resolution of newer footage.
Use this workflow:
Upscaling works best when the original has clear shapes and enough detail. It works less well on heavily compressed clips, tiny videos, fast motion, unreadable text, and footage that has already been sharpened too much.
If the final video is for a small social screen, 4K may not be necessary. If the video is for YouTube, a website hero, product page, large presentation screen, or mixed-resolution edit, upscaling can be worth testing.
Social platforms compress video heavily. That means quality is not only about enhancement. It is also about preparing the file for the platform.
A good social workflow:
For social media, clarity beats pixel-perfect detail. Viewers need to understand the subject, message, text, product, or face quickly.
Do not waste time creating a massive 4K file if your captions are too small, your product is hidden, or your first frame is unclear.
YouTube re-encodes uploaded videos. Your job is to give it a strong source file.
Use the cleanest export you can manage. Keep the original frame rate. Avoid unnecessary recompression. Use a resolution and bitrate that match the video’s actual quality.
A practical YouTube workflow:
YouTube’s official recommended upload encoding settings are the best source to check before publishing because resolution, frame rate, bitrate, and codec guidance can change. Source: YouTube Help.
The best tool depends on the problem.
A tool with more features is not automatically better. The right tool is the one that solves the main problem without making the footage look artificial.
Topaz positions its video product around professional-grade enhancement such as denoising low-light footage, recovering and upscaling archival videos, restoring focus, stabilization, and frame-rate adjustment. Canva focuses on quick online AI video upscaling for short-form videos. Kapwing emphasizes denoising grain, pixelation, color noise, and compression artifacts. VEED focuses more broadly on online enhancement controls like brightness, exposure, sharpness, saturation, filters, and color grading. Sources: Topaz Video, Canva Video Upscaler, Kapwing Denoise Video, and VEED Video Enhancer.
For Renderforest, the stronger fit is not claiming to be a dedicated forensic video restoration tool. It is the broader workflow: create, edit, improve, brand, and finish videos in one place. Use Renderforest when your goal is a polished marketing video, explainer, social clip, ad, course asset, product video, or AI-generated replacement scene rather than frame-by-frame restoration.
If the video matters, test enhancement settings before applying them to the whole project.
Use three short sample clips:
Export a short version and watch it on the final device. If the video is for social media, check it on a phone. If it is for a sales page, check it on desktop and mobile. If it is for YouTube, check the uploaded version after processing.
Do not judge only the preview inside the editor.
Before publishing, run the enhanced video through this checklist.
The final upload test matters. Do not judge only the file on your computer. Watch the version people will actually see.
Yes. AI can enhance video quality by upscaling resolution, reducing noise, sharpening soft details, stabilizing shaky footage, improving color, restoring old clips, and cleaning speech audio. The result depends on the source file. AI works best when the original video still contains enough detail to improve.
The best way is to identify the main problem first. Use denoise for grain, upscaling for low resolution, deblur for mild softness, stabilization for shaky footage, color correction for dull visuals, and better export settings for platform compression. Do not apply every enhancement at full strength.
Fix the biggest quality problem first. If the video is grainy, denoise before sharpening. If it is shaky, stabilize before adding text or graphics. If it is low-resolution but clean, upscale. If it looks bad after upload, check export settings before applying more AI enhancement.
Yes, many AI video upscalers can enlarge video to 4K. This works best when the source is reasonably clean. If the original video is heavily compressed, tiny, blurry, or noisy, a 4K upscale may look artificial.
No. Only upscale to 4K when the final use needs it. A clean 1080p video can look better than an over-processed 4K upscale. Use 4K for large screens, YouTube, product pages, presentations, or mixed-resolution edits, but avoid it when the source is tiny, blurry, or heavily compressed.
AI can improve mildly blurry video, especially when the blur comes from softness, low bitrate, or slight motion. It cannot reliably fix footage that is severely out of focus or missing important detail.
Yes. AI denoise tools can reduce grain, speckles, color noise, and low-light artifacts. The goal is to reduce noise while keeping real detail. Too much denoise can make skin, fabric, and product details look smeared.
Yes. AI can help restore old footage by reducing noise, stabilizing shake, improving color, deinterlacing, sharpening, and upscaling. The best result usually preserves the natural look of the old footage rather than trying to make it look newly filmed.
Enhanced video often looks fake because of over-sharpening, too much denoise, aggressive upscaling, mismatched color, or frame interpolation artifacts. Reduce the enhancement strength and compare the result while the video is playing, not just paused.
For source footage problems like noise, blur, shake, or low resolution, enhance before the final edit when possible. For color, captions, graphics, and export settings, finish those near the end of the workflow.
Use the right resolution, frame rate, codec, bitrate, and aspect ratio for the platform. For YouTube, check Google’s recommended upload encoding settings. For social platforms, export a high-quality MP4 and avoid re-uploading or re-saving the same file multiple times.
AI is faster for tasks like denoise, upscaling, stabilization, deblur, and restoration. Manual editing is still better when you need precise creative control, color grading, shot selection, pacing, storytelling, or brand polish. The best workflow often uses both.
AI can improve video quality, but the best results come from knowing what to fix.
Do not treat enhancement as one button. Diagnose the footage first. Denoise before sharpening. Upscale only when it helps. Stabilize before adding graphics. Clean the audio when speech matters. Export for the platform where the video will live.
The goal is not to make the video look artificially perfect. The goal is to make it clearer, cleaner, and easier to watch.
Share this


Article by: Liana Ziroyan
Liana is a marketing professional with 11 years of experience in digital marketing, content, and product communication. She has a strong eye for visual storytelling and loves turning ideas into engaging campaigns that connect with audiences. With her experience across branding, creative content, and user-focused messaging, Liana enjoys finding simple, effective ways to make products feel clear, useful, and exciting.
Read all posts by Liana Ziroyan