AI
80% of recently surveyed B2B marketers claim an event website is the most effective channel for their online event promotion. It’s the mini-world of your event, where potential attendees pass through all stages of consumer decision-making to determine if they want to invest in your event.
And the question that quickly comes to mind is: how to create an event website that will increase event attendance and ROI?
In a nutshell, your event’s digital storefront should be visually-appealing, well-organized and informative!
And no, you don’t need coding or design skills to build an event website. All you need is a simplified website builder like Renderforest, which already has all the necessary tools and visuals for your event website.
All that’s left for you to do is make several drag & drop editings and you have a fully-functional website.
Here’s a detailed guide to help you!
Hey!
You’re at Renderforest – a simplified event website builder that allows you to create functional websites from your browser without coding.
To streamline the website development process, we have already developed event website templates for different occasions. You can find event website designs for very diverse occasions – dance festivals, holiday celebrations, baby showers, birthday celebrations, scientific webinars, and more!
Each template already has its own structure and design, so you don’t have to worry about the layout. Our team of designers carefully researched the key sections and elements for each event type, and we’ve included everything you will need in a premade design.
All that’s left for you is to change texts, images, videos, and other visual elements from the template with your own content.
 |
 |
 |
Here’s a quick guide on working with our templates to get your website up and running in the shortest time possible.
Head to our library of event website templates, where the whole selection is laid out in front of you. Look through our categories and pick the best template that fits your event’s concept.
Press “Preview” to see the design of each template in more detail. If you like a specific website’s general layout and design, press “Edit” on the upper right corner of the template to access the website editor.

Before you dig deeper and start customizing the colors and style, you must be certain about which key pages and sections your future event website will have.
To do that, choose “Pages” from the upper drop-down menu to see which pages you currently have and add or remove them. There are no limits to pages you can add here; create an event website rich with many detailed pages or a single home page that contains only the most important event data.
Note! When adding a new page to your website, it’s crucial to add metadata – an SEO detail that makes your website more easily discoverable by search engines and potential attendees.
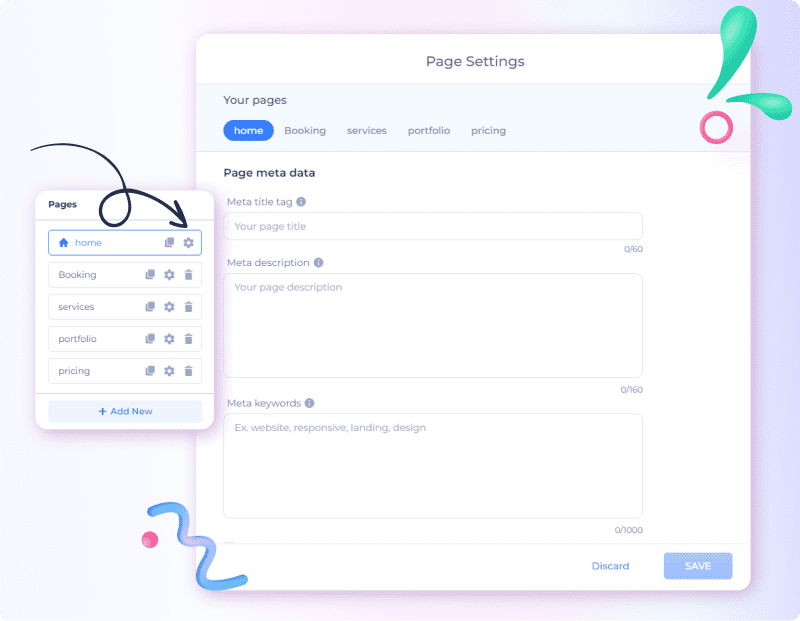
Read more about metadata.
Every section of the premade template has an editing toolkit located in the upper right corner. You can rearrange the order of the sections or add or delete them with a few clicks.
The editing toolkit automatically appears on each section to customize background image modes, move it up or down, replace or duplicate the section, etc.

Amatic SC + Josefin Sans and Raleway + Roboto Slab are among the most popular font combinations for event websites.
You can customize this and other key website elements on the left-side menu in the editing dashboard. Click on each subsection to play with the visual appeal of your website.

Now, it’s time to add all your event details – event information and visuals to make potential participants properly informed. You can change the text of each section manually. You can also upload visuals from your device or access thousands of stock images and videos available in your editing dashboard.
You need to have a clear and detailed event description, which will help website visitors instantly understand your event. Put this information either in the website header or in the first section of your home page.
Here is a good example of a compelling event website home page from the Microbiology Society’s Annual Conference to inspire you.

Your event website’s home page should also contain clear information about the event’s date and time, location and tickets. Renderforest’s templates, by default, come with the three key sections for these; “About“, “Tickets“, “Details“. If there is no specific structure you want to follow, you can use this premade structure for a better user experience.
Renderforest’s event website templates offer an easy option to add PayPal integration to your website. This will enable your event attendees to buy their tickets via credit or debit cards without leaving your website.
Here are the three quick steps to do that:
Access PayPal integration from the Components menu on the Settings page. Besides the PayPal integration, there are premade pricing tables and ticket boxes that you can easily customize.
When you decide to create an event website, not that the initial texts on your website can be of any language you choose. The text labels of each section, along with button and page names, can be typed in any language you choose.
If you want to go the extra mile and make your website language switchable for your visitors, there is a premium feature to make your site multilingual. In this case, potential attendees can switch between different languages enabled by you with a few clicks.
To set up a multilingual website with Renderforest, go to the Settings > Language menu and choose the language you want to add.

One of the primary goals of event organizers is to drive relevant traffic not only to the event but also to the event’s social channels. That’s because the loyal community that gathers around your event on social media can play a huge role in your current and future events’ promotion. They can advocate it, share their experience and memories, and, most importantly, be instantly notified when new events are planned.
To redirect your event website visitors to your social media channels, use Renderforest’s ready-to-use social widgets. Use them to give your potential clients quick options to contact you, follow you on social media, and stay updated about your activities.
Choose widgets from the left side panel and add your social media contacts or live chat to your portfolio website in a few clicks.

The above steps covered the key customization features required to create an event website. But that’s much more you can do to make your website truly unique.
Renderforest gives you complete freedom of customization so that each page created with the platform matches your vision and needs perfectly.
From the Components menu (which can be accessed via [+] command under every section), you can choose editable design elements like tables, galleries, video backgrounds, and more; just drag and drop them into any page to create a truly unique look.

Here are some good event website templates packs if you want the perfect one to fit your event. All website templates below are mobile-friendly.
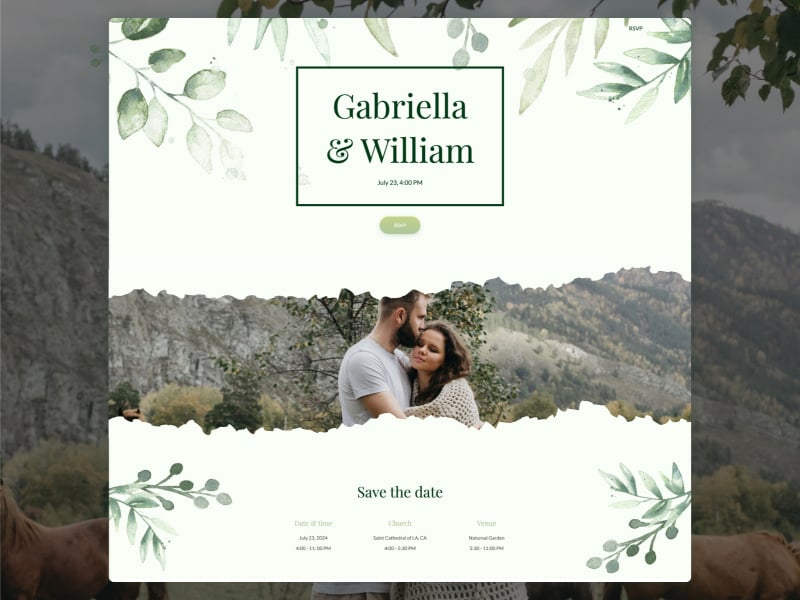
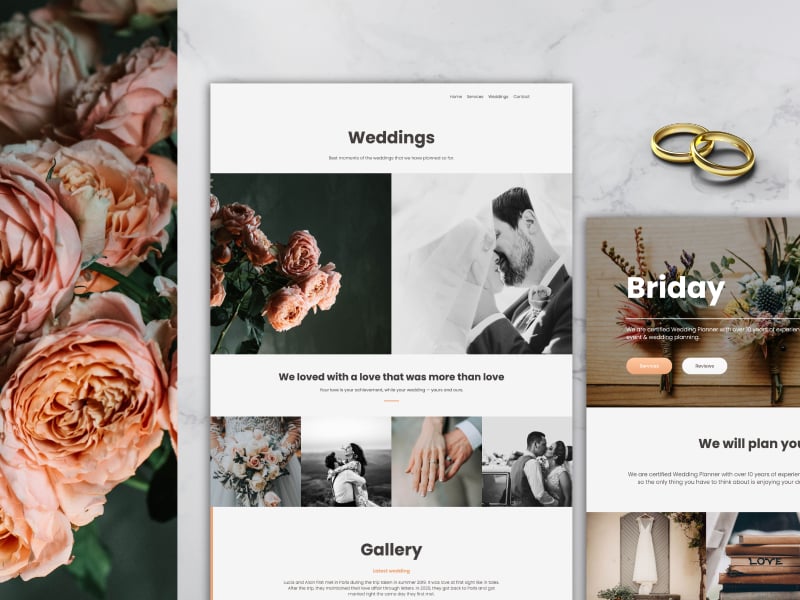
Do you manage a wedding planning agency, or are you preparing for the big day yourself? Create a website for your wedding using Renderforest’s professionally-designed, customizable and mobile-friendly templates. This pack is inspired by gentle, romantic and calming colors, perfect for a wedding event website. All the wedding details, from the ceremony details to the couple’s stories, can be added to the template.
|
 |
 |
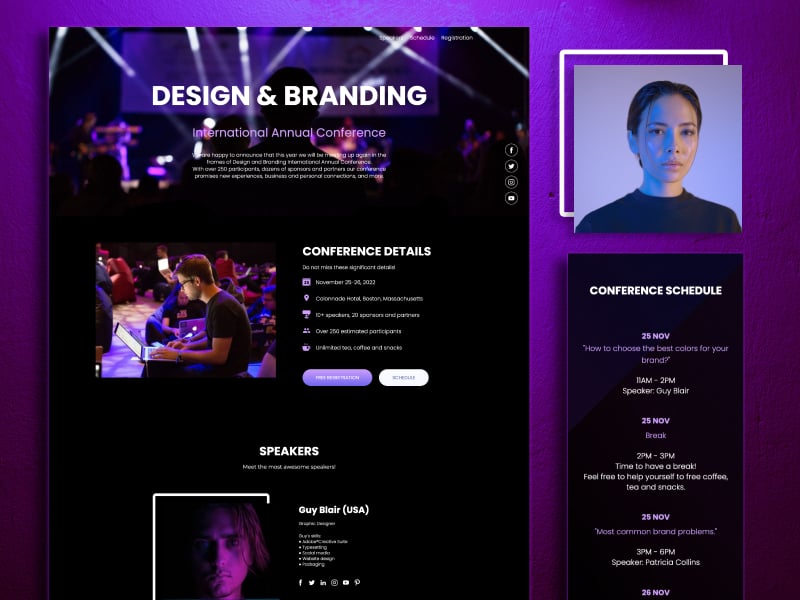
No matter what type of conference you are organizing, Renderforest has the design template that will help make it memorable. This website template pack contains stylish designs that use modern typography paired with delightful visuals to invite your visitors and capture their interest. All the important information about the event is accessible from one page – speakers, tickets, agenda and more.
|
|
 |
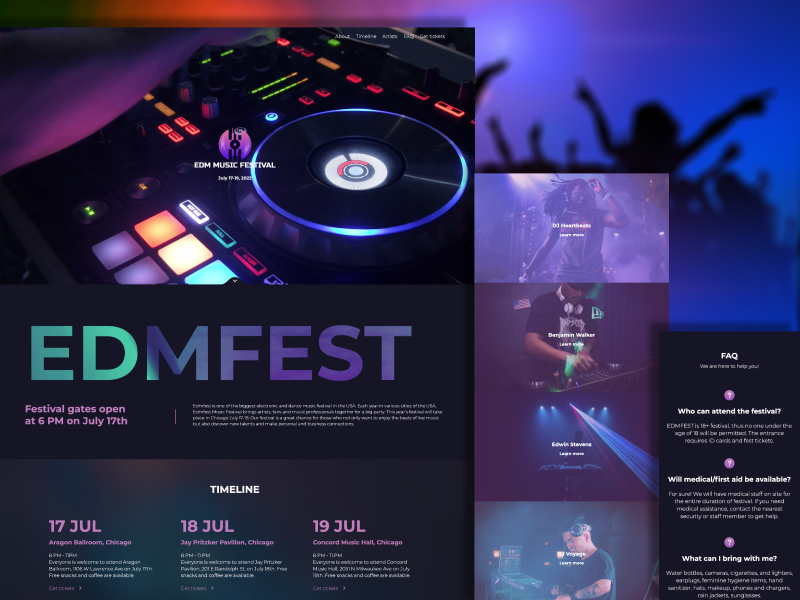
Want to add some bright colors and energetic vibes to your event website? Our festival templates pack is pure fire. This set of lively designs will perfectly convey the atmosphere of your upcoming event and make sure it’s a success. All the festival details and activities can easily be added to this website template by clicking a few buttons.
 |
 |
 |
Once the look and feel of your event website is finalized, it’s time to set up the hosting and domain name – your website’s digital address that allows it to become publicly accessible from any location.
The domain name is your website event’s address – the URL that event attendees will type in the search bar to land on your page.
There are two ways to set up a domain name when you want to create an event website:
Though the first option would be significantly easier and quicker for you, it’s crucial to have good branding for the event website, including its domain name. Especially if you plan to host annual events or manage an event-organizing agency with a long-term perspective, having a custom domain name relevant to your brand name is a must.
You can get a custom domain name from professional platforms for buying domain names called domain registrars or buy it through Renderforest. In the domain search box (accessed via Settings from your template editor), you can check if your website name is available and what its price is.

When you already have your custom domain, connect it using the Renderforest DNS system.
A hosting platform is a place where your website’s content is stored. It’s a server where all your website files are located and thanks to which people can access your website.
In most cases, you can buy a hosting and domain name from the same company, as most domain registrars also provide hosting services. Do a quick research to identify convenient sources to purchase your digital address from.
Note: Many domain registrars automatically include hosting services when you buy a domain.
Read Forbes’s overview of 2023’s best hosting providers.
Well, all the hard work is done. Now, you can take a sneak peek at how your event website will look when published with the Preview button from the top panel of your editor dashboard.
In the preview mode, you can view your website from a desktop and check how it looks on different devices and browsers as well. You can also interact with buttons and navigate between different pages and sections to test the user experience.
If it’s all fine and your website looks how you dreamed it would be, hit the Publish button. After that, Renderforest will provide you with the unique URL for your event website so you can share it on any promotional channel.
Da-Dam! Congratulations! You have just created a professional one-page portfolio website with Renderforest!

Recommended Reading
Share this
Article by: Renderforest Staff
Dive into our Forestblog of exclusive interviews, handy tutorials and interesting articles published every week!
Read all posts by Renderforest Staff