AI
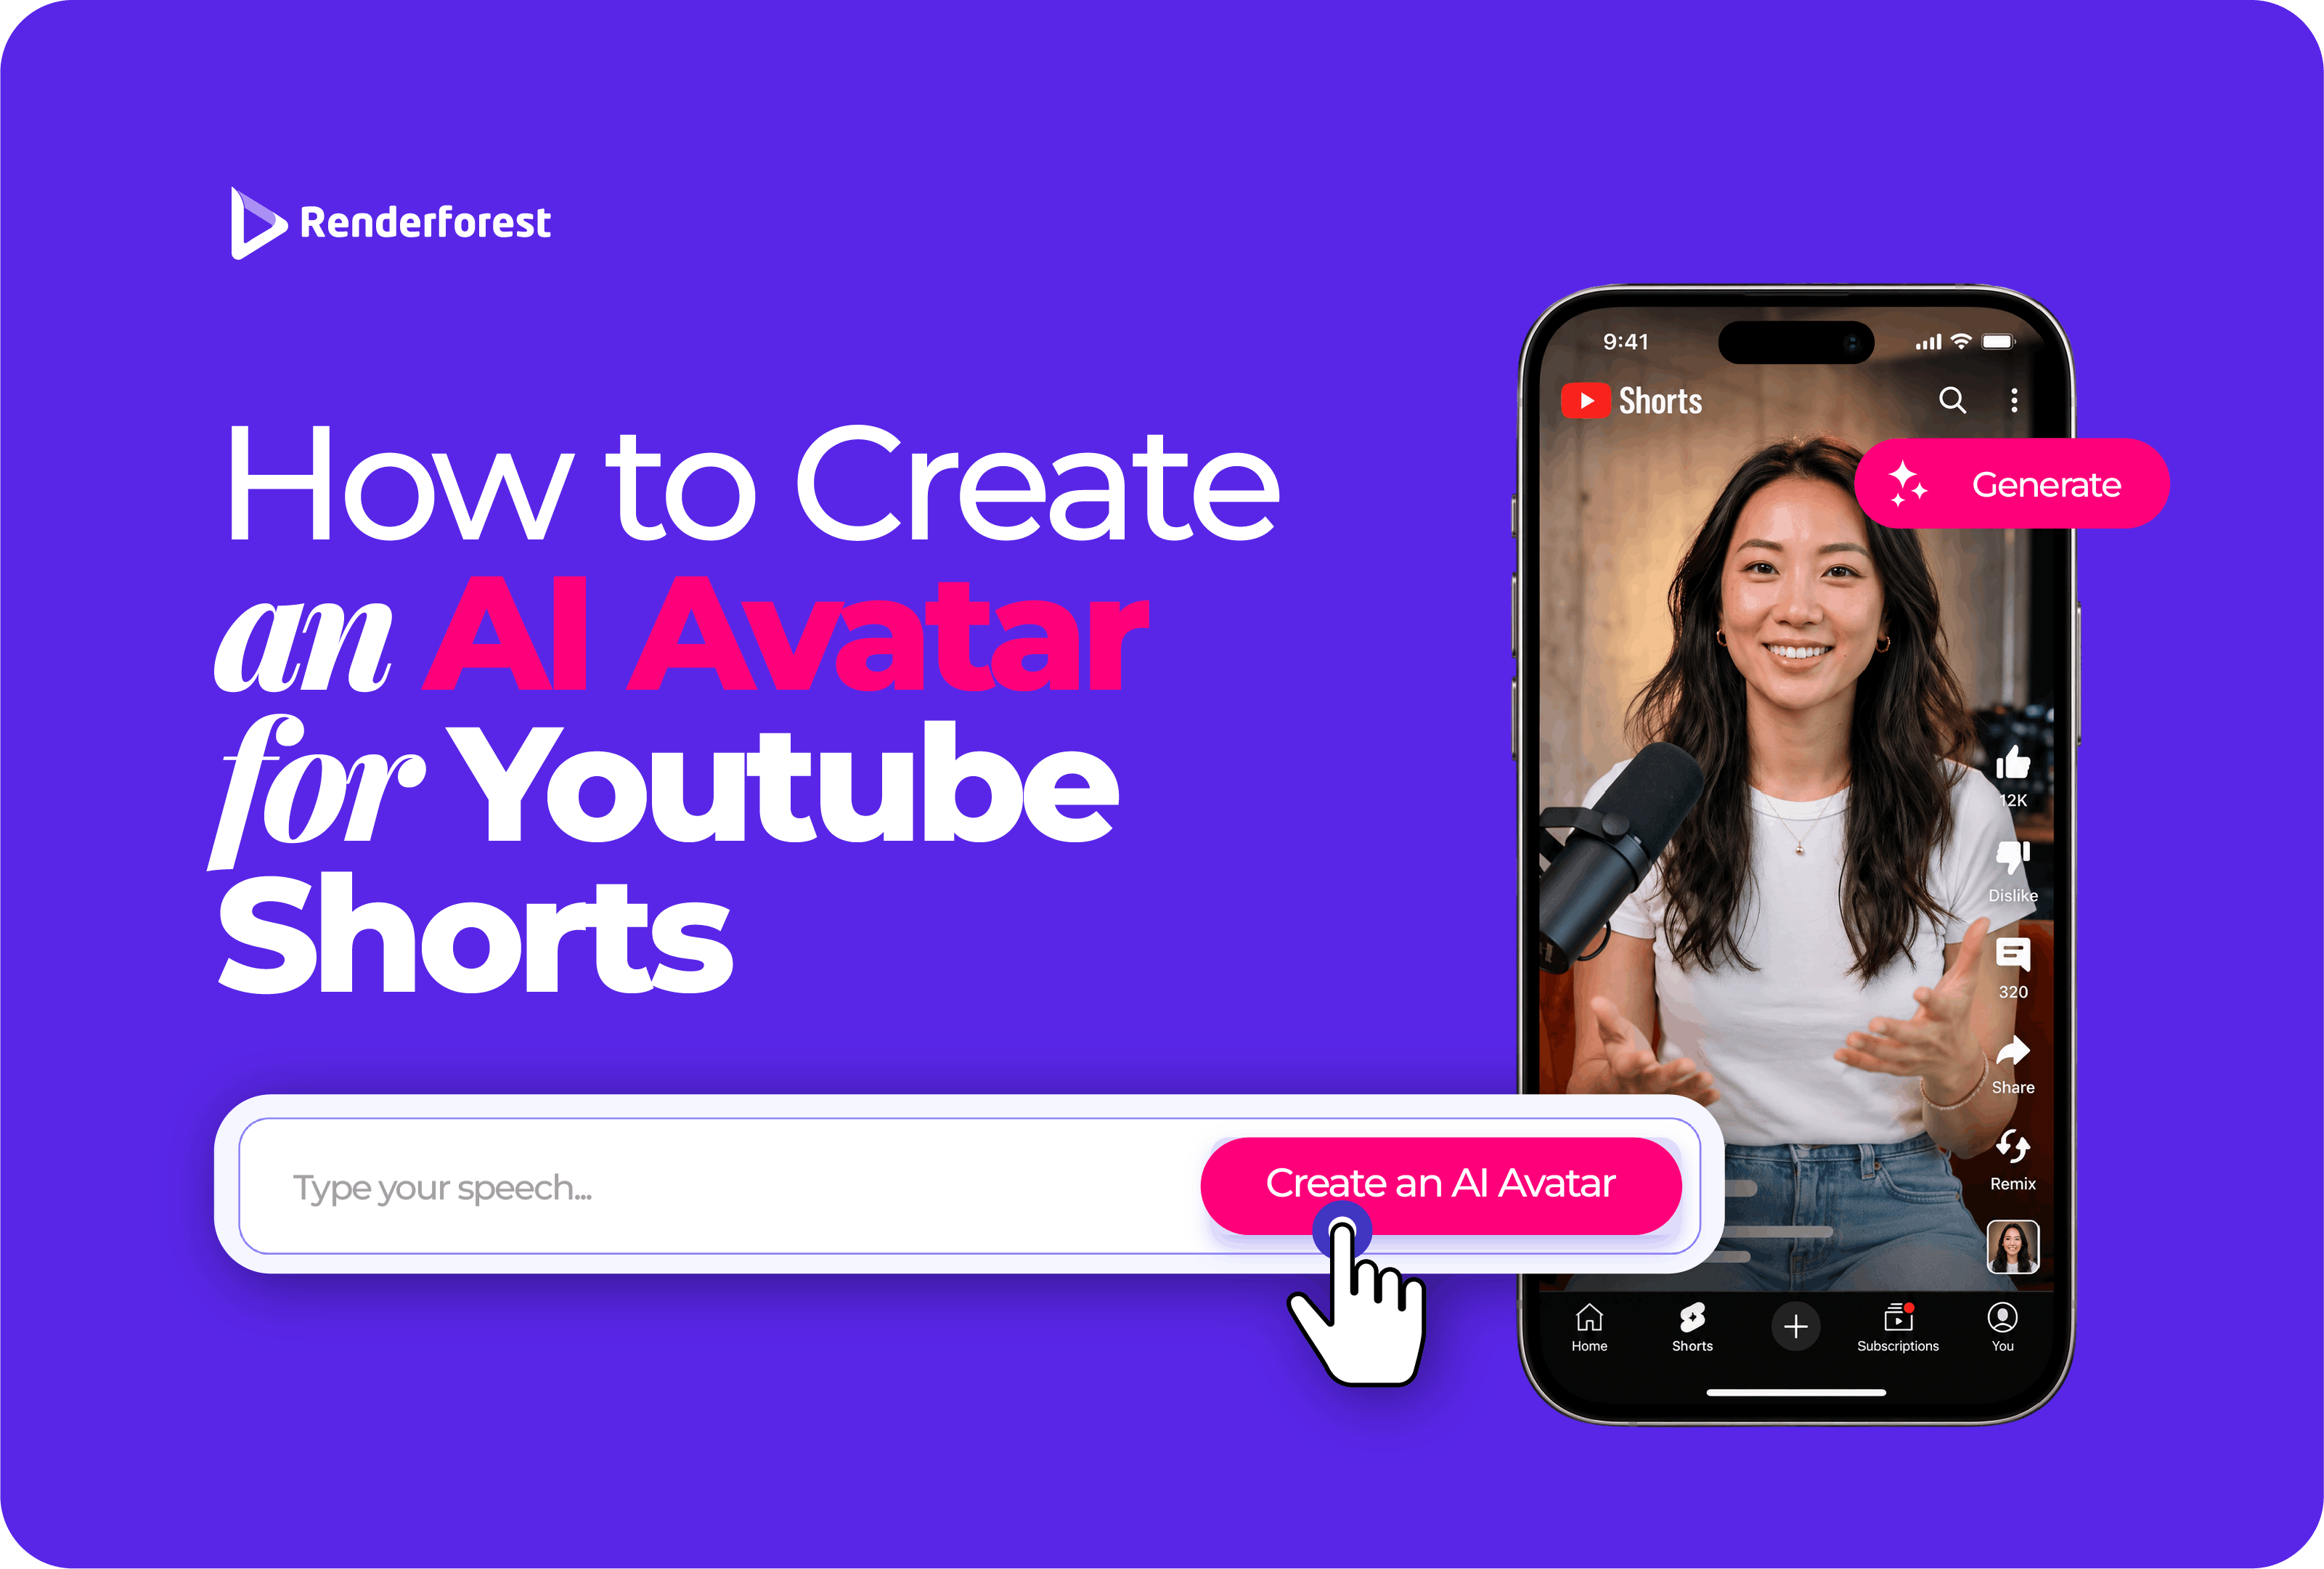
In April 2026, YouTube rolled out native AI avatar creation for Shorts, letting creators record a quick selfie and voice sample to generate video clips of themselves without filming a single frame. The process works through the main YouTube app or YouTube Create: you capture a live selfie by recording your face and voice while reading a few on-screen prompts, and the system builds a photorealistic avatar from that. If you’ve been searching for how to create an AI avatar for YouTube Shorts, this update is likely why: it’s now possible to generate yourself on screen without picking up a camera.
But YouTube’s built-in tool is only one path, and it comes with several constraints. It only works with your own face and voice, caps clips at eight seconds, and requires users to be 18 or older. The rollout is also global but excludes Europe. Some creators want more control instead: a branded character, a specific script, or a finished video rather than a raw clip. Third-party tools like Renderforest cover that ground.
Knowing how both approaches work will help you pick the right one, so here’s how each works, step by step.
You have two options here. YouTube’s native avatar tool, built directly into the app, generates a digital twin of you from a selfie and voice recording. Renderforest and other third-party platforms take a different approach: you upload any image and build an avatar-led video with full control over the script, voice, and final edit. We cover both in detail below.
YouTube built this feature directly into the app, so you don’t need to download or connect anything else to use it. Here’s what it does and how to set it up.
YouTube’s native avatar feature lets you record a live selfie and voice sample to generate a photorealistic digital twin of yourself. Once you set up your avatar, you can use it to generate clips up to 8 seconds long for Shorts through a text prompt, or add it to existing eligible Shorts using the Remix menu.
Every clip you generate carries SynthID and C2PA watermarks that label it as AI-generated. The feature is rolling out gradually as of April 2026, and it’s available globally except in Europe, for users 18 and older with an existing YouTube channel.
Setting up your avatar takes a few minutes, and the process is nearly identical whether you use the main YouTube app or YouTube Create. Follow the steps below for your app of choice.
You only need to complete the setup once. After that, you can generate new clips anytime and retake your selfie later if you want to update how your avatar looks.
Most articles skip these details, but you should know them before you record your first selfie.
YouTube’s avatar tool works well for what it’s designed for, but it has real limitations you should consider before relying on it.
YouTube’s native tool works well if you want to put yourself in a Short quickly, but it stops there. Some creators need more than that: a different voice, a branded character, or a finished video instead of a raw clip. A third-party tool like Renderforest covers that ground.
Renderforest skips the live selfie entirely. With the AI avatar generator, upload any photo, a portrait, headshot, profile picture, or even a podcast photo, and use that as your reference image. The AI analyzes the facial geometry in your photo and builds an animated digital model from it.
From there, you add audio in whichever way fits your workflow: upload a track, type a script, or provide a voice reference. The AI generates a video with facial movement matched to that audio, and expressions shift based on the tone of your speech, so the result feels natural rather than robotic. You can also clone your own voice on paid plans, and generate speech in over 175 languages from the same portrait, useful if you’re adapting one video for different audiences.
The free version gives you up to 10 seconds of avatar video, and generation runs on a credit system: 2 AI credits per second, with higher quality output costing more credits. Everything happens in your browser, no downloads required, and once your video is ready, you can edit it and export for social media, YouTube, presentations, explainers, podcasts, or ads.
Creating your avatar video happens entirely in the browser, from a single photo to a finished, exportable video in four steps.
1. Upload your avatar image
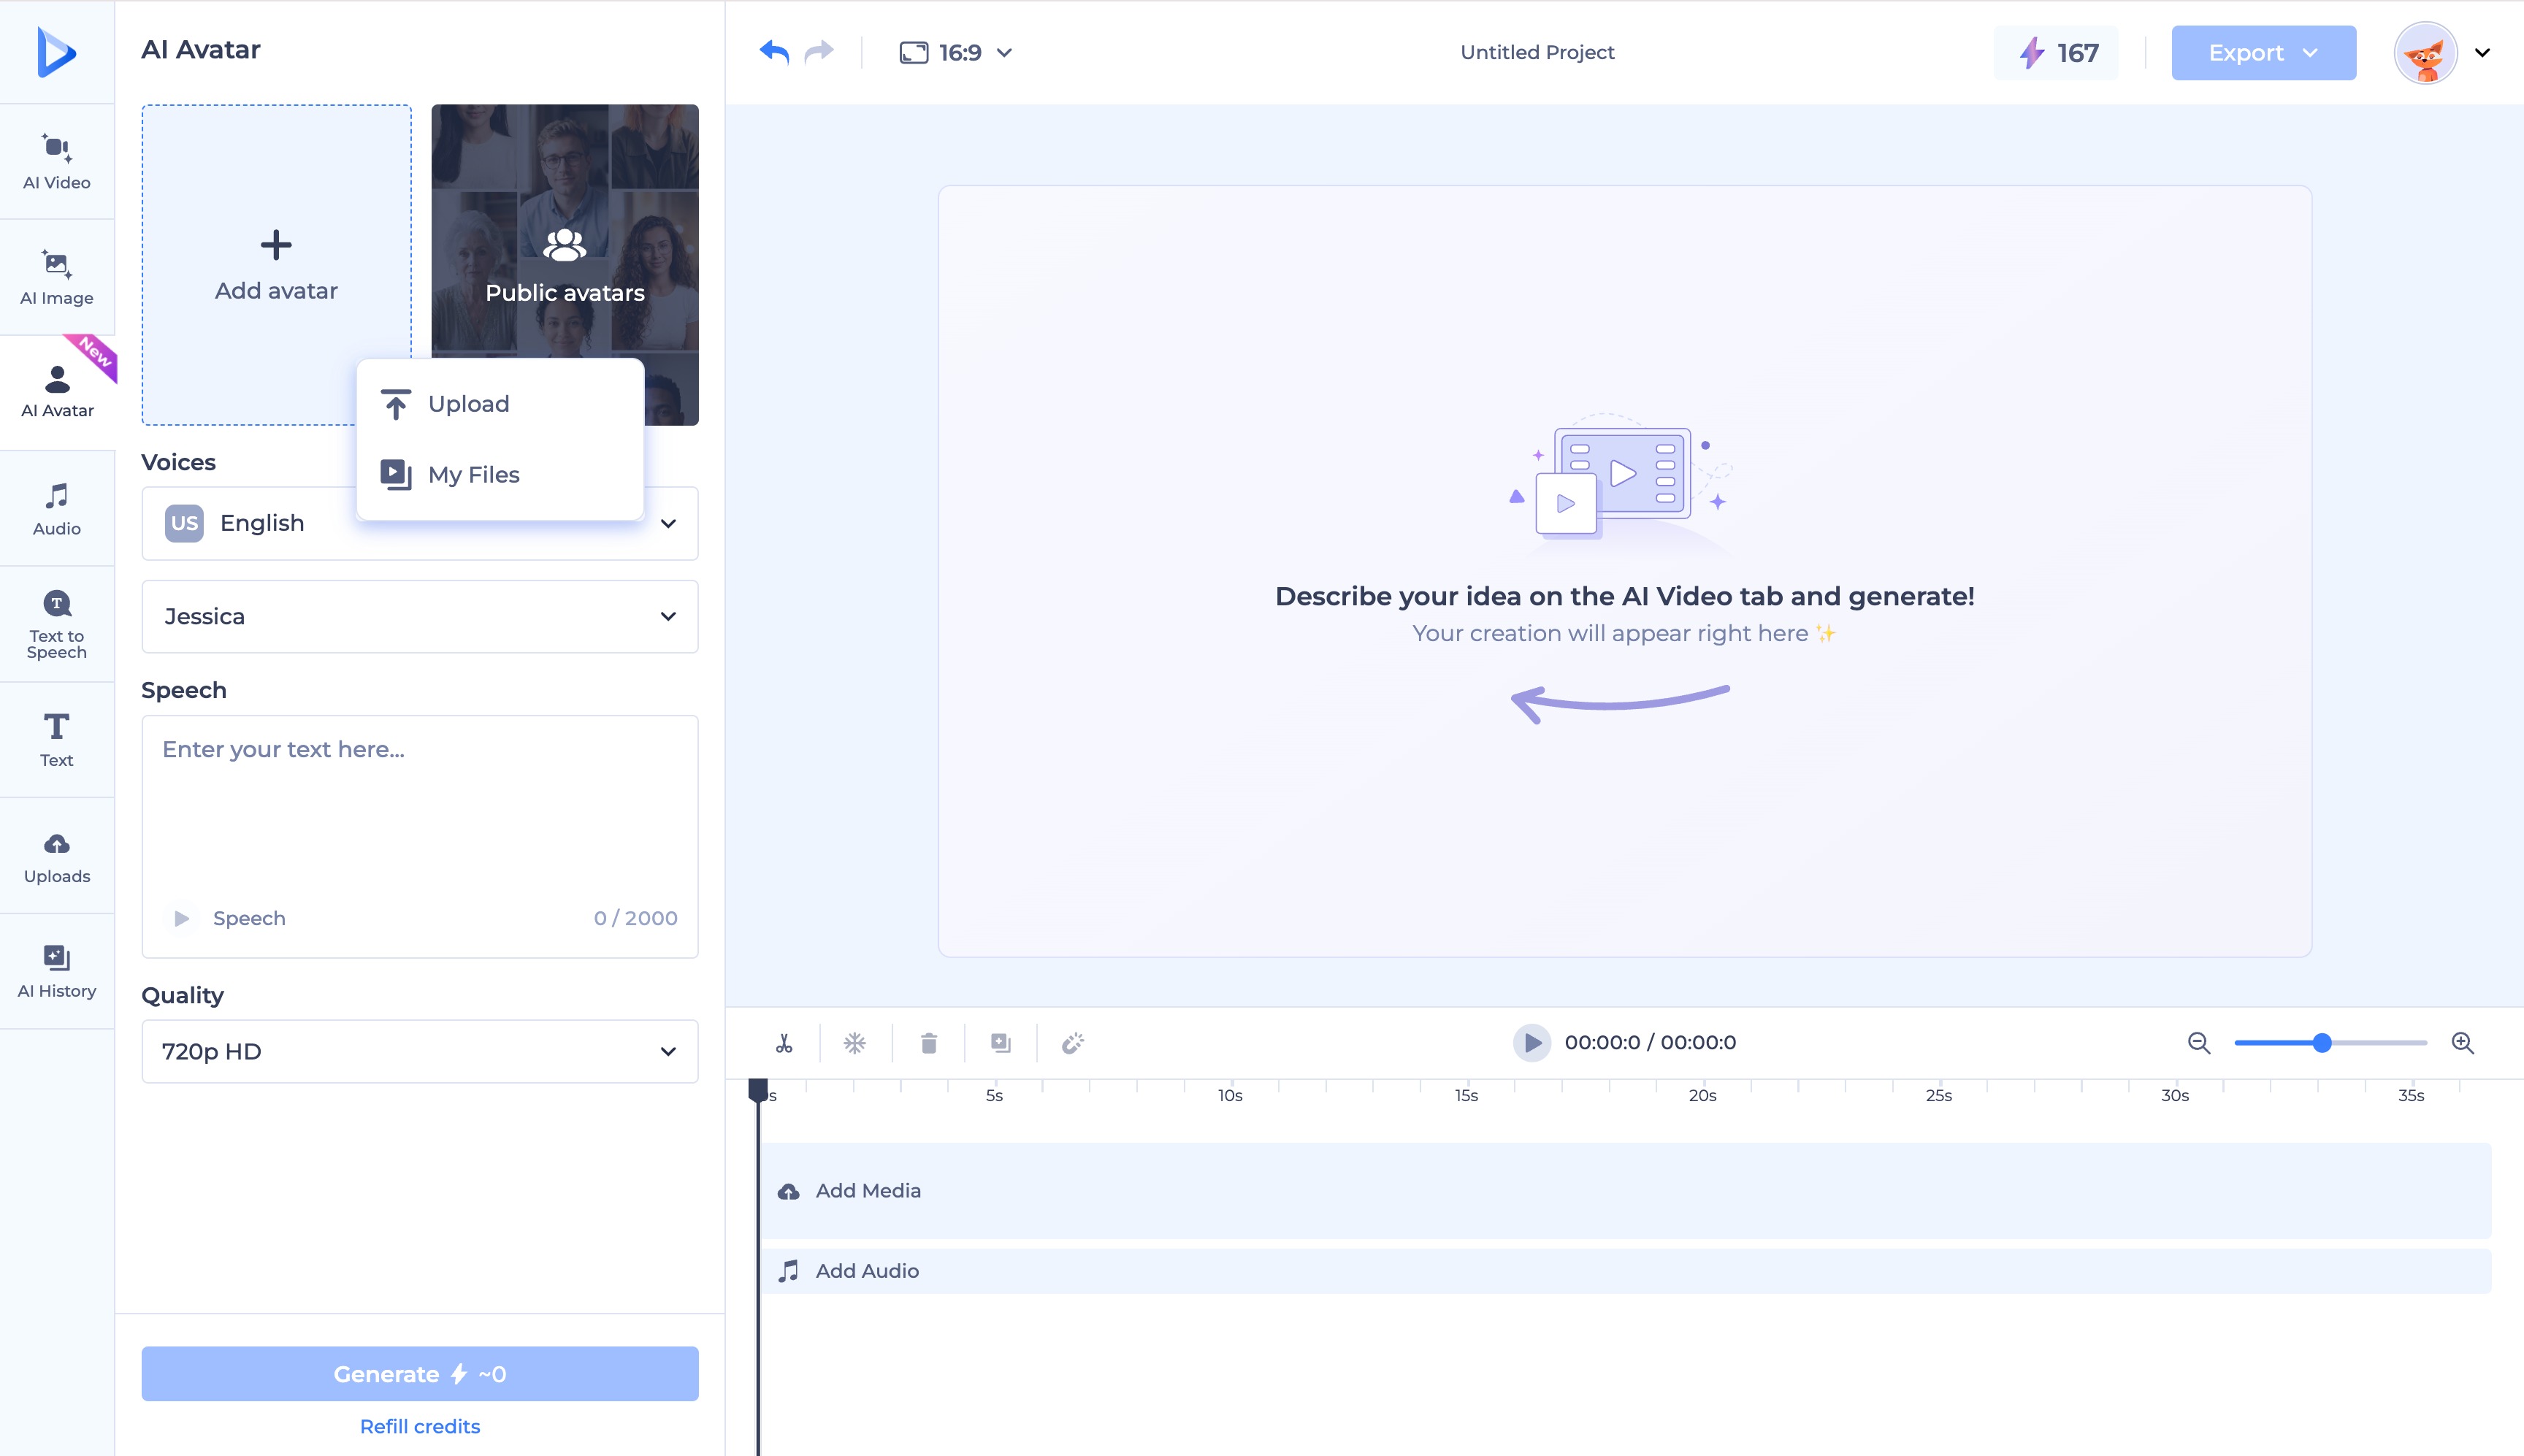
Start with a clear portrait, headshot, or profile photo. This becomes the reference image the AI uses to build your avatar. A podcast headshot, a phone selfie, or an existing profile picture all work, as long as your face is clearly visible and unobstructed.
2. Add your audio or voice reference
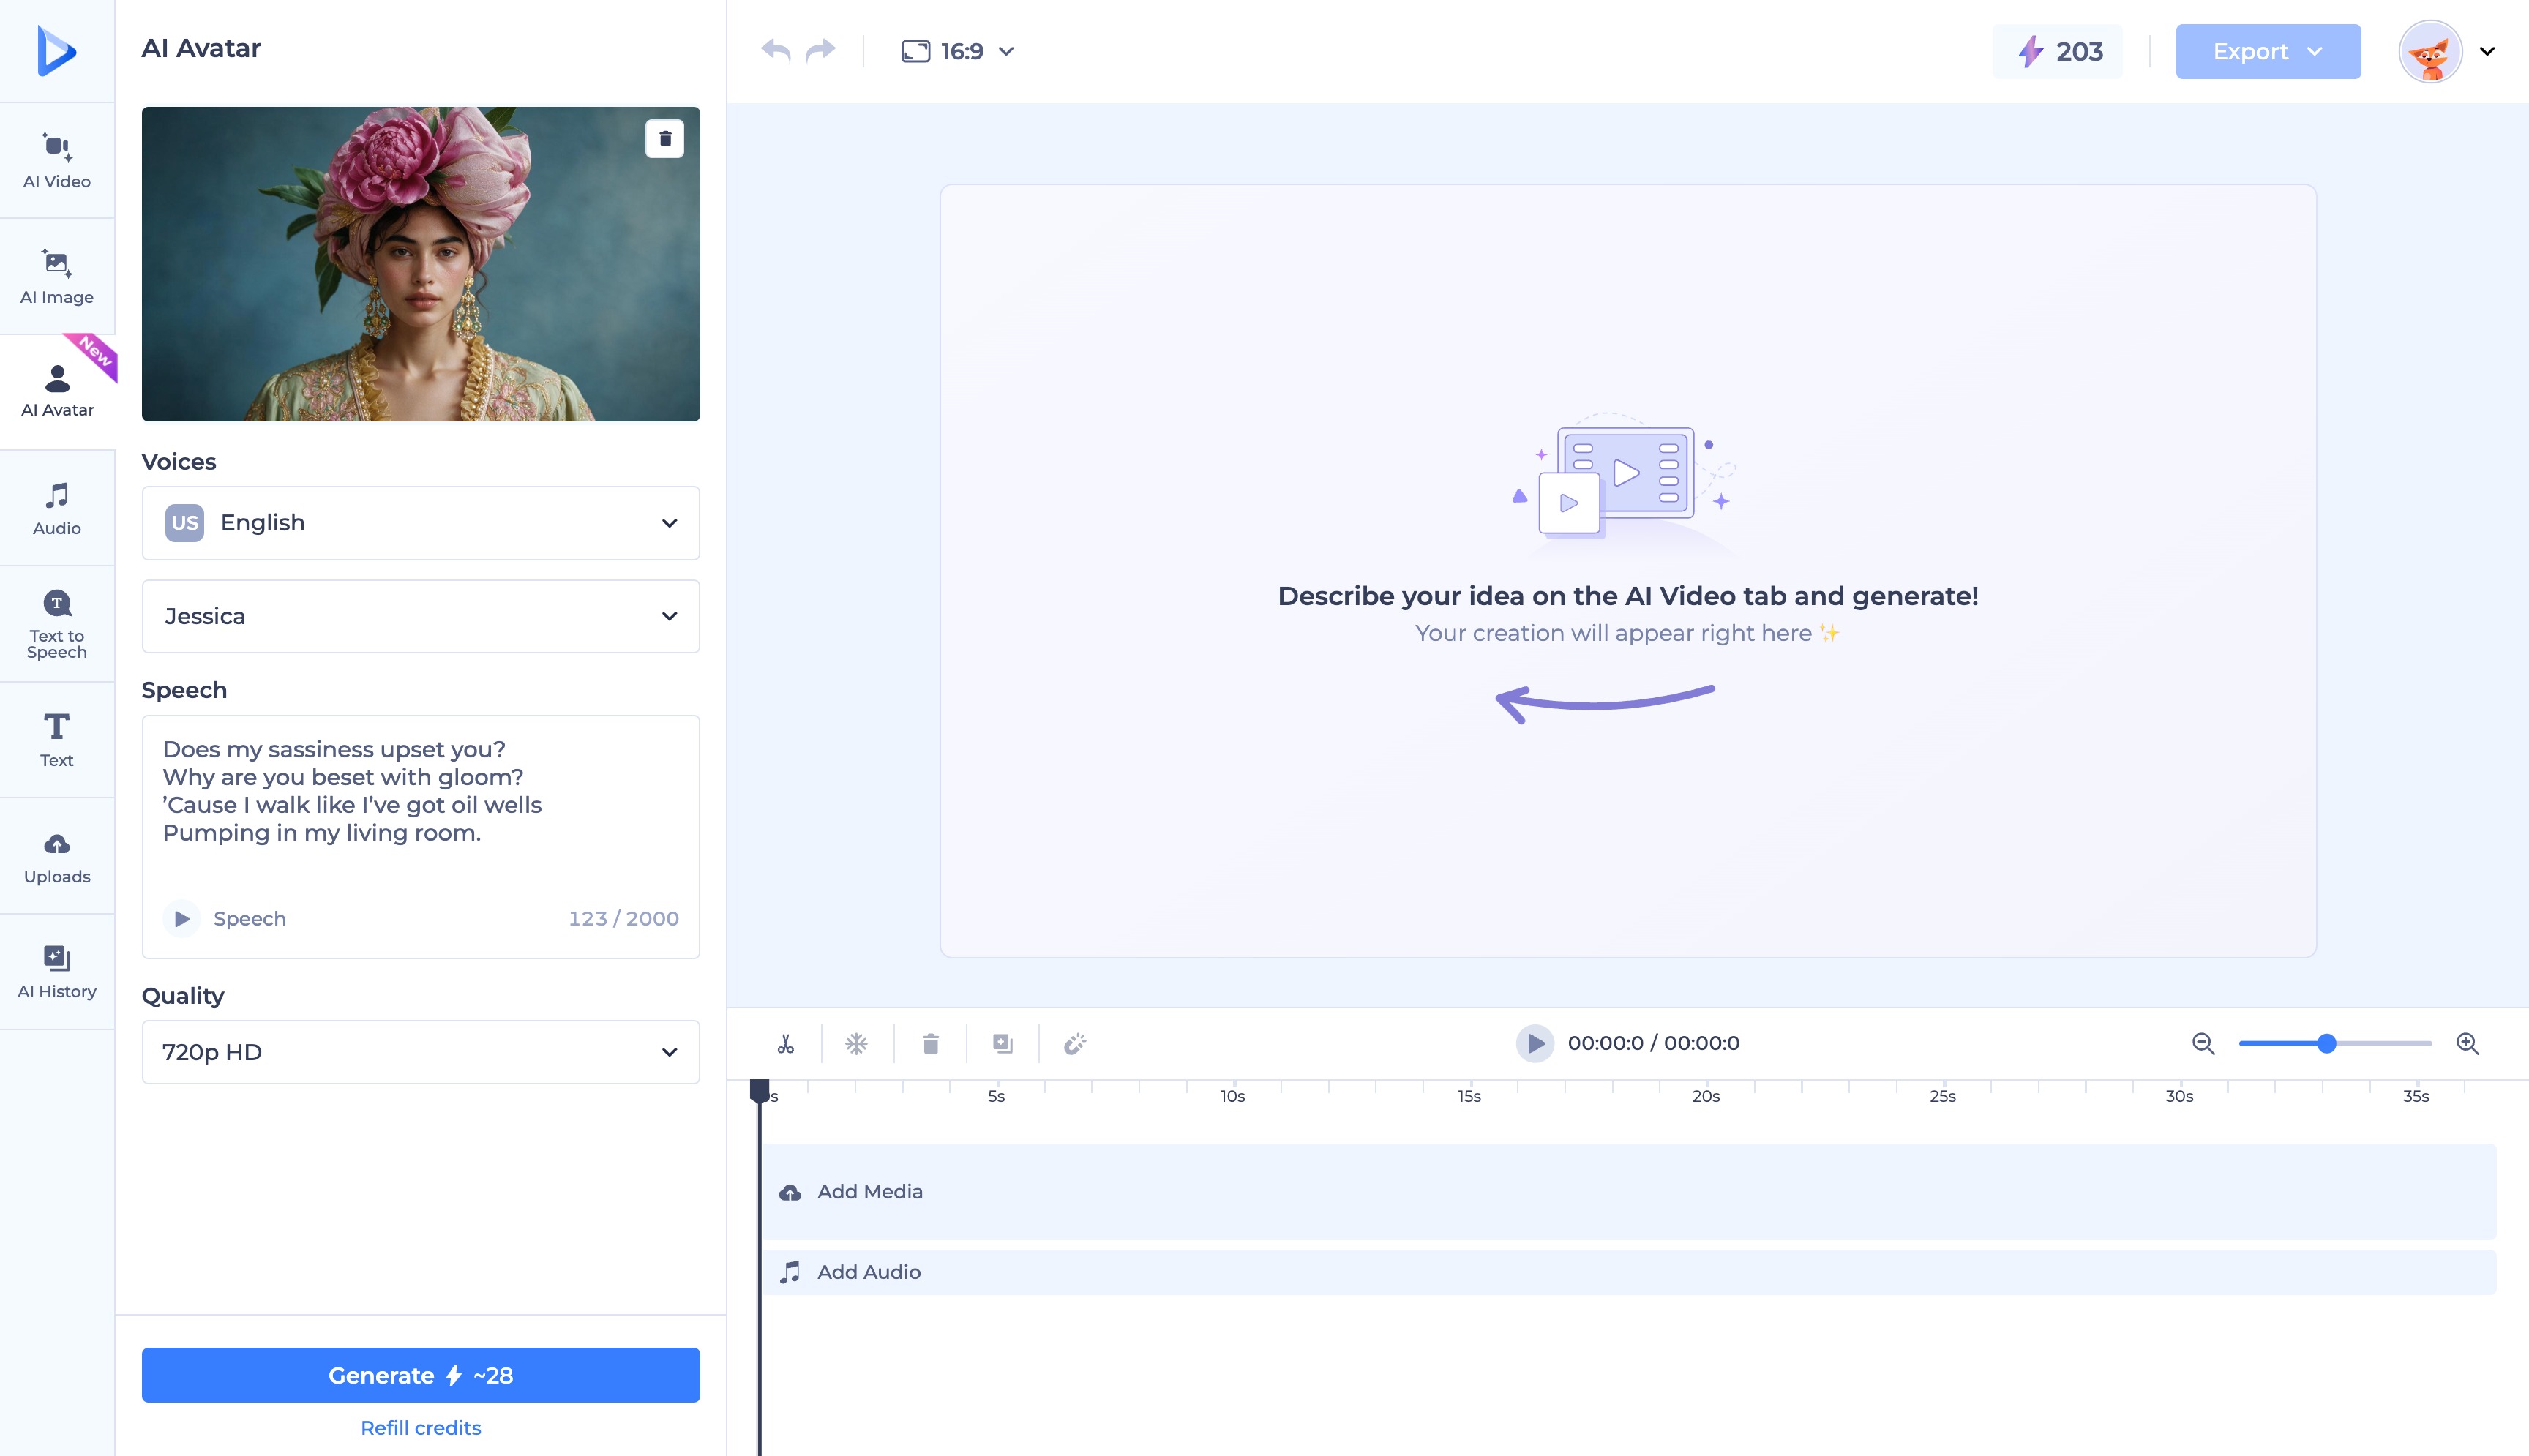
Next, give the avatar something to say. Upload an existing audio track, type out a script for the AI to read aloud, or provide a short voice sample to clone your own voice on paid plans. This audio drives the avatar’s facial movement in the next step, so it’s worth finalizing your script or recording before you move on.
3. Generate the avatar video
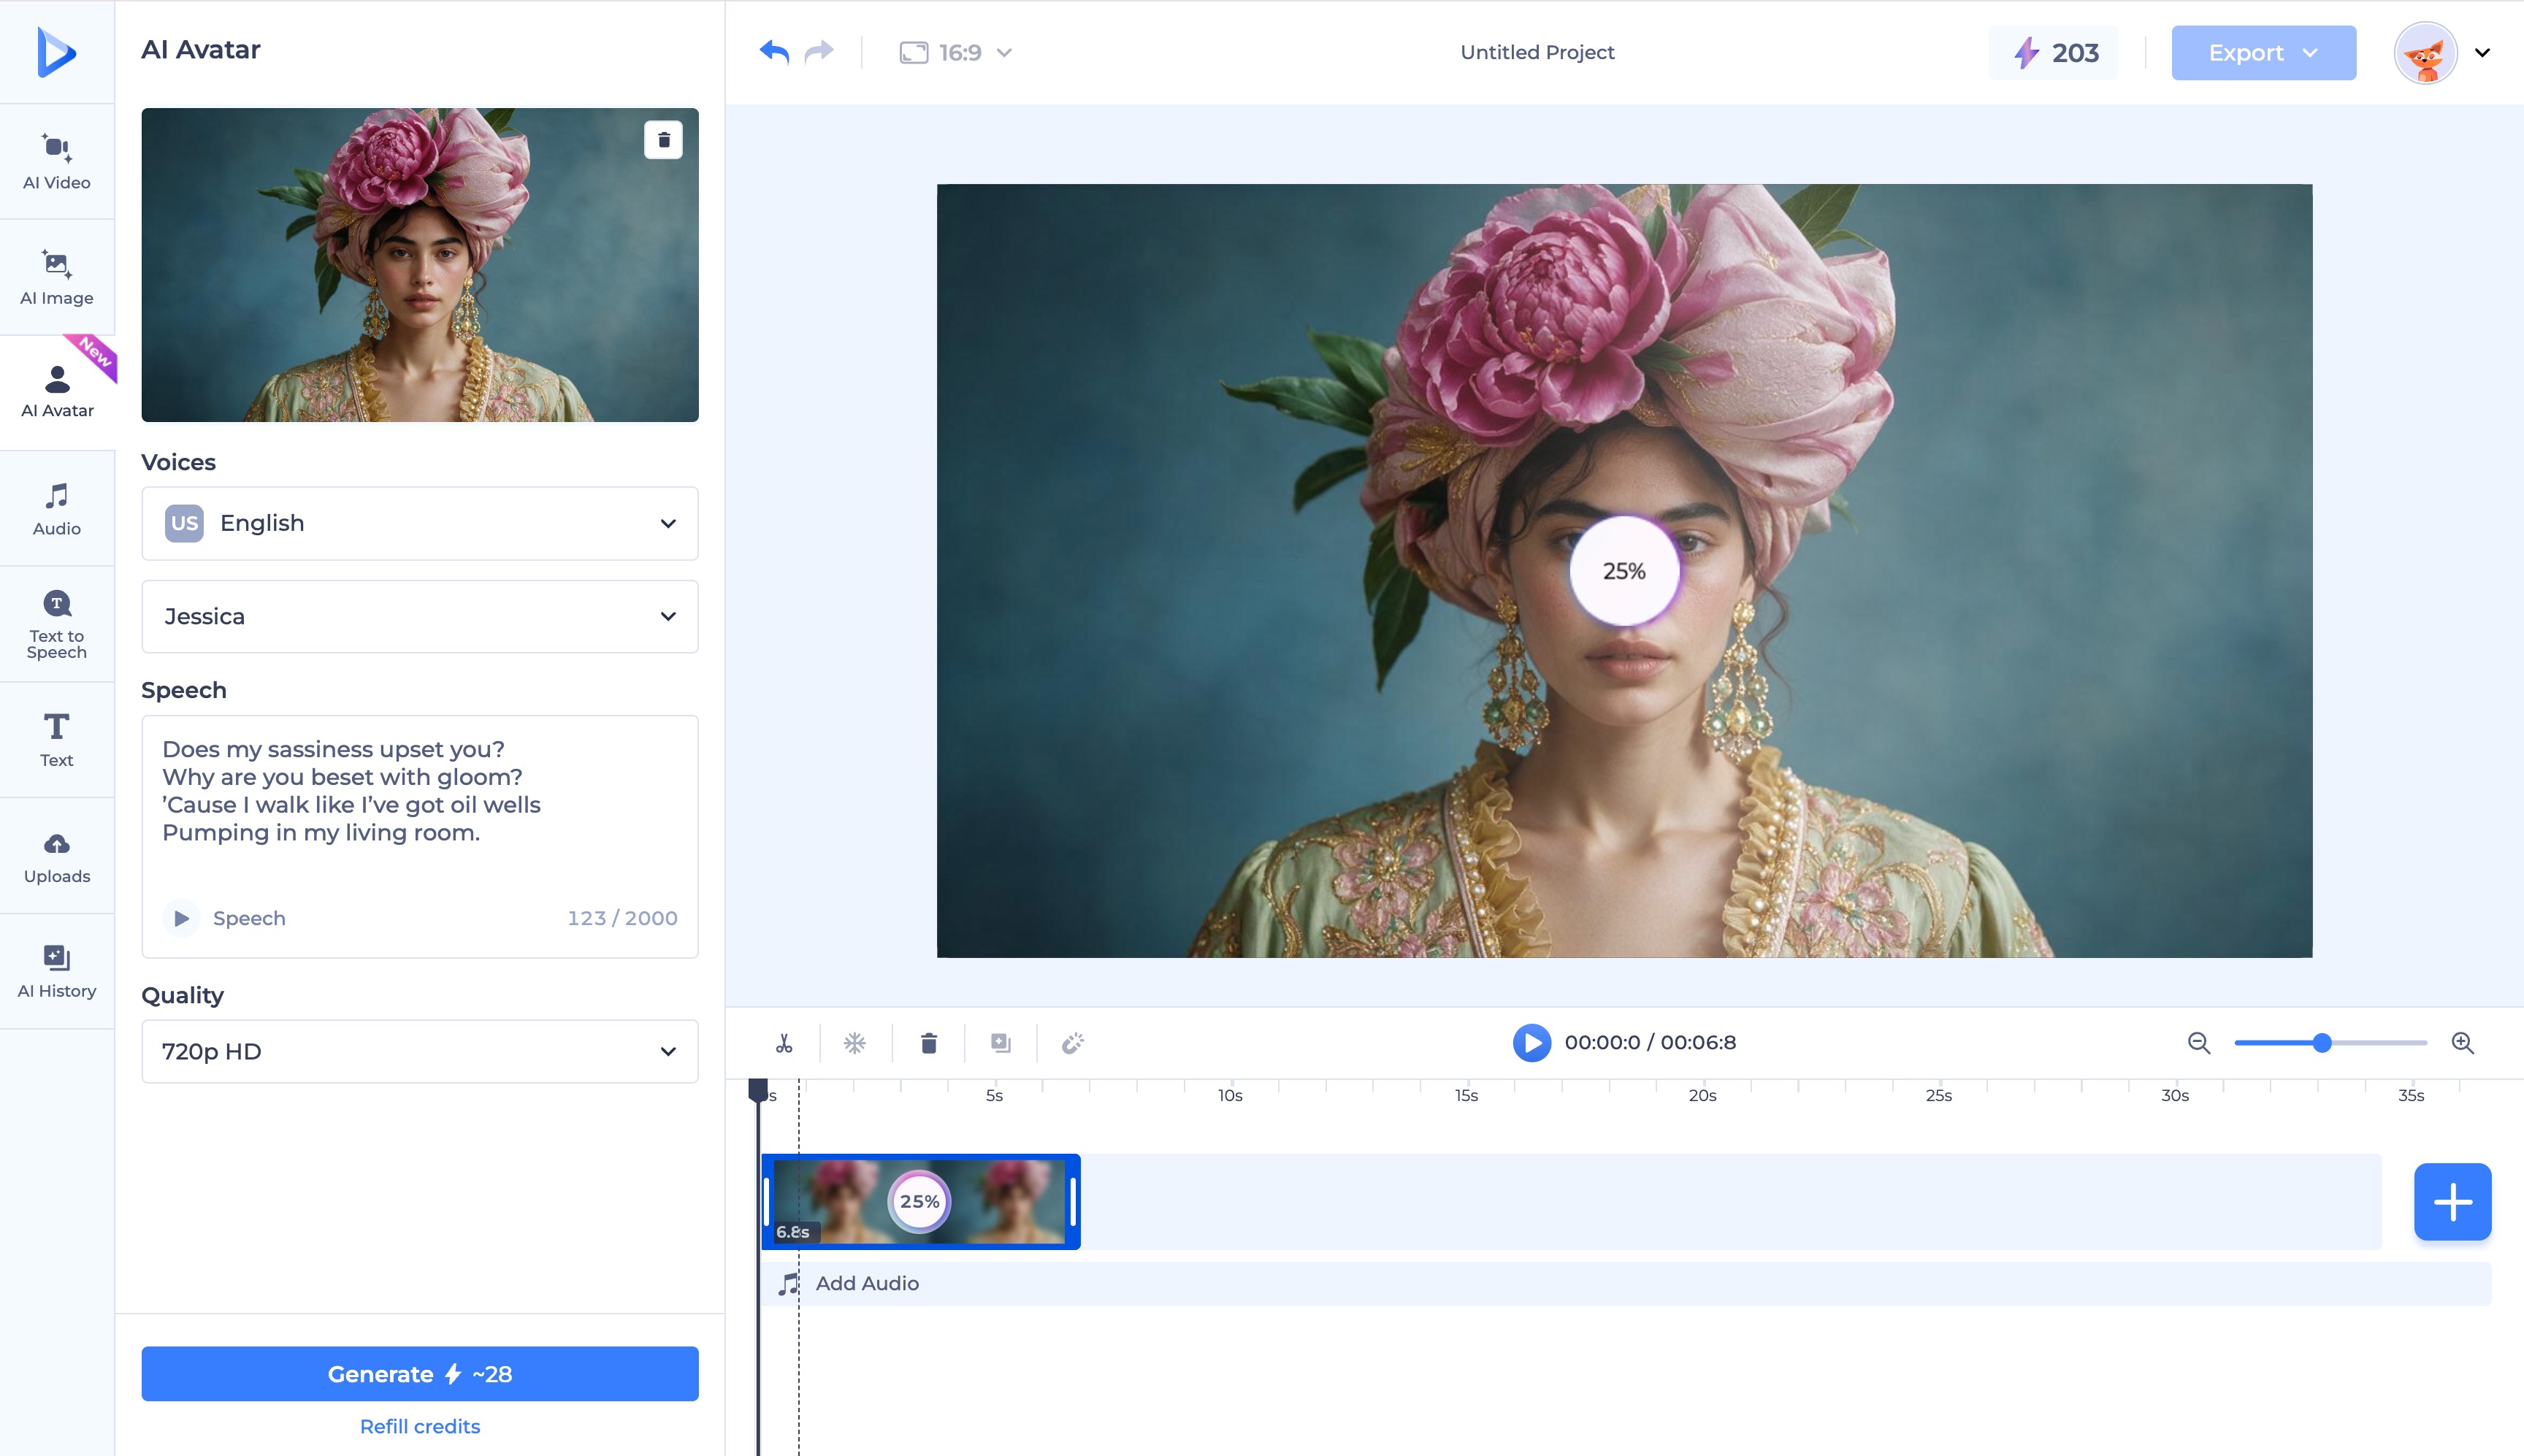
Once your image and audio are in place, the AI animates your photo and syncs facial movement and expression to match the tone and pacing of your audio. Generation time varies depending on your video’s length and the quality tier you select, so longer or higher-quality outputs take a bit more time to process.
4. Edit and export
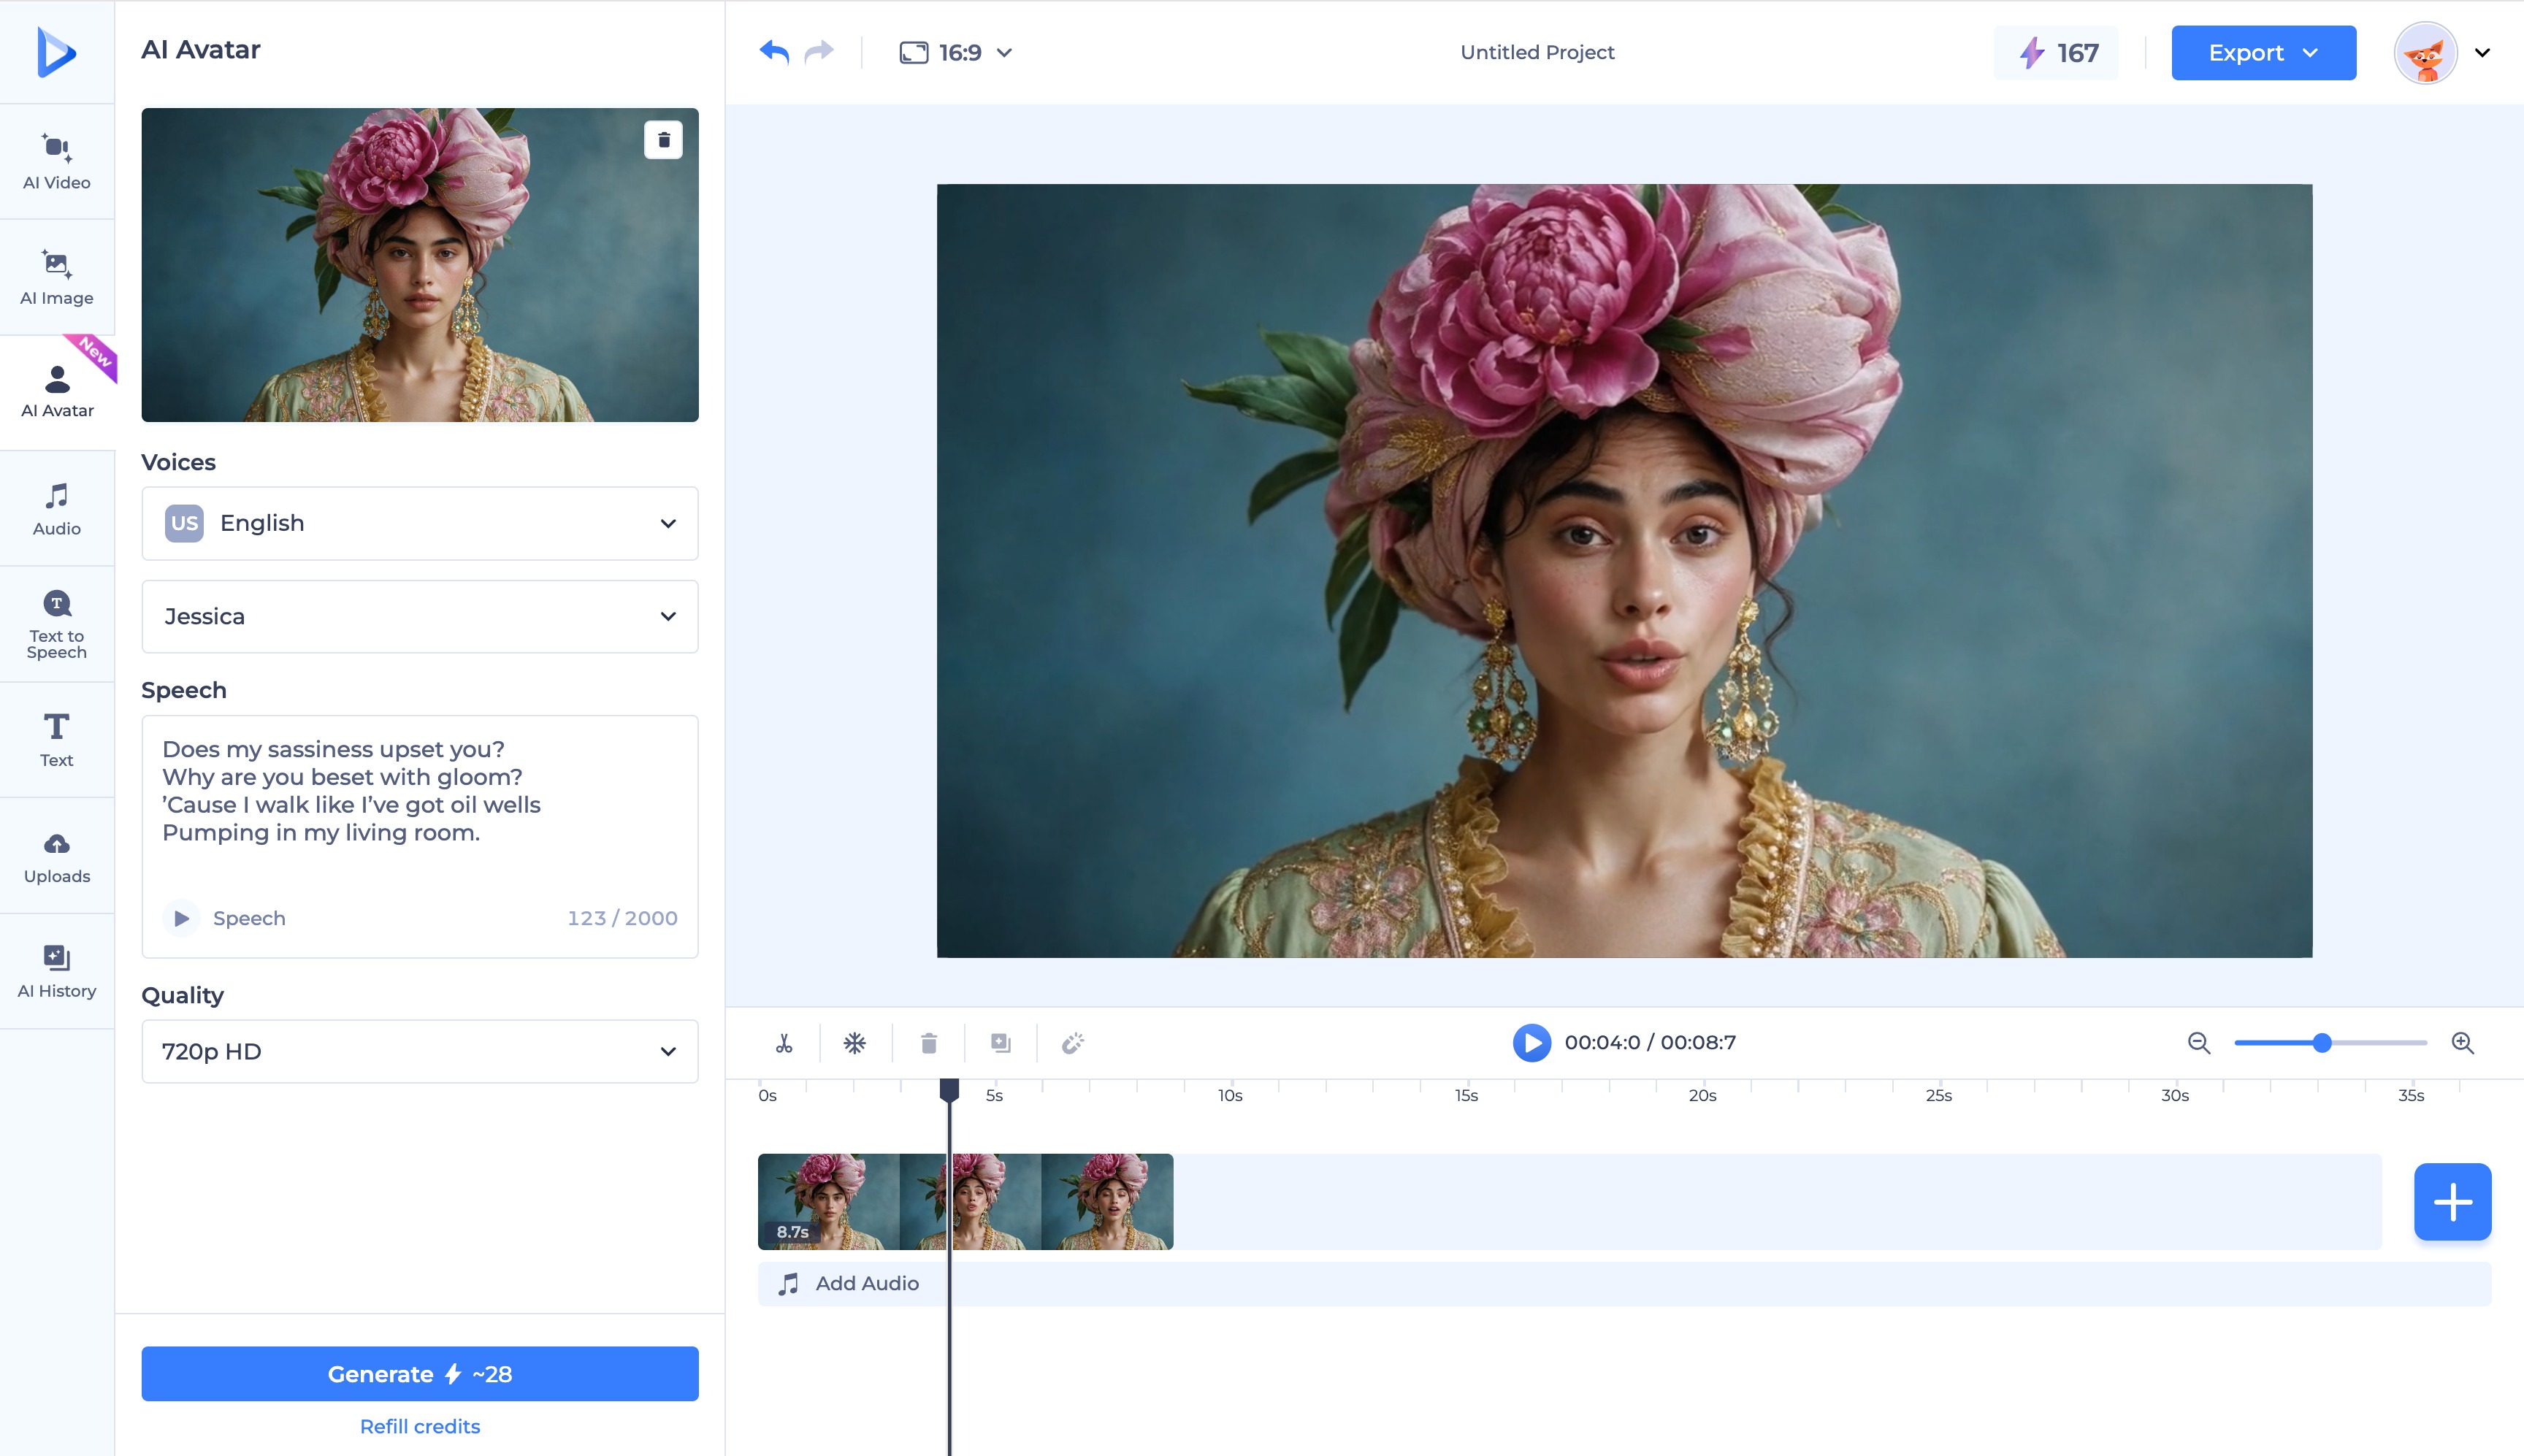
Once your video is generated, make any final adjustments directly in the browser, then export it for YouTube, another social platform, or wherever you plan to share it.
The right tool depends on what you’re trying to make, so match your situation to the option below.
Whichever tool you use, these habits affect how your avatar video performs on Shorts.
YouTube requires all avatar-generated content to carry AI disclosure labels, including SynthID and C2PA, and native avatar output includes these automatically. If you use a third-party tool like Renderforest, you’re responsible for adding the appropriate disclosure in your YouTube settings before publishing. Either way, YouTube’s Community Guidelines apply to all content, including AI-generated Shorts, the same way they apply to any other upload.
If you’re a Renderforest user on a paid plan, commercial rights come included, but you should still confirm your usage rights before publishing.
Both approaches covered here genuinely work, just for different situations. YouTube’s native tool is the quicker choice when you want to create a Short without setting up anything extra. It’s built into the app, and it uses your own face and voice by design.
Renderforest fits better when your project calls for more creative control, whether that’s a character built for your brand, a script in your own words, or a polished video you can publish straight away. It also works beyond Shorts, so if you’re building an AI avatar for YouTube videos of any length, or content for other platforms, that flexibility matters.
If your next project needs more control than a quick selfie clip can offer, Renderforest’s avatar generator is worth trying; it allows a free trial.
You can use YouTube’s native avatar tool, which records a live selfie and voice sample to build a digital twin of yourself, or a third-party tool like Renderforest, which lets you upload any photo and add audio to generate an avatar video.
YouTube’s native avatar tool is free to use within the app. Renderforest also offers a free version, with up to 10 seconds of avatar video included.
As of April 2026, YouTube’s avatar tool is rolling out globally but excludes Europe, and it’s only available to users 18 and older with an existing YouTube channel.
Renderforest lets you upload any photo instead of recording a live selfie, gives you control over script, voice, and language, and exports a finished, edited video rather than a raw clip.
YouTube’s native tool is built specifically for Shorts, so it won’t work for longer formats. Renderforest supports an AI avatar for YouTube videos of any length, since it isn’t tied to the Shorts clip limit.
YouTube requires AI disclosure labels on all avatar-generated content. Native avatar output includes these automatically, while third-party tools require you to add the disclosure yourself before publishing.
Share this


Article by: Sara Abrams
Sara is a writer and content manager from Portland, Oregon. With over a decade of experience in writing and editing, she gets excited about exploring new tech and loves breaking down tricky topics to help brands connect with people. If she’s not writing content, poetry, or creative nonfiction, you can probably find her playing with her dogs.
Read all posts by Sara Abrams