
AI
If you want to know how to use Veo 3, the first thing worth knowing is what you’re actually working with. Veo 3 is Google DeepMind’s most advanced video generation model, and it’s built to do something most AI video tools can’t: produce 1080p video with native synchronized audio, realistic motion, and camera control that responds to a simple text prompt. Dialogue, ambient sound, and sound effects are natively alongside the video, in the same pass as the visuals.
What most guides skip over is that getting access isn’t as simple as typing a prompt into one tool. Veo 3 is spread across several Google products, each with its own cost, setup, and limitations. Google AI Studio offers a free way in, but the quota is tight, and the output carries a watermark. Google Flow gives you the full creative workflow, but it sits behind a paid subscription. Vertex AI is built for developers running things at scale, priced per second of output.
We’ll walk through what Veo 3 can actually do, available through three separate paths, how to write prompts that get the most out of it, and how it fits into a full production workflow if you’d rather skip the manual assembly altogether.
Veo 3 is Google DeepMind’s third-generation video model, launched in 2025 and now widely used across Google’s products in 2026. It generates video directly from a text prompt, and it can also turn a still image into a moving clip.
The core capability that sets it apart is native audio. Veo 3 produces dialogue, ambient sound, and sound effects in the same generation pass as the video, complete with lip sync, rather than requiring separate audio tools. Output can reach 1080p, and you get direct control over camera movement, from slow pushes to tracking shots. Each generation produces a clip up to 8 seconds long.
Veo 3.1 is the current production version, available on Vertex AI. It builds on the original model with stronger prompt adherence and first-and-last-frame control, letting you set the opening and closing frames of a clip and have the model fill in the motion between them.
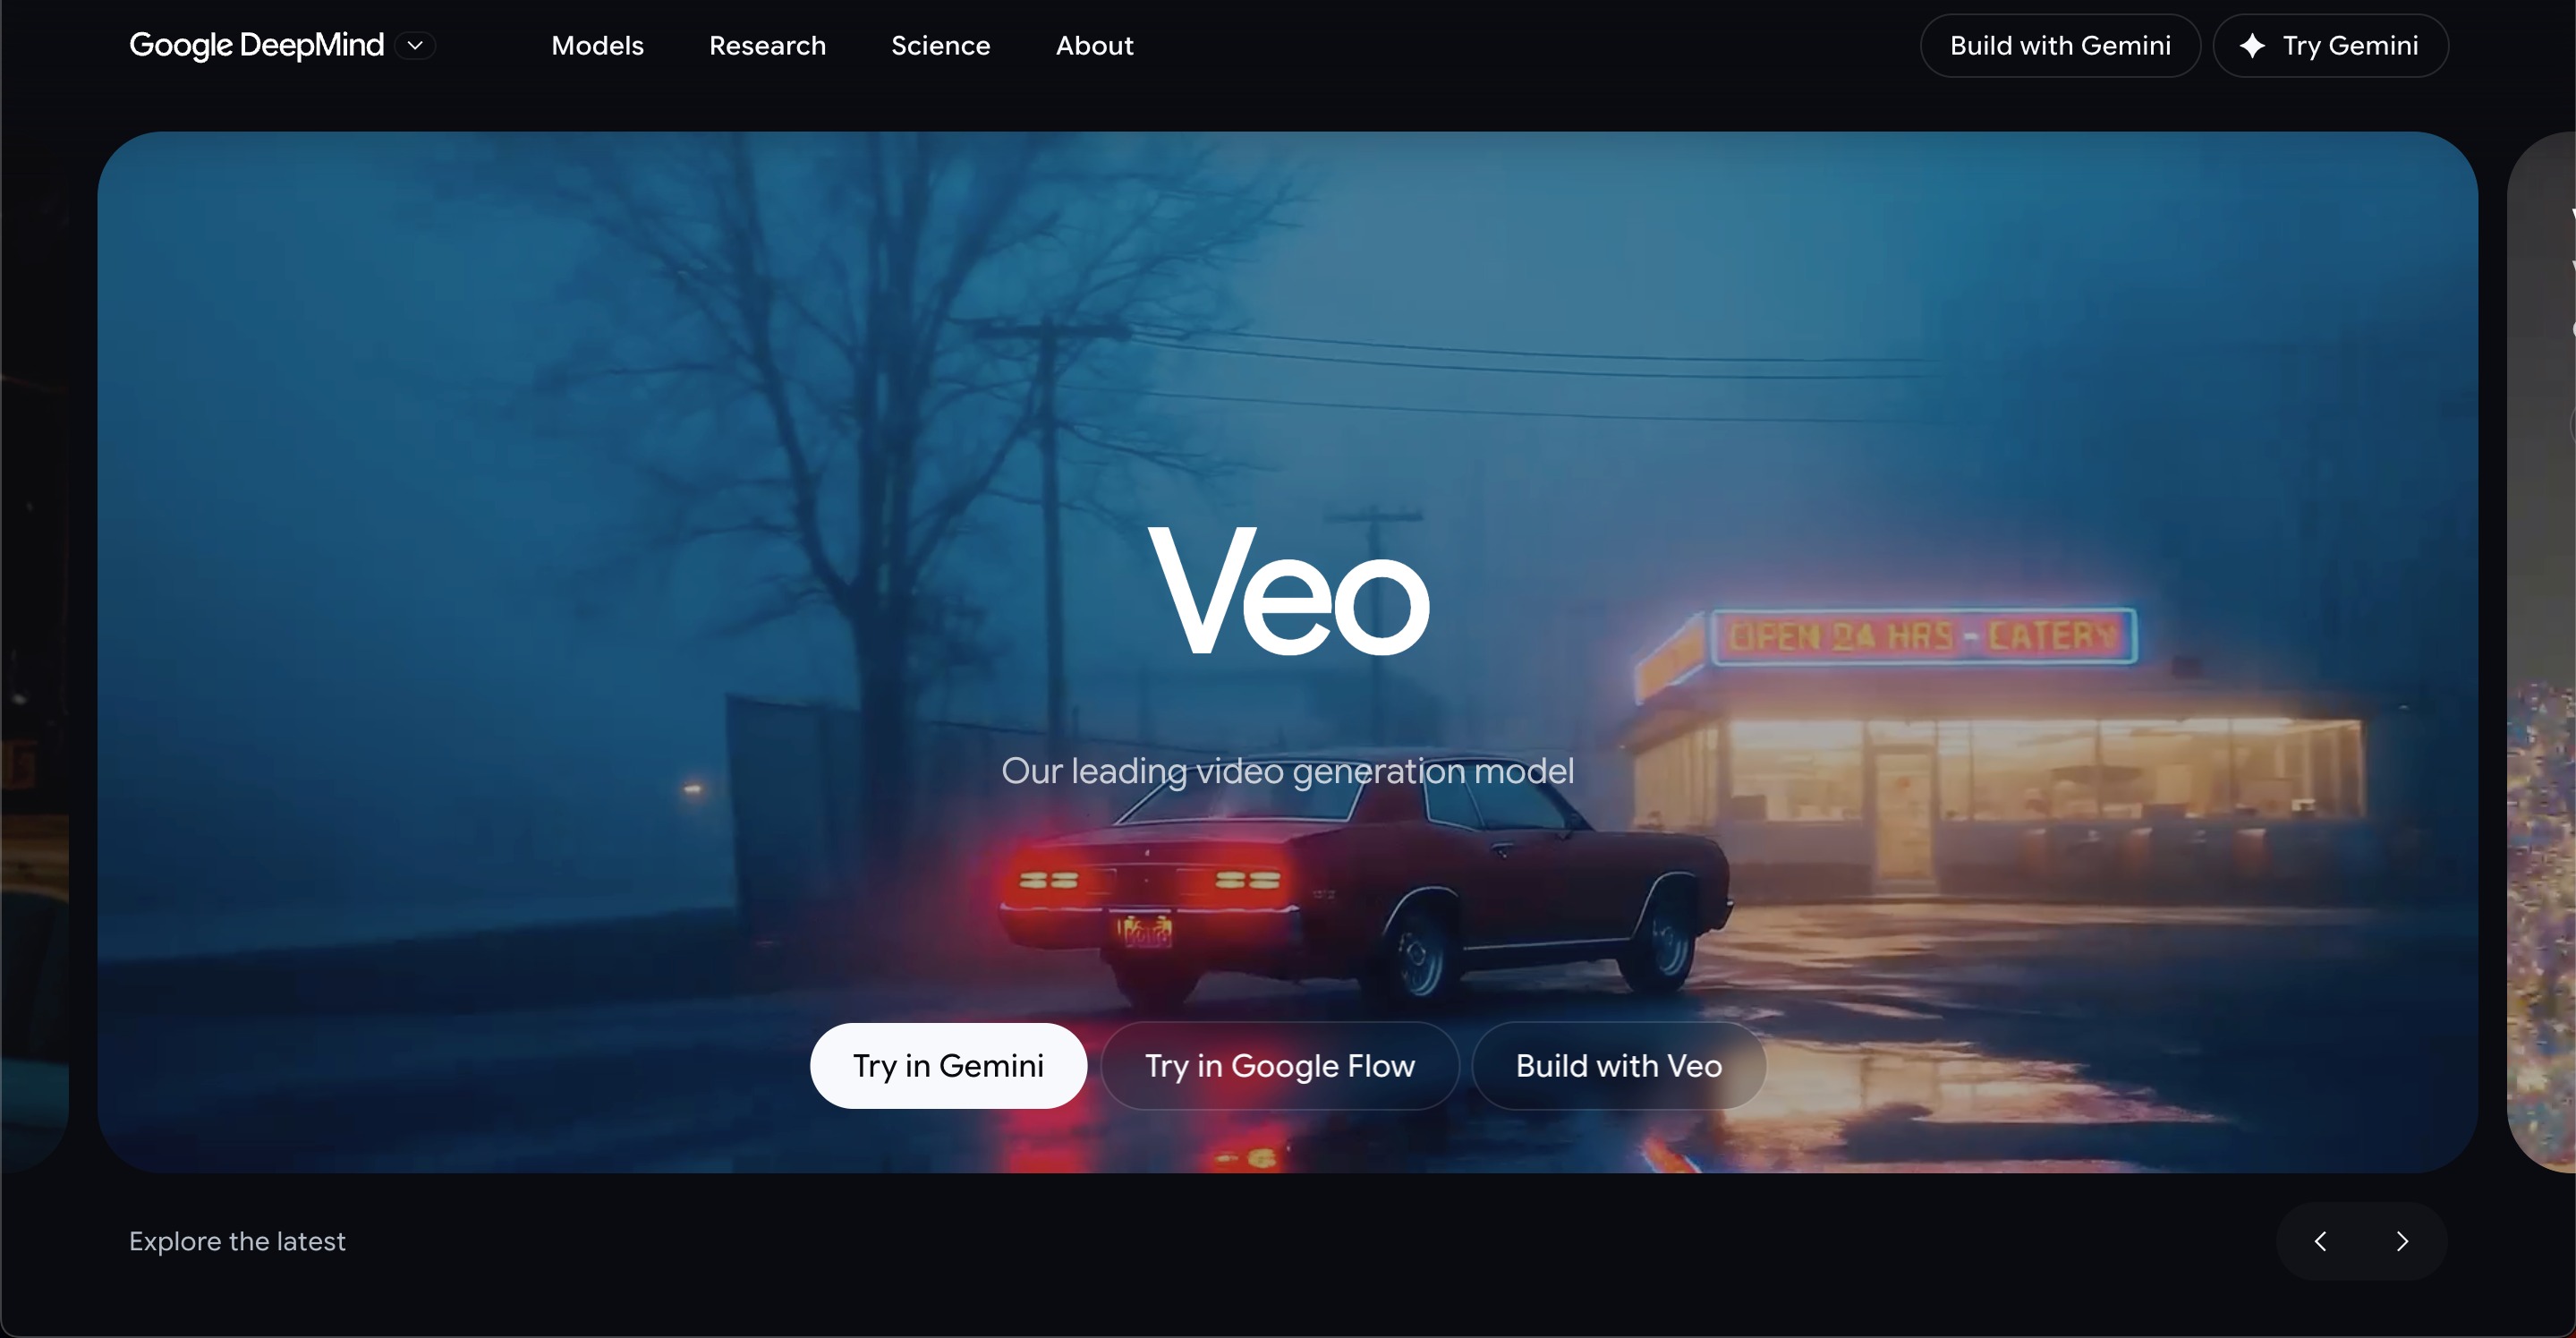
Most guides either point you to one route and stop, or list every option without explaining how they differ. In reality, Veo 3 is available through three separate paths, each built for a different kind of user with real differences in cost, setup, and what you walk away with: Google AI Studio for free testing, Google Flow for a full creative workflow, and Vertex AI for developers building at scale.
Go to aistudio.google.com and sign in with a Google account. This is the fastest way to learn how to use Google Veo 3 without committing to a subscription, since Veo 3 and Veo 3.1 both appear as model options inside the studio. The free tier includes a limited number of daily generations, and that quota changes periodically, so it’s worth checking the current limit before you rely on it for a project. Free tier output carries a watermark and doesn’t include commercial rights.
Best for: developers and technical users who want direct model access without a subscription.
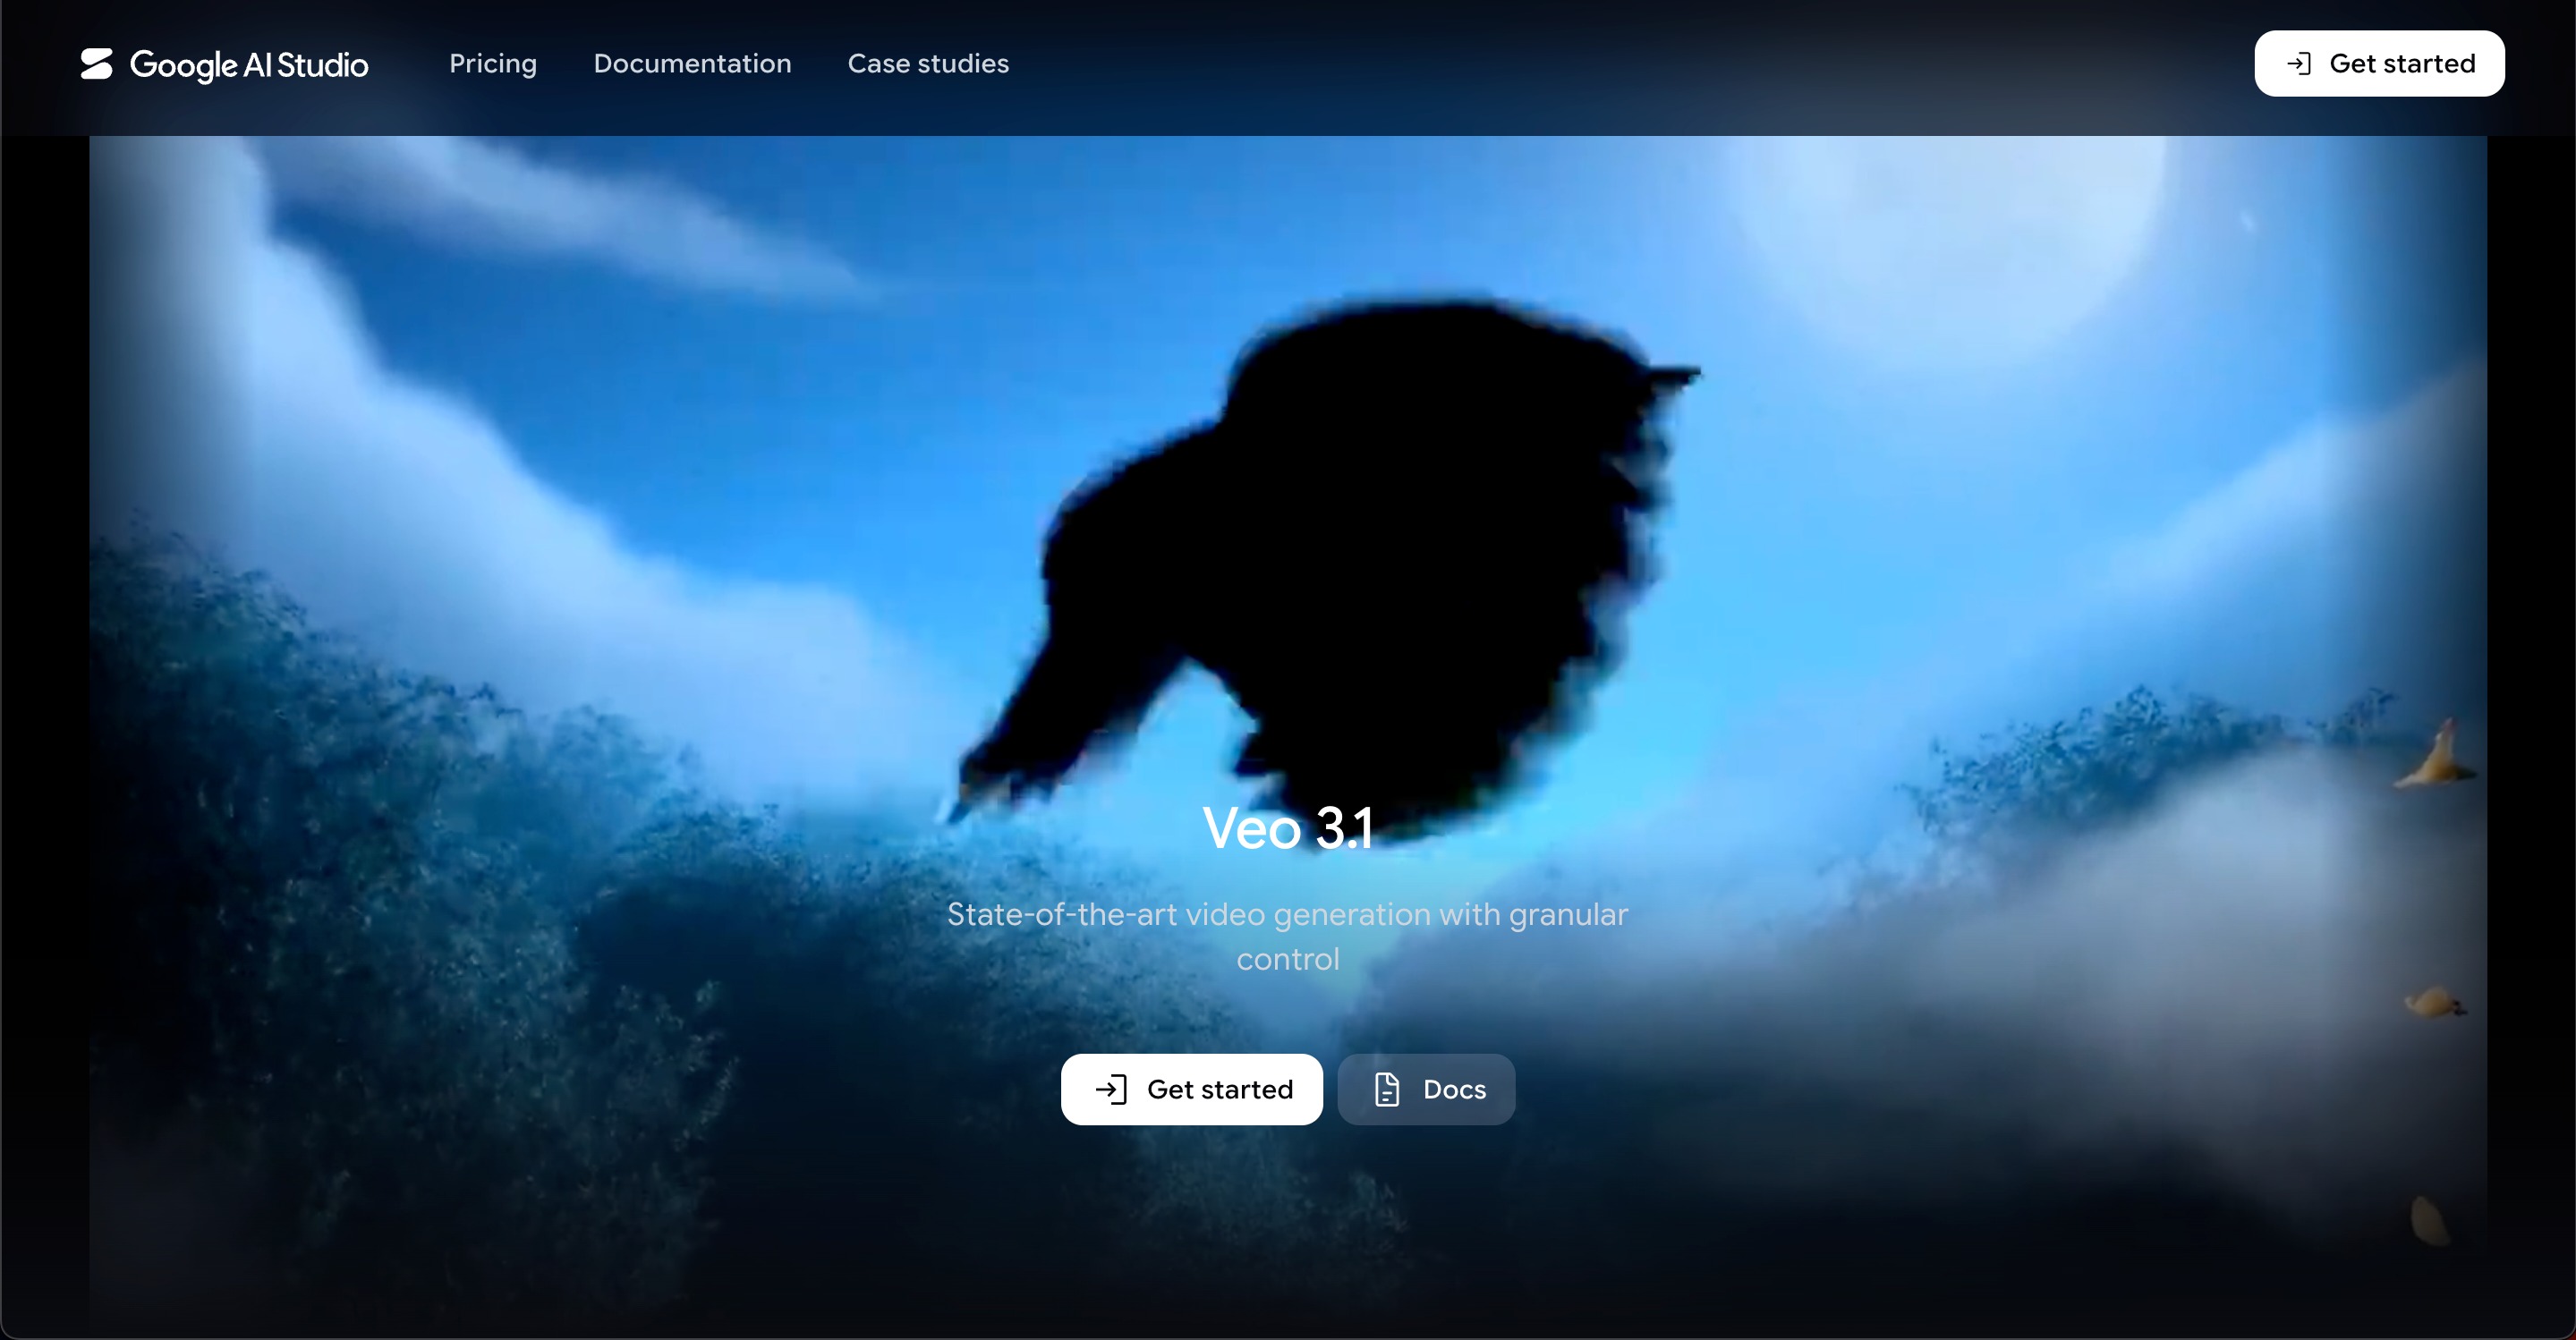
Google Flow is Google’s dedicated AI filmmaking workspace, available at labs.google/fx/tools/flow. It evolved from VideoFX and merged with Whisk and ImageFX in February 2026, and it now runs on Veo 3.1 and Gemini Omni.
Flow requires an active Google AI subscription. Google AI Pro, at $19.99 a month, includes the full Flow experience and Veo 3.1 access, with the option to buy additional credits if you run out. Google AI Ultra, now available at $99.99 or $199.99 a month depending on usage limits, includes everything in Pro plus more credits and first access to experimental models and features. Every output carries an invisible watermark, and visible watermarks only disappear on the Ultra tier, except where local regulations require them.
Best for: content creators and filmmakers who want the full Veo workflow in one place without developer setup.
Vertex AI, now part of Google’s broader Gemini Enterprise Agent Platform, is the developer and enterprise route into Veo 3.1. It requires a Google Cloud account, separate from a standard consumer Google account, along with some technical setup.
Veo 3.1 is generally available on Vertex AI for production workflows, billed on a pay-per-use basis by the second of generated video, with separate rates for the standard, Fast, and Lite tiers. Clip lengths run 4, 6, or 8 seconds depending on the model. New Google Cloud accounts receive $300 in free credits to test the platform before committing to a production budget.
Best for: developers and teams building automated video pipelines or integrating Veo into products.
This tutorial gives you the fastest way to learn how to use Veo 3 without any developer setup, using Google Flow, currently the most complete and accessible route for non-technical creators.
Each clip runs up to 8 seconds on standard generation. Google Flow’s scene extension feature lets you continue a clip past that limit, and multiple clips can be assembled in the timeline for longer content.
Veo 3 responds to structure. The clips that look intentional almost always come from a prompt that covers four elements: subject and action, environment and lighting, camera movement, and mood or audio.
Start with who or what is in the scene and what they’re doing. Vague subjects produce generic results, so specificity matters: describe appearance, clothing, and expression when they’re relevant to the shot.
Weak: “A woman walks into a room.”
Strong: “A woman in a navy blazer walks into a sunlit office, glancing at her watch with a slight frown.”
Camera direction is what separates a flat output from a cinematic one. Veo 3 recognizes specific terms: slow push-in, tracking shot, dolly, overhead, close-up, wide establishing shot. Movement speed affects emotional tone, so a slow push-in reads as tense or intimate, while a quick tracking shot feels energetic.
Lighting instructions shape the entire mood of a clip. Common terms include golden hour, overcast diffused light, neon-lit interior, and studio lighting. Naming a specific lighting condition gives Veo 3 far more to work with than describing a location alone.
Native audio is one of Veo 3’s biggest advantages over most competing models. Prompts can specify dialogue, such as ” She says: ‘Welcome to the team.” They can specify ambient sound, like light rain and distant traffic. And they can specify sound effects, such as footsteps on gravel or a door creaking. Audio is generated natively with the video, in the same pass as the visuals.
Combining all four elements into a single prompt might look like this: “A woman in a navy blazer walks into a sunlit office, tracking shot, golden hour light through the windows, she says: ‘Welcome to the team,’ with faint office chatter in the background.
Renderforest’s AI video generator gives you access to Veo 3.1 as one of several AI models in its production pipeline, as well as options like Sora 2, Hailuo, and Pixverse. There’s no Google account to set up, no API to configure, and no separate subscription to manage. The output is a finished, publish-ready video.
With Renderforest, there’s no platform-switching or separate account to manage. Veo 3.1 sits at the same level as other models, including Sora 2, Seedance 2.0, Hailuo, and Pixverse.
Once a clip is generated, it feeds directly into a full editing suite, so you can adjust scenes, timing, and visuals without starting over. Voiceover in 50 or more languages is available alongside generation, and you can start from one of over 1,200 templates instead of a blank prompt. Exports are formatted for YouTube, TikTok, Instagram Reels, and other platforms, and you can choose short or long video output without tracking separate credit costs across Google’s subscription tiers.
You can also upload multiple reference images and specify which one applies to a particular character, object, or style directly in your prompt.
To generate a Veo 3.1 video in Renderforest, follow these simple steps.
Go to the dashboard and select Short AI Video from the left menu under Tools.
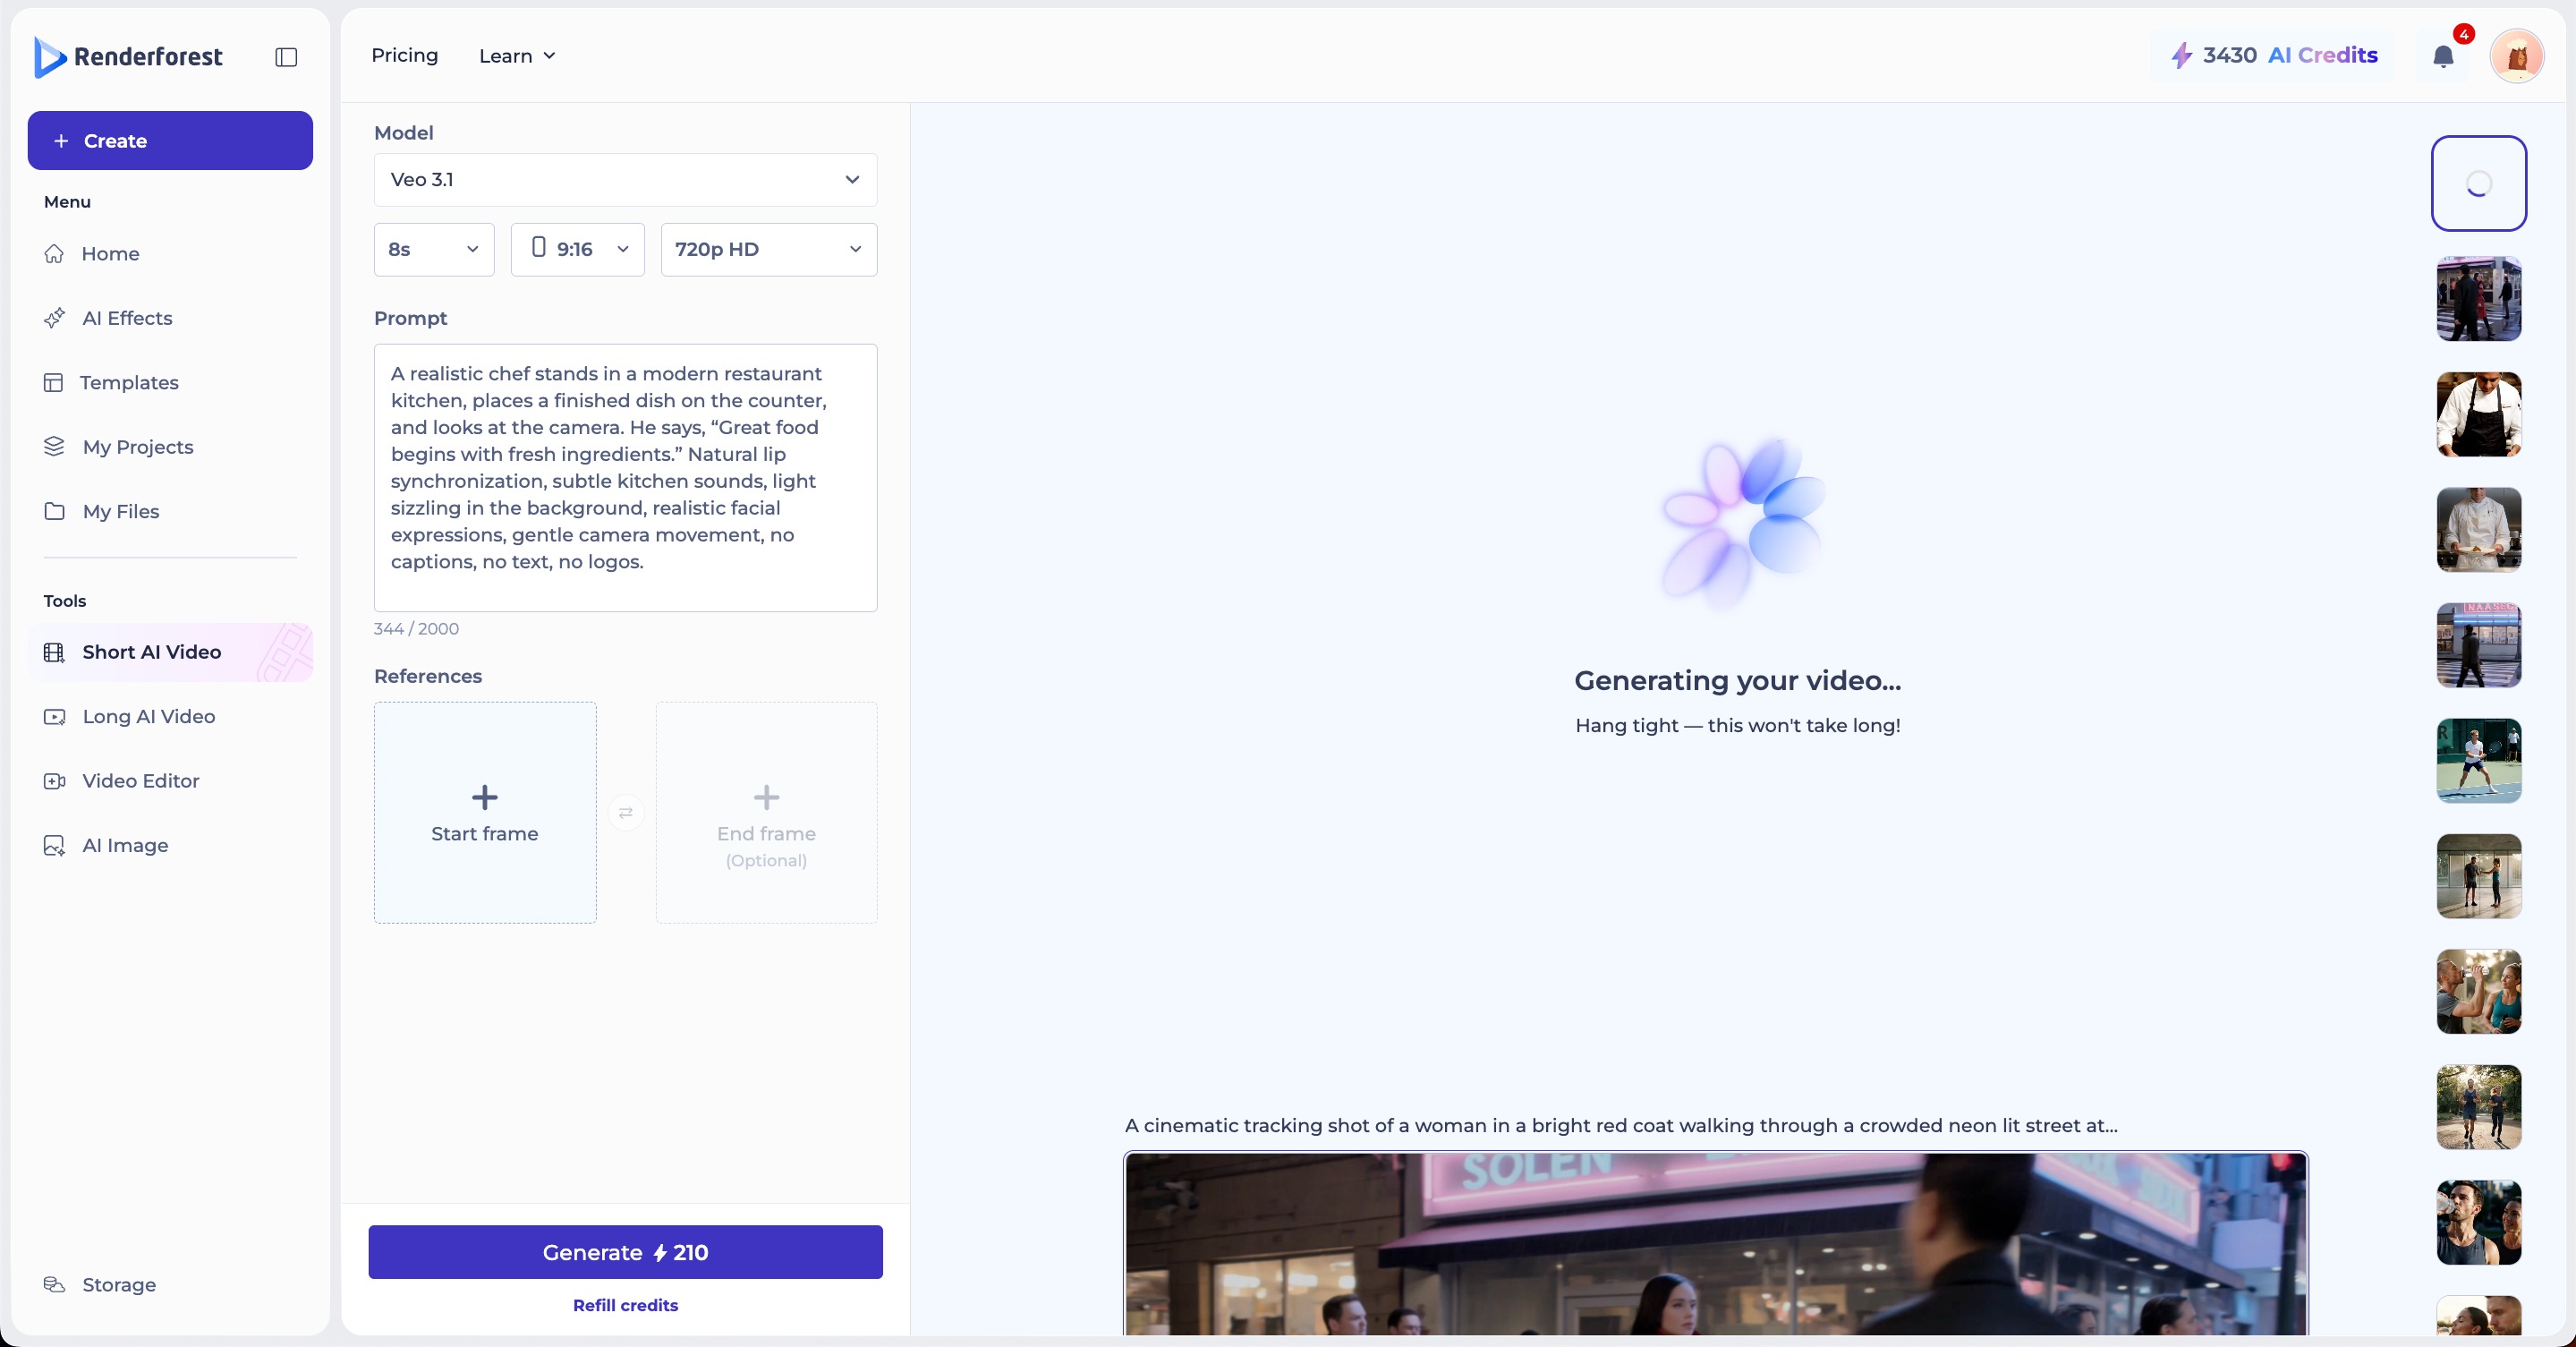
Select Veo 3.1 as your model, then set your duration, aspect ratio (16:9, 9:16, or 1:1), and quality (720p HD or higher, depending on your plan).
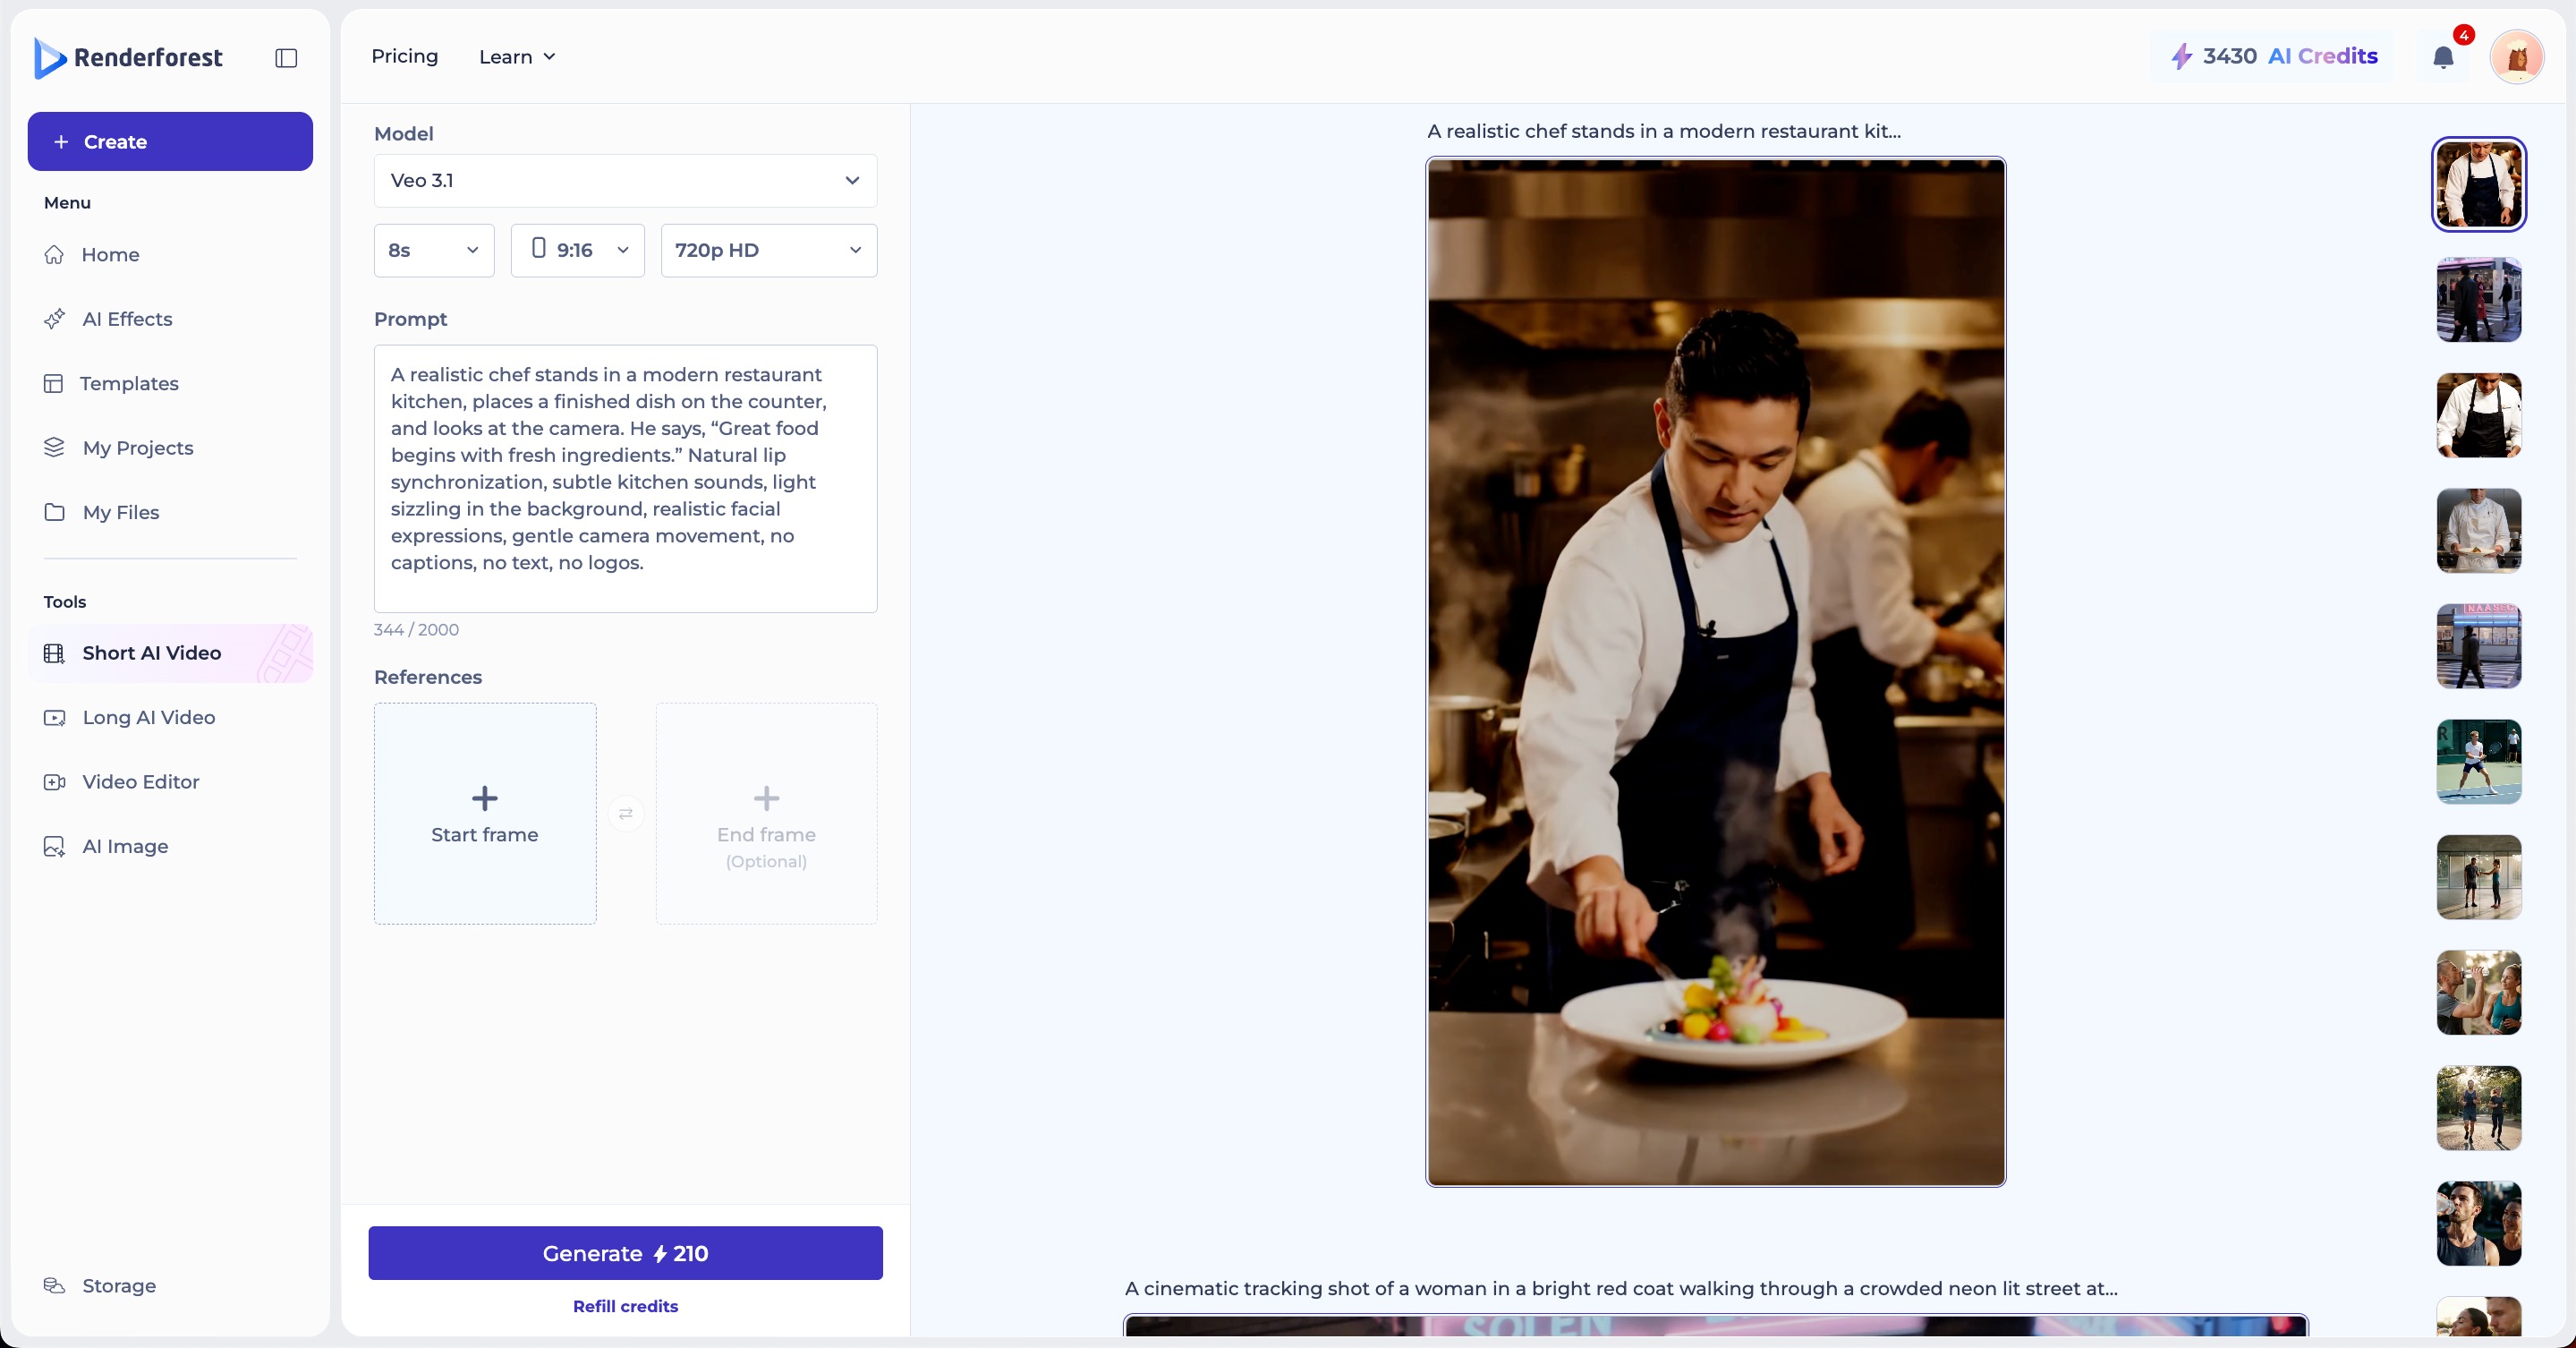
Enter your prompt in the text field (up to 2,000 characters). Optionally upload one or more reference images from the Source section below the prompt, then specify in your prompt which image applies to which character, object, or style.
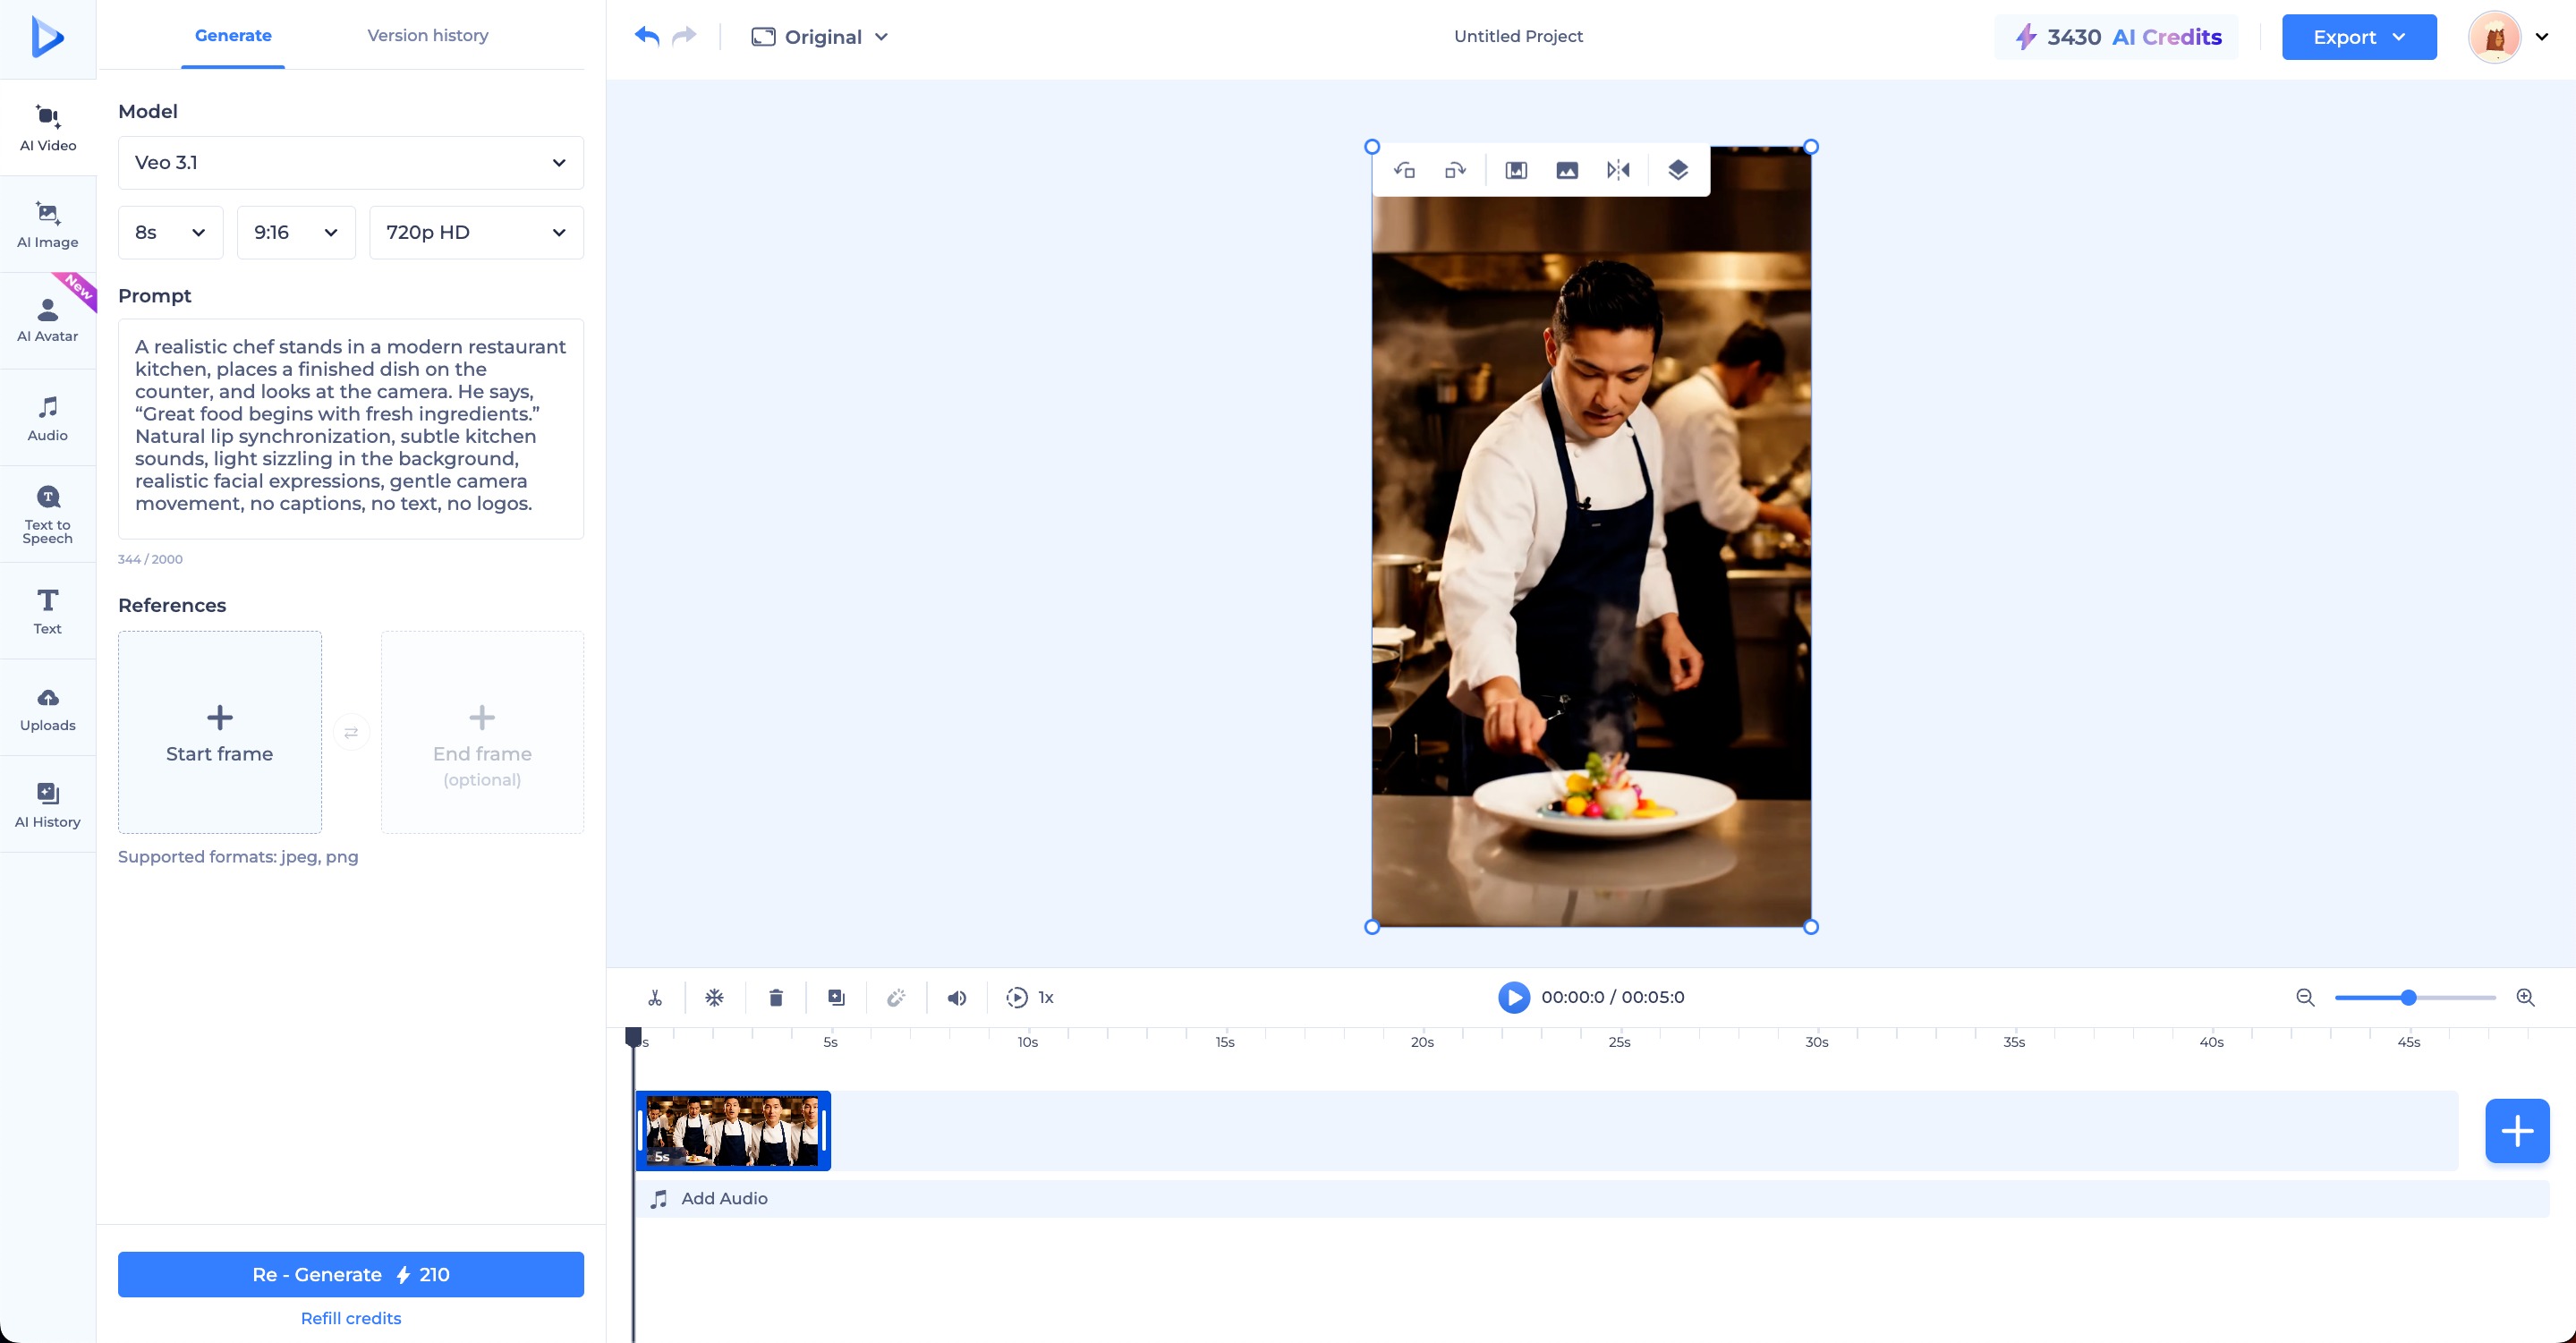
Click Generate to start. The credit cost is shown on the button before you confirm.
No model gets everything right. Veo 3 has both strengths and limits worth knowing before you commit to a workflow.
Works well:
Limitations:
The right access route depends entirely on what you’re trying to walk away with. Here’s a short evaluation sheet to help you make the right decision.
| Your situation | Best option | Why |
| You want to test Veo 3 at no cost | Google AI Studio free tier | Try the model without a subscription, though output is watermarked and daily generations are limited |
| You need a finished, publish-ready video without manual assembly | Renderforest | Handles script, scene matching, and export in one pass |
| You need voiceover, music, or templates alongside the video | Renderforest | Brings these into the same workflow instead of requiring separate tools |
| You are a developer building an automated pipeline | Vertex AI | Gives you programmatic access with usage-based pricing |
| You need cinematic control for professional film or ad production | Google Flow (Google AI Ultra) | Gives you the deepest manual control over the output |
| You produce content across multiple platforms and need export formatting | Renderforest | Exports directly in the formats each platform expects |
Which access route makes sense comes down to what you’re producing. Google AI Studio’s free tier works for testing the model or generating a single clip. Vertex AI fits automated workflows. Google Flow gives you manual control over a cinematic shot.
For most non-technical creators, the gap isn’t the model itself but everything around it: scripting, voiceover, matching scenes, exporting for the right platform. Renderforest gives you access to Veo 3.1 alongside that full production workflow, so you’re not assembling a finished video from raw clips on your own.
The tools now exist to get a finished video done without a production team behind you.
Veo 3 is Google DeepMind’s video generation model. It creates video from a text prompt, complete with synchronized audio, in one generation pass.
Google AI Studio offers a free tier with a limited number of daily generations. Output carries a watermark and doesn’t include commercial rights.
Each generation produces a clip up to 8 seconds long. Google Flow’s scene extension feature lets you chain clips into longer sequences.
Paid tiers generate dialogue, ambient sound, and sound effects natively alongside the video, in the same pass as the visuals. Free tier audio generation is limited or unavailable.
Commercial use requires a paid plan. The free tier covers personal, non-commercial projects only.
Veo 3.1 is the current production version, with stronger prompt adherence and first-and-last-frame control for setting a clip’s opening and closing frames.
Veo 3.1 is available as a model option inside Renderforest’s AI video generator, alongside a full production workflow for script, voiceover, and export. For a complete how-to-use Google Veo 3 tutorial inside that workflow, see the Renderforest section above.
Share this


Article by: Sara Abrams
Sara is a writer and content manager from Portland, Oregon. With over a decade of experience in writing and editing, she gets excited about exploring new tech and loves breaking down tricky topics to help brands connect with people. If she’s not writing content, poetry, or creative nonfiction, you can probably find her playing with her dogs.
Read all posts by Sara Abrams