AI
You typed something into an AI video tool, hit generate, and got a flat, generic clip that looked nothing like what you had in mind. It happens to almost everyone starting out. The easy assumption is that the tool isn’t good enough, but more often, the problem is the prompt.
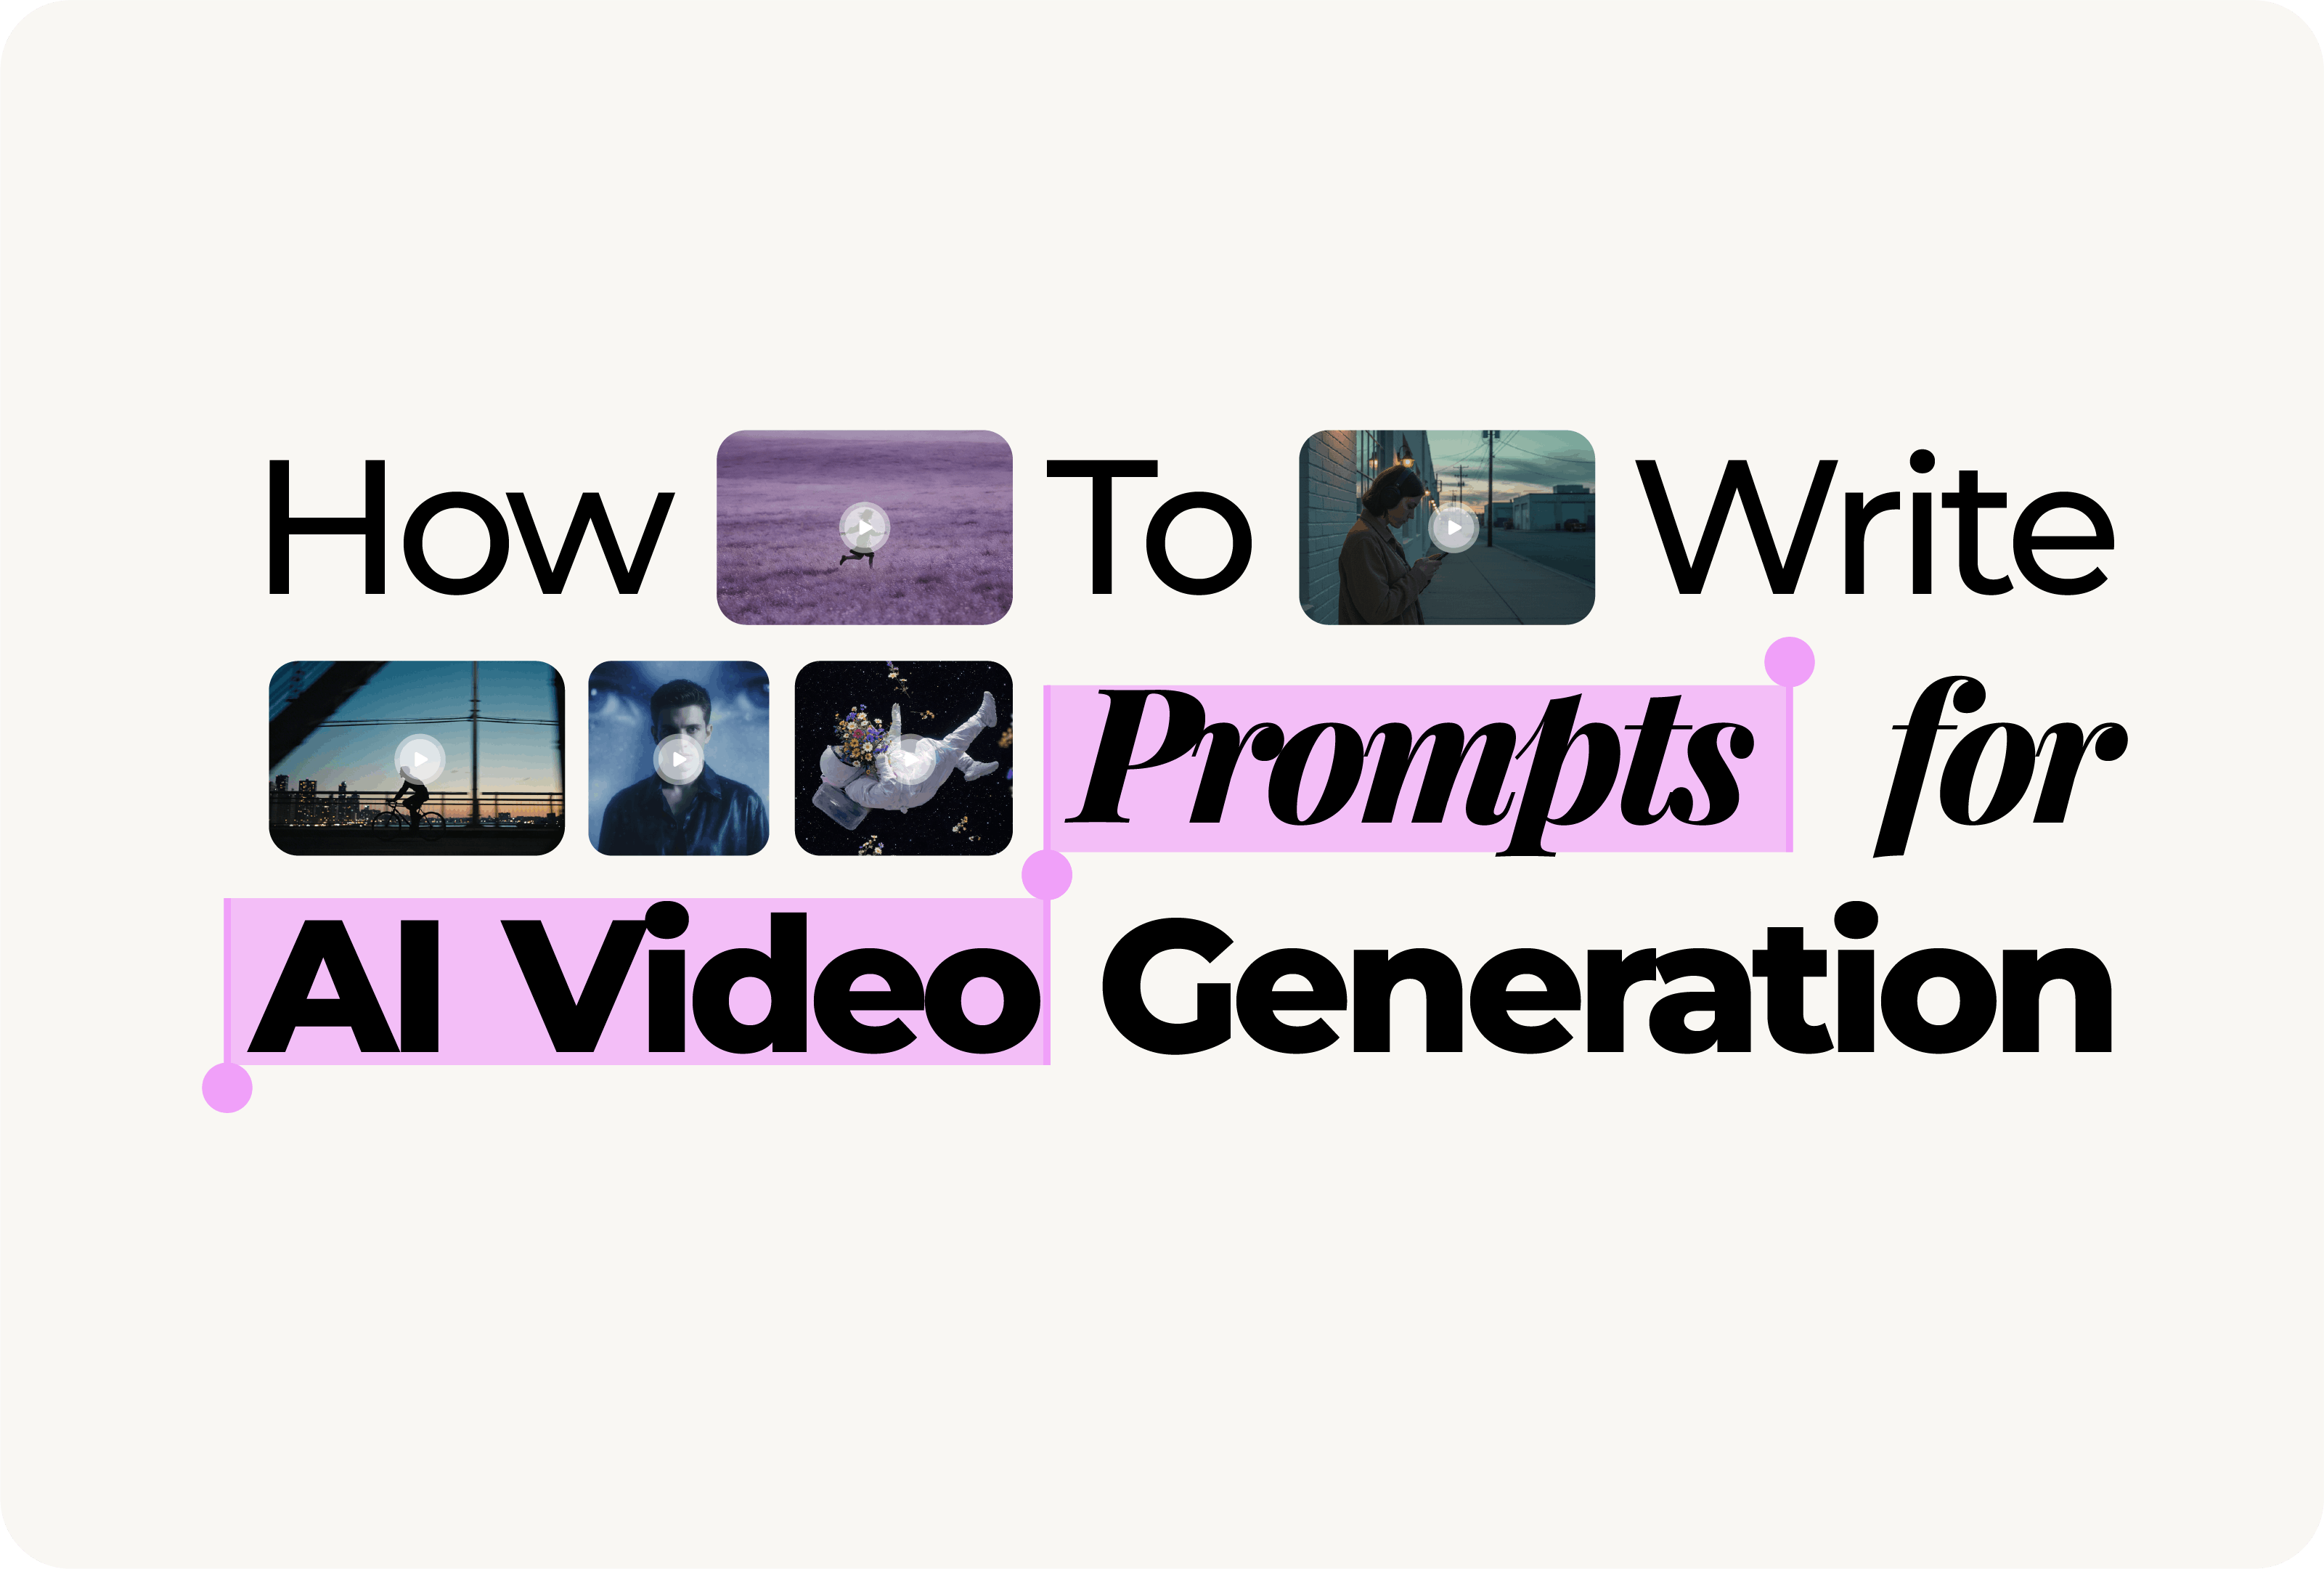
Knowing how to write prompts for AI video generation is a skill, and like most skills, it’s learnable. There’s a clear structure behind the prompts that produce sharp, intentional results, and once you see it, you can apply it right away. This article breaks that structure down.
An AI video prompt is a written instruction that tells an AI video generator what to create. The AI reads what you write and uses it to make decisions about what appears on screen, how the camera moves, what the lighting looks like, and what mood the video carries.
The more specific your instruction, the more the AI has to work with. A vague prompt leaves those decisions to chance. A detailed one puts you in control of the output.
Two people can use the exact same AI video tool and get completely different results. One walks away with something that looks professionally shot. The other gets a stiff, generic clip. The difference isn’t the tool, it’s what they typed into it.
The AI only knows what you tell it. If you give it very little, it fills in the gaps on its own, and those gaps rarely get filled the way you’d want. But when you give it the right details, the output changes noticeably.
Take the same subject, written two ways:
Same subject. Completely different video. The strong version tells the AI exactly how to frame the shot, what the light should feel like, and how the camera should move. That level of detail is what separates a usable result from a forgettable one.
Most strong AI video prompts follow the same basic formula:
Subject + Action, Setting, Camera movement, Lighting, Style/mood, Technical details.
You don’t need to hit every element every time, but the more of these you include, the more control you have over what comes out.
The subject is who or what is in the video. The action is what they’re doing. Both need to be specific.
“A dog” tells the AI almost nothing. “A golden retriever leaping through tall grass” gives it a breed, a movement, and a setting to create around. The AI can only work with what you give it, so the more precise you are here, the less it has to guess.
Setting tells the AI where the scene takes place: indoors or outdoors, time of day, weather, the feel of the location. All of these influence what the final video looks like.
“An office” and “a dimly lit office late at night with rain against the windows” are technically the same location, but they produce very different videos. The more context you give, the less the AI has to fill in on its own.
This is the element most people skip, and it’s usually why results look flat. Without a camera instruction, the AI defaults to a static shot, and a static shot rarely looks like a deliberate creative choice.
Here are the key terms most AI video tools recognize:
Speed changes the feel of a shot too. A slow tracking shot reads as calm. A fast pan feels urgent. Adding slow, moderate, or fast to your camera instruction costs you one word and noticeably affects the tone.
A few examples:
Lighting does a lot to set the mood of a scene. The same subject shot in golden hour light feels warm and nostalgic. The same subject shot under neon glow feels cold and stylized. One word can shift the whole atmosphere of the video.
Key terms to use in your prompts:
Two examples: “Soft diffused light in a minimal white studio” produces a clean, polished result. “Backlit silhouette against a deep orange sunset” produces something much darker and more dramatic. The subject is the same, but the lighting is doing all the work.
Style and mood are the tone layer of your prompt. They tell the AI what the video should feel like, not just what it should show.
Visual style words describe how the footage looks: cinematic, documentary, hyper-realistic, UGC-style, cartoon. Mood words describe the atmosphere: moody, ethereal, dreamlike, gritty, serene.
You can combine both in a single phrase. “Cinematic and moody” tells the AI you want something dark and polished. “UGC-style and serene” pulls it toward something casual and calm. A word or two is genuinely enough here.
Technical details are optional, but they give you more control over the look and format of the final video. These include lens types, quality indicators, and visual texture.
Lens types affect the feel of a shot: a 35mm lens produces a natural, wide perspective; an 85mm lens compresses the background and works well for close subjects; a macro lens fills the frame with fine detail. Quality indicators like 4K and shallow depth of field tell the AI you want a clean, high-resolution result. Film grain adds a textured, analog quality when that fits the style you’re going for.
Format specs belong here too. If you’re creating content for Instagram Reels or TikTok, adding 9:16 vertical to your prompt makes sure the output is the right shape from the start.
You won’t need all of these every time. But when you have a specific look in mind, one or two technical details can get you noticeably closer to it.
The examples below were all created in Renderforest. Each one shows the exact prompt used and the video it produced.
A cheerful short-haired blonde woman playfully interacts with the camera in a bright hallway, holding flowers, applying lip gloss, walking in a trench coat with a red gift bag, and presenting a red velvet cake.
A flat illustrated man with glasses watches a silver dollar coin move upward through arrows, sparkles, and rising bar charts to show financial growth.
A silhouetted man rides a bicycle across a metal bridge at twilight, moving calmly against a glowing city skyline.
A young man and woman sit in a minimalist 3D podcast studio. The man speaks into a microphone while the woman listens warmly, then he raises his hand to emphasize a point.
Most prompts don’t fail because of the tool or the topic. They fail for one of these reasons:
Everything covered in this article applies to any AI video tool. But it’s worth showing what this looks like in practice with a real example.
Renderforest takes plain-language input and handles the structural decisions for you: script generation, scene selection, and style matching all happen automatically based on what you type. You still benefit from writing a more specific prompt, but the tool does a lot of the heavy lifting.
There are four ways to create a video in Renderforest, depending on what kind of output you need.
After the video is generated, you can edit any element by describing the change in plain text. Adjust the scene, swap a character, change the atmosphere; the AI applies the update without you touching a timeline.
You now have a working framework for writing AI video prompts: subject, action, setting, camera movement, lighting, style, and technical details. You don’t need to master all of it at once. Pick up two or three elements you weren’t using before and apply them to your next prompt. The difference in output will be noticeable.
If you’re still getting comfortable with the process, Renderforest handles the structural decisions automatically, which takes some of the pressure off while you build the habit.
When you’re ready to try it, open any AI video tool and write a prompt using what you’ve learned here. Or give Renderforest a go and see what it generates from a simple input.
A good prompt tells the AI who or what is in the scene, what they’re doing, where the scene takes place, how the camera moves, and what the lighting and mood look like. To learn how to write good prompts for AI video generation, you don’t need to include every element every time. Just keep in mind that the more detail you provide, the more control you have over the output.
Long enough to cover the key elements: subject, setting, camera movement, lighting, and style. In practice that’s usually two to four sentences, or a structured list of details. Longer isn’t always better. A focused, well-organized prompt outperforms a long, scattered one.
Mostly yes. The core structure transfers well, but different tools interpret the same terms differently. Treat your prompt as a starting point and expect to make small adjustments depending on the tool you’re using.
The most widely recognized terms are slow push-in, tracking shot, dolly, pan, aerial, and orbit. Adding a speed modifier, slow, moderate, or fast, gives you additional control over the tone of the shot.
No. A basic understanding of a few camera and lighting terms goes a long way, but you don’t need a filmmaking background to get good results. The framework in this article covers everything you need to get started.
Share this
Article by: Sara Abrams
Sara is a writer and content manager from Portland, Oregon. With over a decade of experience in writing and editing, she gets excited about exploring new tech and loves breaking down tricky topics to help brands connect with people. If she’s not writing content, poetry, or creative nonfiction, you can probably find her playing with her dogs.
Read all posts by Sara Abrams