AI
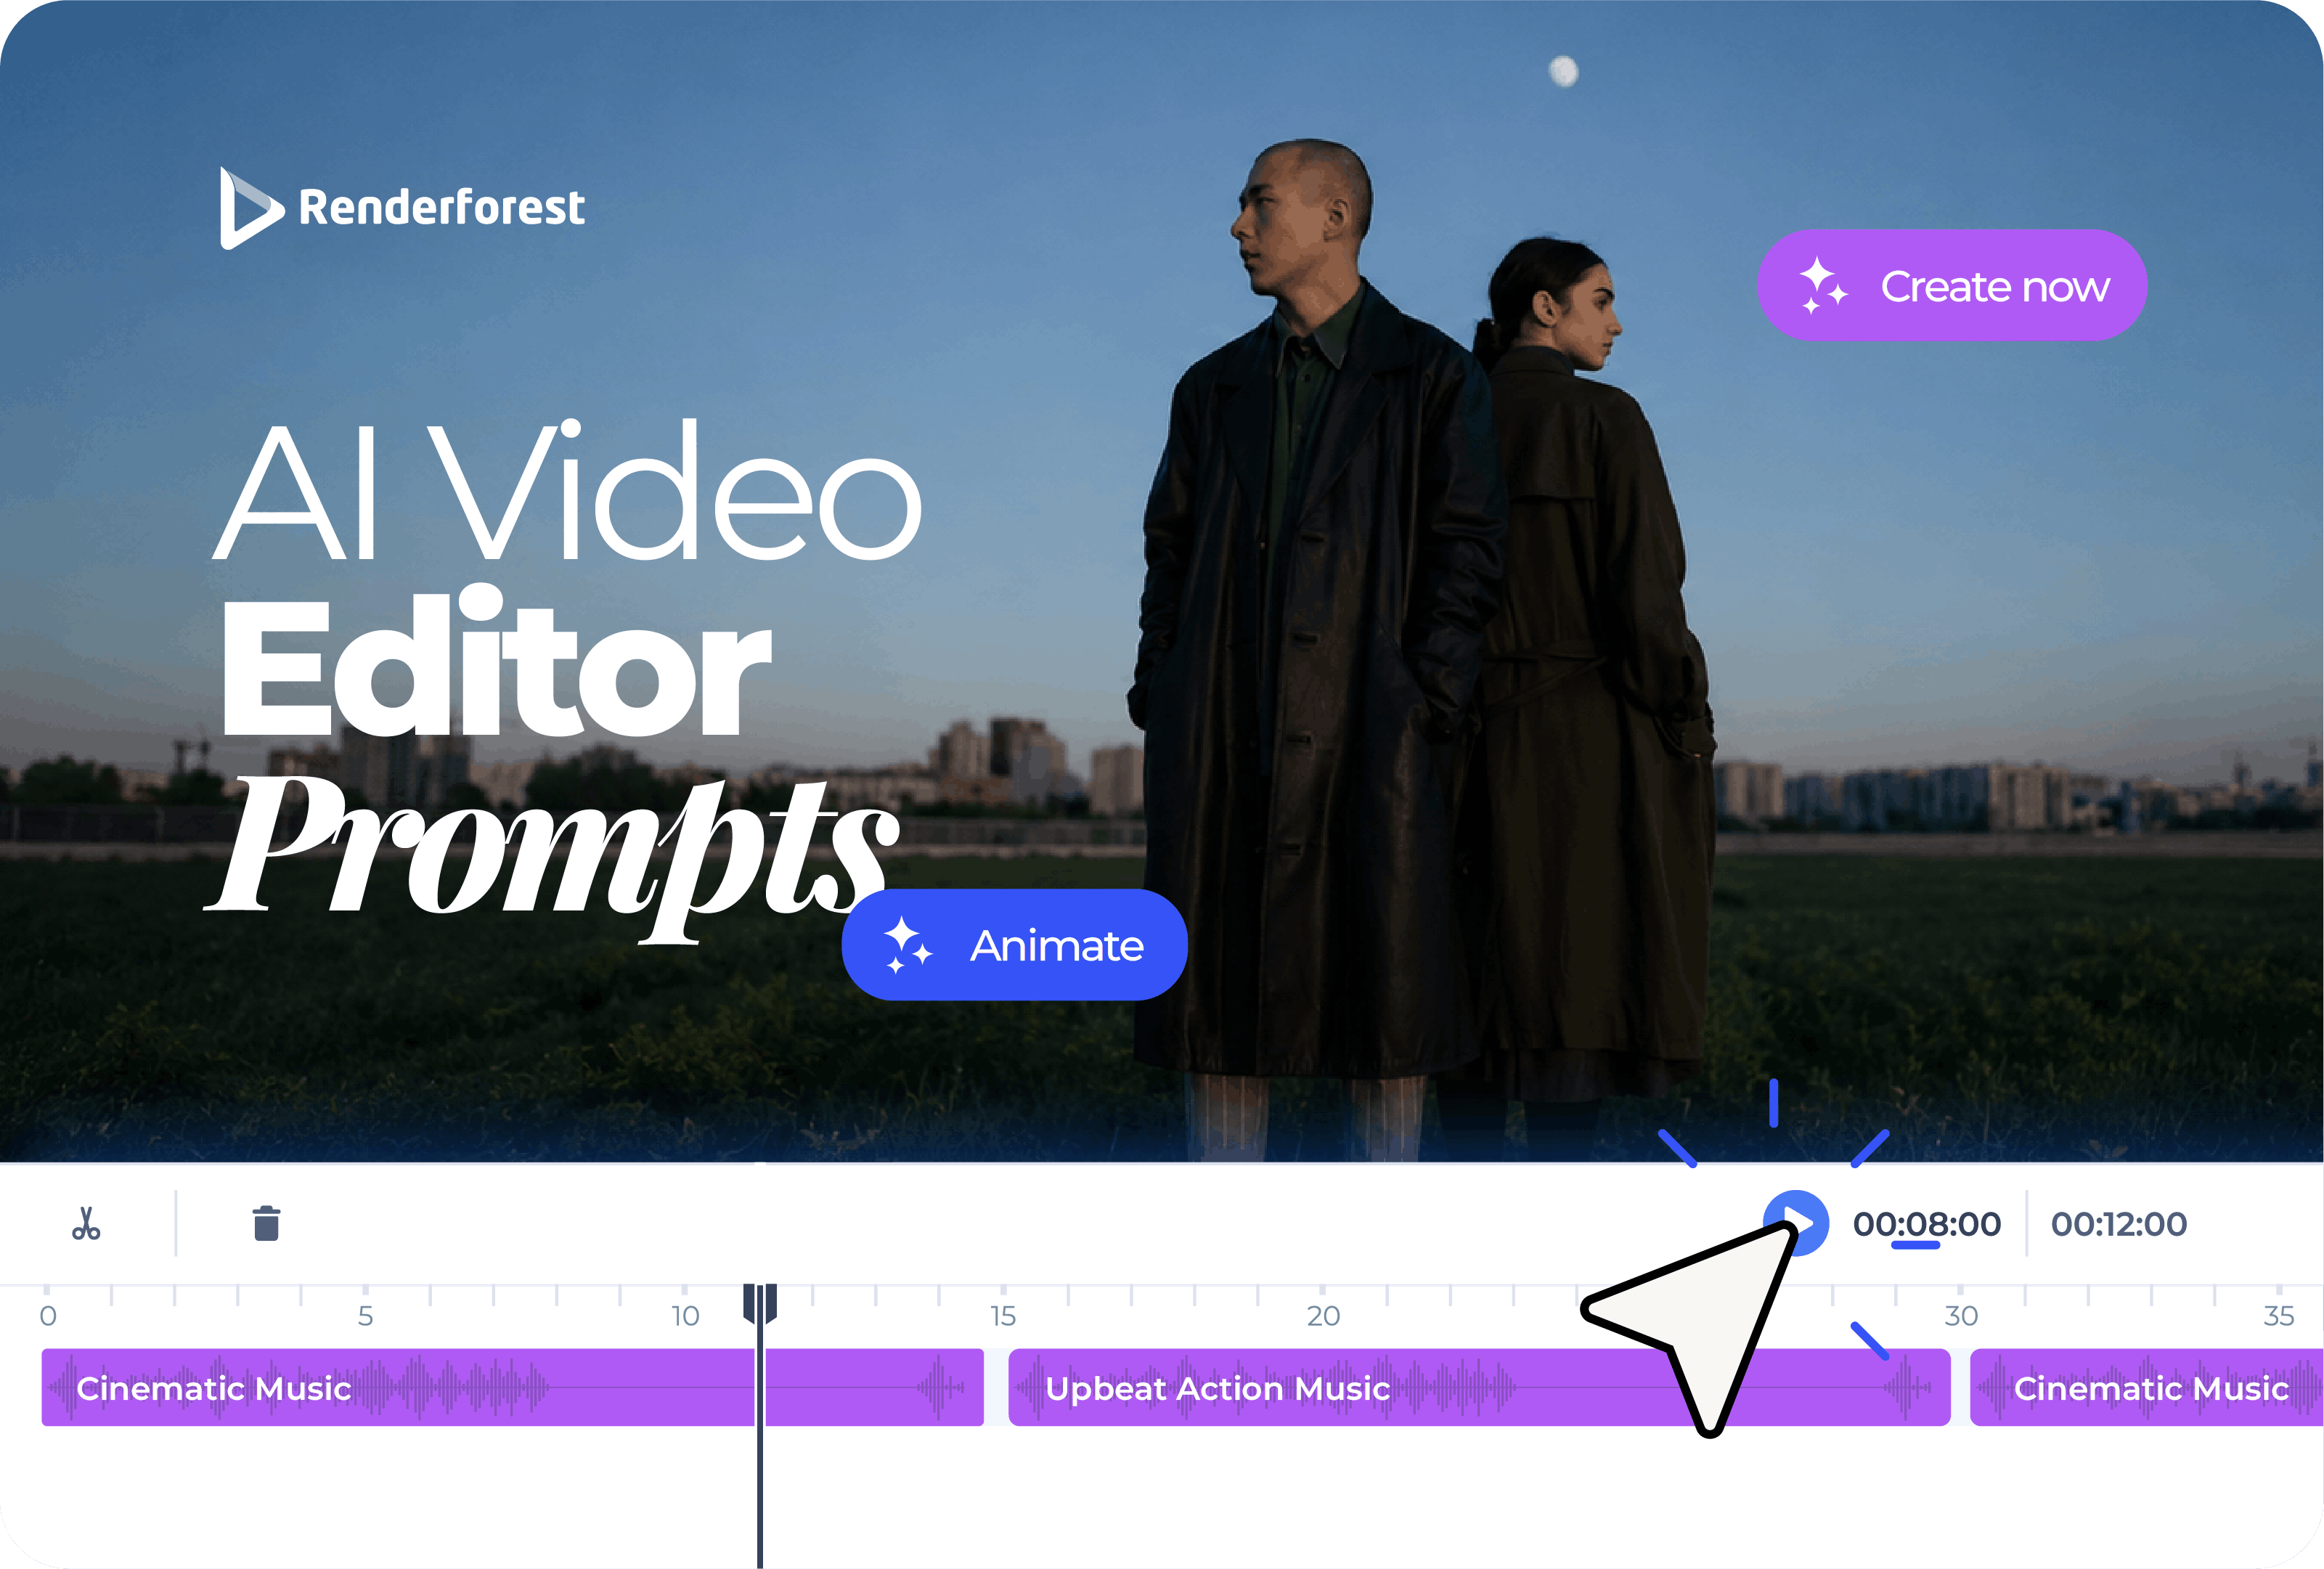
AI video editor prompts are text instructions that tell an AI video tool how to edit, improve, structure, or repurpose a video. You can use them to trim long footage, remove pauses, add captions, reframe a clip for social media, create a shorter version, generate B-roll ideas, improve pacing, add a CTA, or turn a script into an editable video draft.
A weak prompt sounds like this:
“Edit this video.”
A stronger prompt sounds like this:
“Turn this 3-minute product demo into a 45-second vertical video for Instagram Reels. Keep the main feature explanation, remove pauses, add captions, use a clear benefit-led opening, and end with the CTA: Try it free.”
The second prompt works better because it gives the AI an editing goal, a format, a length, a platform, and a message hierarchy.
That is the main rule: do not ask the AI to make the video better. Tell it what better means.
For a prompt-to-edit workflow, Renderforest’s AI Video Editor is the most specific product fit, while the AI Video Generator works better when you want to create a first video draft from a script, idea, image, or uploaded media before refining the edit.
A good AI video editor prompt does not say, “Make this video better.” It tells the editor what better means.
Better pacing. Clearer captions. A stronger hook. A vertical version for Reels. A calmer tone for a tutorial. A sharper CTA for an ad. The more specific your instruction, the more useful the AI edit becomes.
This guide gives you a practical prompt system for AI video editing, plus copy-paste prompts for social videos, product demos, ads, YouTube clips, testimonials, webinars, explainers, and AI-generated footage. Use them as starting points, then adjust the details to match your brand, audience, and platform.
The goal is not to collect prompts. The goal is to think like an editor.
Video editing is becoming more prompt-driven. Instead of only cutting on a timeline, creators can now use typed instructions to guide parts of the editing process.
Adobe Firefly, for example, supports editing and refining generated videos with text prompts, including directions for changing colors, replacing elements, changing backgrounds, adjusting lighting, and changing camera framing. Source: Adobe Firefly: Edit videos using text prompts.
VEED describes its AI video assistant as a tool that edits existing videos using typed instructions, while its text-to-video generator creates videos from prompts. That distinction matters because editing prompts and generation prompts solve different problems. Source: VEED AI Video Assistant.
The pattern is clear: video creation is moving toward a hybrid workflow. You still need the timeline, preview, captions, music, brand settings, and export controls. But prompts can speed up the first cut, the first structure, or the first platform version.
That does not mean prompts replace judgment. A prompt can create a draft. A human still decides what the video should say, what to cut, what to keep, and whether the final version feels credible.
AI video generation prompts and AI video editor prompts are not the same.
Generation prompts describe what to create. Editing prompts describe what to improve.
Runway’s AI video prompting guide focuses on video generation and recommends describing camera movement, scene, action, and details. It also recommends keeping prompts focused on one action and short video durations. Source: Runway AI Video Prompting Guide.
That advice is useful when you are generating a new clip. But if you are editing an existing video, the prompt needs a different focus.
A strong editing prompt starts with the video’s problem, not with a visual fantasy.
If you already have footage, ask what the footage needs. Does it need a stronger hook? A shorter runtime? Cleaner captions? Better pacing? A platform-specific crop? A CTA? A safer claim? That is where the useful prompt begins.
Use this formula when you want more predictable results:
Full prompt:
“Edit this 5-minute product demo into a 45-second vertical video for small business owners. Open with the strongest benefit, remove pauses and repeated lines, add readable captions, highlight the three key steps with short text labels, and end with ‘Start creating today.’ Keep the product UI accurate and do not add claims that are not stated in the original video.”
This is much better than a long cinematic prompt because it gives the AI a job.
Most weak prompts fail because they give the AI freedom in the wrong places.
A good prompt should not only say what to do. It should also define what to protect.
Use this control layer before writing any editing prompt:
This layer is what turns a prompt into creative direction.
A prompt is not a magic command. It is a brief. The more important the video is, the more boundaries your prompt needs.
Use this as your base:
Edit this [type of video] into a [length] [format] video for [platform/audience].

Goal:
[What the final video should accomplish.]

Keep:
[What must stay.]

Change:
[What should be trimmed, rewritten, reframed, captioned, reordered, or improved.]

Style:
[Brand tone, pacing, visual style, music, captions, colors.]

Constraints:
[What the AI should not change, exaggerate, or invent.]

Final output:
[What you want delivered: short version, captioned version, ad version, YouTube intro, etc.]
Example:
Edit this raw customer testimonial into a 40-second vertical video for LinkedIn and Instagram Reels.

Goal:
Make the customer’s main result clear in the first 3 seconds.

Keep:
The customer’s original words and the most specific outcome they mention.

Change:
Remove long pauses, repeated starts, and side comments. Add captions and a short headline.

Style:
Clean, trustworthy, professional, not overly dramatic.

Constraints:
Do not rewrite the testimonial in a way that changes the meaning. Do not add numbers or claims that the customer did not say.

Final output:
A captioned 40-second vertical video with a strong opening and one final CTA.
This template works because it gives the AI a target and a fence. It says what to improve, but it also says what not to break.
Use these prompts as templates. Replace the bracketed parts with your details.
Clean up this raw video while keeping the original message intact. Remove long pauses, repeated starts, filler sections, and moments where nothing useful happens. Keep the speaker’s natural tone. Add readable captions and make the pacing feel smoother without making the video feel over-edited.Edit this video down to [target length]. Keep only the parts that support the main message: [main message]. Remove repetition, slow setup, and unnecessary context. Make sure the final video still has a clear beginning, middle, and ending.Improve the pacing of this video. Trim dead air, shorten slow transitions, remove unnecessary pauses, and tighten the sequence so the viewer understands the message faster. Keep important explanations intact.Find the strongest sentence or visual moment in this video and move it closer to the beginning. Create an opening that makes the viewer understand why they should keep watching within the first 3 seconds.Edit this video so the main idea is easier to follow. Add short text labels where needed, remove confusing sections, and make the sequence flow in a logical order. Do not add new claims or information that is not in the original video.Turn this video into a [30/45/60]-second vertical video for [Instagram Reels/TikTok/YouTube Shorts]. Open with the most interesting moment, remove slow setup, add captions, keep the subject centered, and end with a clear takeaway.Find three self-contained clips from this video that could work as short social posts. Each clip should have a clear hook, one main idea, and a natural ending. Format each one vertically and add captions.Edit this video for TikTok. Use a fast hook, remove anything that delays the point, add captions that are easy to read on mobile, and keep the pacing energetic but not chaotic. The final video should feel native to TikTok, not like a cropped YouTube video.Edit this video for LinkedIn. Keep the tone professional and useful. Open with the strongest business insight, add clean captions, remove informal side comments, and end with one practical takeaway.Create a short teaser from this video. Do not reveal everything. Show the most interesting setup, include one strong line, and end with a reason to watch the full version.Turn this product demo into a [60/90]-second walkthrough. Remove loading time, repeated clicks, and slow navigation. Add short text labels for each step. Keep the interface accurate and do not imply features that are not shown.Edit this demo to focus only on [feature name]. Remove unrelated sections. Start with the problem this feature solves, show the feature in action, and end with the practical result for the user.Create a product launch clip from this footage. Open with the main benefit, show the product in use, add concise feature labels, and end with the CTA: [CTA]. Keep the tone [professional/playful/premium/simple].Edit this into a before-and-after product video. First show the problem or old workflow, then show the improved result with [product/feature]. Make the difference obvious without exaggerating the outcome.Edit this product demo for beginners. Slow down only the important steps, add short labels, remove technical jargon where possible, and make the sequence feel easy to follow.Turn this video into a 15-second ad. Use this structure: problem, product, benefit, CTA. Keep the first 2 seconds strong. Add captions and a clear final frame with: [CTA].Edit this into a 30-second ad for [audience]. Open with the pain point, show the solution, include one proof point if it appears in the footage, and end with a direct CTA. Do not add unsupported claims.Re-edit this video so it focuses on benefits instead of features. For every feature shown, add or emphasize why it matters to the viewer. Keep the language simple and specific.Edit this raw creator video into a UGC-style ad. Keep the natural phone-recorded feel, remove awkward pauses, add captions, highlight the main product benefit, and end with a simple CTA. Do not make it feel overly polished.Edit this video to promote this offer: [offer]. Start with the viewer’s problem, show what they get, add urgency only if it is true, and end with the CTA: [CTA].Create a 5-second intro for this video. It should establish the topic quickly, match the channel style, and lead directly into the content. Do not make the intro feel longer than necessary.Edit this YouTube video to improve retention. Remove repetitive explanations, slow transitions, long pauses, and sections that do not support the title. Keep the structure clear and do not remove important context.Organize this video into clear sections. Add short section titles, improve transitions between ideas, and make the order easier to follow. Keep the speaker’s original message intact.Create a 45-second trailer for this long video. Use the most compelling moments, avoid giving away every point, and end with a reason to watch the full version.Edit this tutorial so each step is clear. Add step labels, remove waiting time, zoom in on important actions, and keep the pacing slow enough for beginners to follow.Find five short clips from this webinar that can work as standalone social videos. Each clip should answer one question or explain one idea. Add a short title, captions, and a clean ending.Create a 90-second recap of this webinar. Include the main topic, three key takeaways, and the final recommendation. Remove Q&A sections unless they contain a strong standalone insight.Find the strongest quotes in this podcast and create short vertical clips. Each clip should open with the quote or the idea behind it. Add captions and speaker labels.Create a highlight reel focused on [guest name]. Include their strongest insights, remove host setup unless needed, and make the final video feel like a compact expert profile.Create a teaser for the full episode. Use one surprising or useful moment, keep it under [length], and end with a line that encourages viewers to watch or listen to the full conversation.Edit this testimonial into a 45-second trust-building video. Keep the customer’s original meaning, remove pauses and side comments, add captions, and open with the strongest result or emotion.Turn this customer interview into a short case study video. Structure it as: problem, solution, result. Use only claims that the customer actually says. Add captions and a clear customer name/title card if provided.Edit this testimonial so it feels natural and credible. Remove distractions and long pauses, but keep small human moments that make the speaker feel real. Avoid over-polishing.Find the strongest quote in this testimonial and build the video around it. Open with that quote, add context after it, and end with the customer’s final takeaway.Create a 20-second proof clip from this testimonial. Focus on one specific result, benefit, or change. Add captions and keep the edit simple and trustworthy.Turn this script into a short explainer video. Create a clear scene structure, use simple visuals, add voiceover, include captions, and end with the CTA: [CTA]. Keep the tone [friendly/professional/premium/educational].Turn these rough notes into a 60-second brand video. Structure the story around who we help, what problem we solve, how we solve it, and what viewers should do next. Use clear language and avoid generic claims.Edit this into a homepage video. Keep it clean, concise, and easy to understand without sound. Add minimal text, avoid clutter, and make sure the visuals support the main website headline.Create a short event promo from this footage or script. Include the event name, date, audience, key benefit, and CTA. Keep the pacing energetic but clear.Create an educational explainer from this content. Break the topic into simple sections, add labels for key ideas, use supportive visuals, and keep the tone clear and practical.Review this AI-generated video and create a stronger opening. Trim any unstable first frames, move the clearest visual moment earlier, and add a short title or caption that explains the idea immediately.Edit this AI-generated clip into a usable social video. Remove weak or strange frames, keep only the most stable motion, add captions or context text, and end on the cleanest frame.Identify small visual artifacts in this AI-generated clip and suggest edits to reduce attention on them. Use cropping, cutaways, shorter cuts, overlays, or replacement shots where appropriate. Do not hide major errors that affect trust.Turn this AI-generated concept video into a 15-second ad. Add a benefit-led headline, trim abstract sections, include product or brand context, add music, and end with a clear CTA. Flag any inaccurate or misleading visuals that should be regenerated.Edit this AI-generated video so it feels more aligned with [brand name]. Use brand colors, typography, pacing, caption style, music direction, and a final CTA. Do not change the core message.Reframe this video for vertical viewing. Keep the main subject centered, move captions into safe zones, remove horizontal dead space, and make sure the video still works on a phone screen.Create a square version of this video for feed posts. Reposition the subject, resize captions, and make sure no important visual details are cut off.Edit this video so it works without sound. Add captions, use clear visual cues, include text for important context, and make the first frame understandable on its own.Edit this video into a website hero loop. Keep the motion subtle, remove distracting text, make the first frame clean, and ensure the video does not compete with page copy or CTA buttons.Edit this video for use in a presentation. Slow the pacing slightly, make text larger, remove distracting effects, and keep the message easy to understand on a projector or shared screen.Use this table when you know what kind of video you are editing but not what to ask for.
The table is useful because it starts with the editing job, not the tool. That is how real editors work. They ask what the footage needs before they ask which feature to use.
Bad prompts are vague. Better prompts define the job.
The more specific prompt almost always wins.
“Make it professional” is not direction. “Use a clean, minimal edit with readable captions, slower pacing, and brand colors” is direction.
Do not begin with the tool. Begin with the job.
Instead of:
“Use AI to edit this video.”
Write:
“Create a 45-second product explainer that helps a first-time viewer understand how this feature saves time.”
The second version tells the AI what the edit is supposed to accomplish.
A useful prompt can define the editing lens:
Act as a social video editor. Turn this video into a short, captioned clip for Instagram Reels. Prioritize hook, pacing, and mobile readability.Or:
Act as a product marketing editor. Turn this demo into a concise feature walkthrough for first-time users. Prioritize clarity and accuracy.The role is not there for style. It tells the AI what kind of judgment to apply.
Many prompts only say what to remove. That can create edits that lose the point.
Add instructions like:
Keep the customer’s exact result statement.Keep all steps needed to understand the workflow.Keep the product UI accurate.Keep the sentence where the speaker explains the main benefit.What you preserve is often more important than what you cut.
This is especially important for ads, testimonials, product videos, and AI-generated footage.
Use constraints like:
Do not add claims that are not in the original video.Do not exaggerate the before-and-after result.Do not change the product interface.Do not remove pauses that make the speaker sound natural.Do not make the testimonial sound scripted.Constraints protect trust.
When you are not sure which direction is best, ask for variations:
Create three possible edits from this footage: one educational, one promotional, and one short social version. Explain what each version is best for.This is useful when one source video could become several assets.
One giant prompt can become messy. Better edits often come from a sequence:
Example chain:
First, analyze this video and list the strongest moments for a 45-second social clip.Now create a structure for the best clip: hook, context, main point, CTA.Now edit the video according to that structure and add captions.Now check whether the final version is accurate, readable, and platform-ready.Prompt chaining works because editing is not one decision. It is a sequence of decisions.
Renderforest is useful when prompts need to become an editable, publishable video rather than a one-off AI output.
The AI video generator lets users start with text, an image, or a script, choose a model, style, and format, then refine generated visuals, voiceover, and scenes before export. Source: Renderforest AI Video Generator.
The AI video editor is the more natural landing page for this article because the topic is not only “generate a video.” It is how to direct the edit: structure the scenes, adjust text, add music, refine visuals, and turn the output into something you can publish. Source: Renderforest AI Video Editor.
The difference matters.
A prompt can give you a draft. Editing turns the draft into a real asset.
For example, a small business might start with a short script, use a prompt to create a first video draft, then refine the scenes, captions, music, and CTA until it becomes a social ad, explainer, or homepage video. That is a more realistic workflow than expecting one prompt to create a perfect final video.
Before you run a prompt, check whether it includes these details:
If your prompt includes all of these, the first output will usually be much closer.
If it does not, expect the AI to guess. Sometimes it will guess well. Often it will not.
A prompt can get you close. It should not be the final quality check.
Before you publish the AI-edited video, review:
This step is where human judgment matters most.
Google’s guidance for generative AI features says optimizing for AI Search is still SEO, and that pages should be technically accessible, indexable, snippet-eligible, and valuable for people. Source: Google Search Central: Optimizing for generative AI features on Google Search.
That same principle applies to the article itself: the value is not in dumping prompts on the page. The value is helping the reader understand how to use them well.
AI video editor prompts are text instructions that tell an AI video tool how to edit, structure, or improve a video. They can be used for trimming, captions, reframing, B-roll, pacing, repurposing, voiceover, branding, and platform-specific exports.
Write a good AI video editing prompt by describing the goal, source video, target format, audience, editing instructions, style, CTA, and constraints. The more specific the prompt, the better the AI can understand what kind of edit you want.
A strong example is: “Turn this 3-minute product demo into a 45-second vertical video for Instagram Reels. Open with the main benefit, remove pauses, add captions, highlight three key steps, and end with the CTA: Try it free.”
Yes. Some AI video tools can edit videos from prompts, such as trimming footage, changing aspect ratio, adding captions, modifying backgrounds, adjusting visual details, or creating a structured draft. The exact capabilities depend on the tool.
Yes. AI video generation prompts tell the AI what to create from scratch. AI video editing prompts tell the AI what to change, trim, improve, reframe, or repurpose in an existing video.
Include the platform, target length, aspect ratio, audience, hook, caption style, pacing, CTA, and any content that must stay accurate. For example: “Create a 30-second vertical TikTok version with captions, a fast hook, and one clear takeaway.”
Yes. You can use prompts to create intros, trailers, chapter-like sections, Shorts from long videos, cleaner tutorials, or tighter YouTube edits. You should still review pacing and context manually.
Yes, but be careful. Ask the AI to remove pauses and improve clarity while preserving the customer’s original meaning. Do not let the AI add claims, numbers, or outcomes the customer did not say.
A bad prompt is vague. Prompts like “make this better,” “edit this professionally,” or “make it viral” do not give enough direction. Replace them with specific instructions about length, platform, audience, message, style, and constraints.
No. Prompts can speed up the first edit and reduce repetitive work, but manual review still matters. A human should check message clarity, accuracy, brand fit, pacing, captions, and whether the final video feels trustworthy.
AI video editor prompts work best when they sound like creative direction, not wishes.
Do not ask the AI to “make it better.” Tell it what better means: shorter, clearer, more useful, more branded, more trustworthy, or better suited to a specific platform.
The best prompt gives the AI a job, a viewer, a format, a message, and a boundary. That is how you turn a rough video into something worth publishing.
Share this


Article by: Liana Ziroyan
Liana is a marketing professional with 11 years of experience in digital marketing, content, and product communication. She has a strong eye for visual storytelling and loves turning ideas into engaging campaigns that connect with audiences. With her experience across branding, creative content, and user-focused messaging, Liana enjoys finding simple, effective ways to make products feel clear, useful, and exciting.
Read all posts by Liana Ziroyan