AI
Are you a content creator, marketer, or simply a casual videographer? Either way, knowing how to add music to videos is a skill that is well worth adding to your repertoire.
With Renderforest, it only takes a matter of minutes for you to edit videos with the addition of the perfect soundtrack. Adding music to a video generates significantly higher engagement on social media platforms.
Music also plays an essential role in capturing and retaining audience attention in the competitive arena of social media. The emotional appeal, mood enhancement, and overall aesthetic of music contribute to a more immersive viewing experience. As social media algorithms prioritize content that keeps users engaged, the addition of music allows you to maximize the impact of your videos.

If you’re wondering how to add music to YouTube videos or Instagram clips, you can do it all in just a few taps with Renderforest’s video editor. Where simple ideas often bypass sophisticated content, Renderforest stands out as the ultimate tool that makes adding music to your videos an easy experience. Our smooth interface and various templates provide a user-friendly environment for both beginners and seasoned creators alike. You can even make things interesting with an audio waveform generator or a music visualizer online.
To make your life easier, we’ll show you how to add music to videos online with our step-by-step guide.
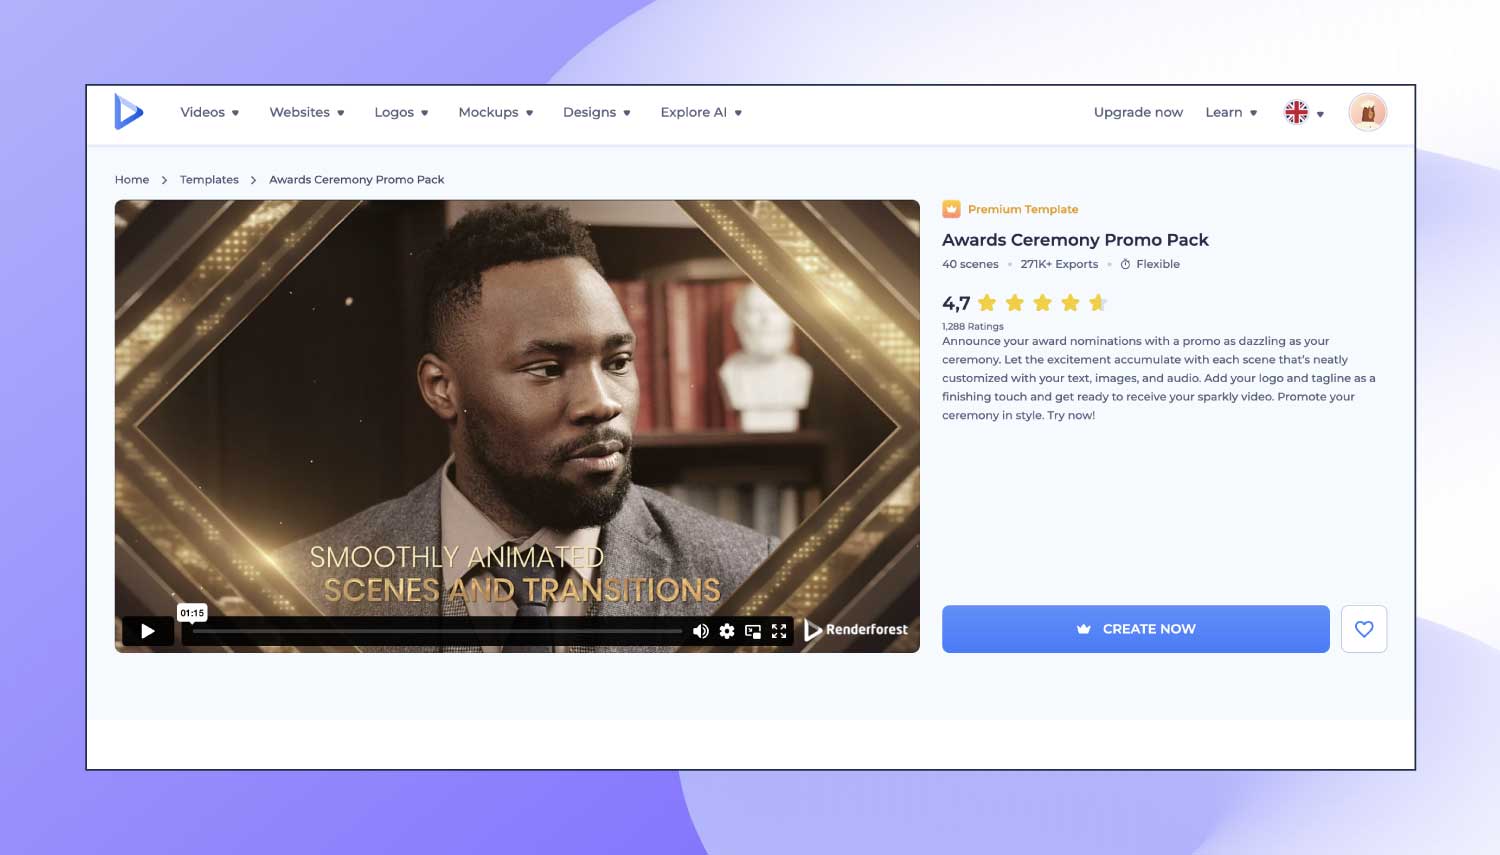
With Renderforest’s user-friendly interface, you are welcomed into a world of possibilities where video creation becomes accessible for both beginners and seasoned creators. You can explore a number of templates tailored to every need. Whether you’re after a captivating promotional video or an expressive storytelling piece, Renderforest’s diverse range of templates covers it.
Once you’ve chosen your template, you can start creating your video. Whether you’re aiming for a corporate presentation or an engaging social media promotion video, your selected template is the foundation on which your ideas will come to life.
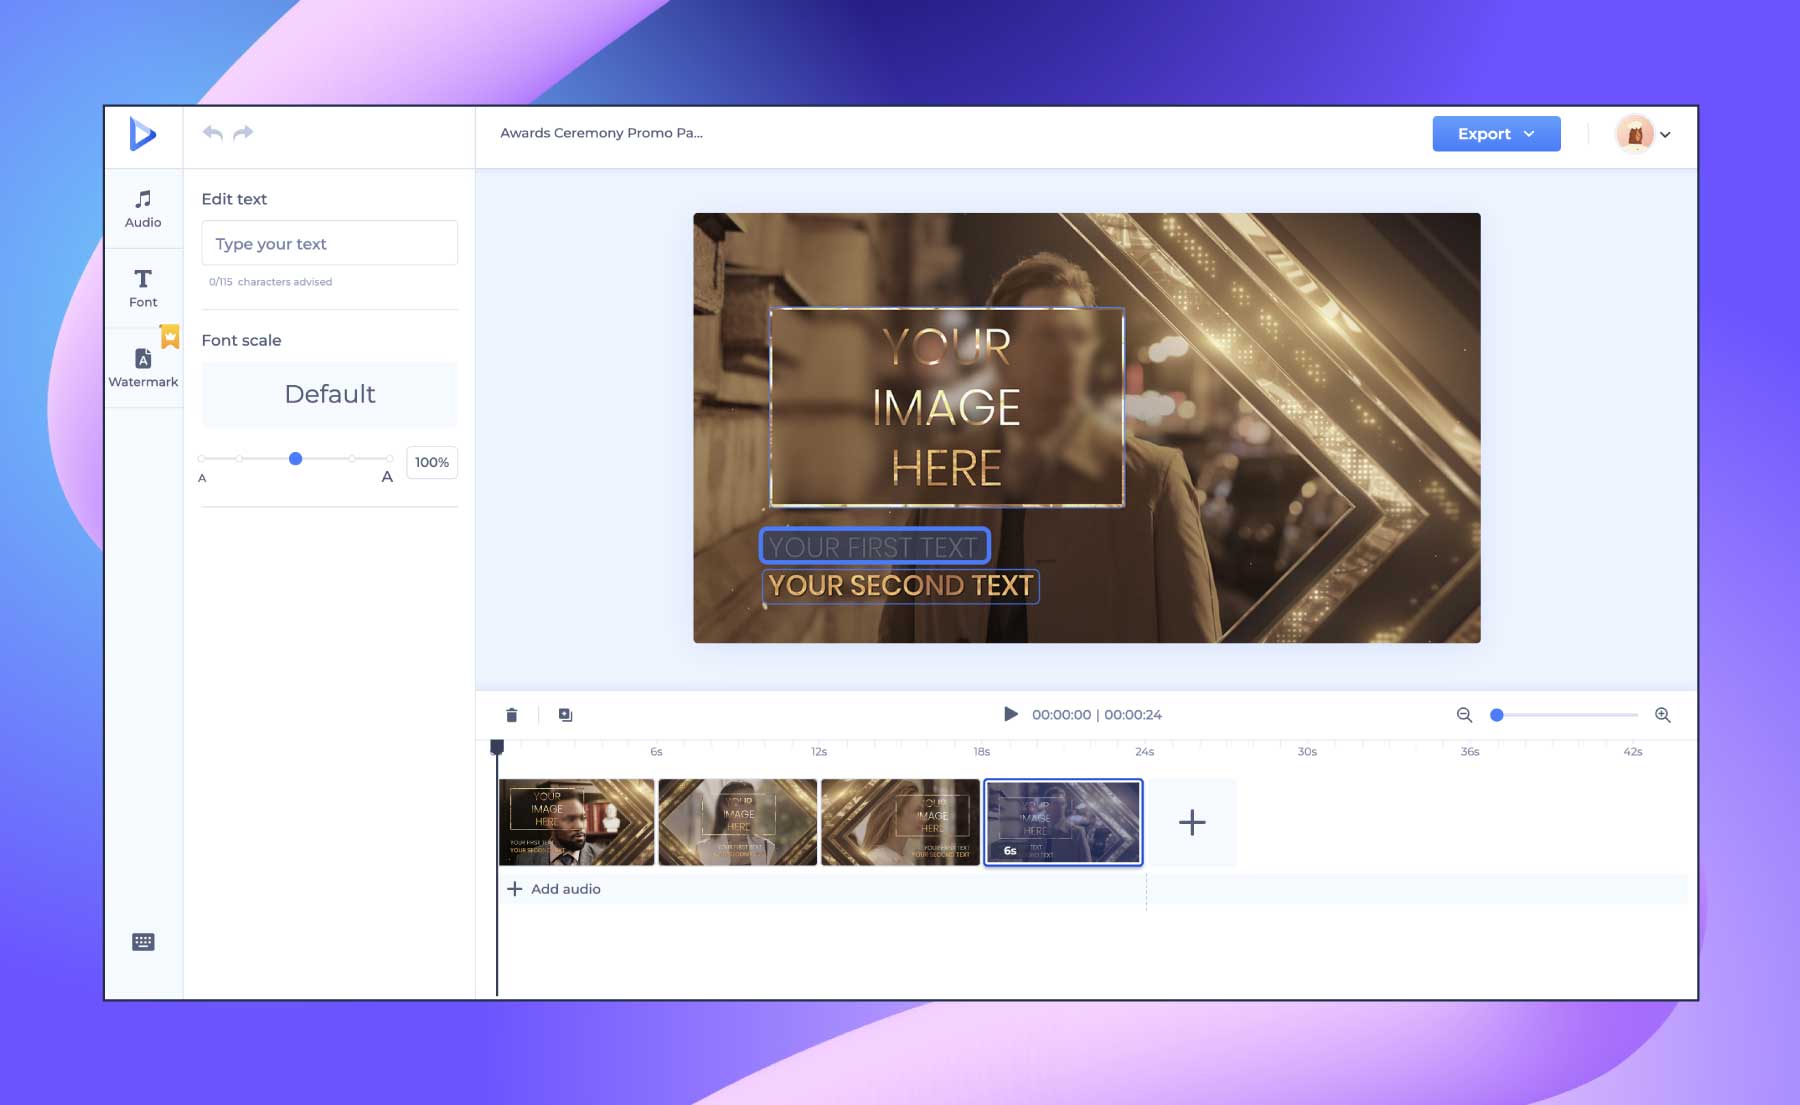
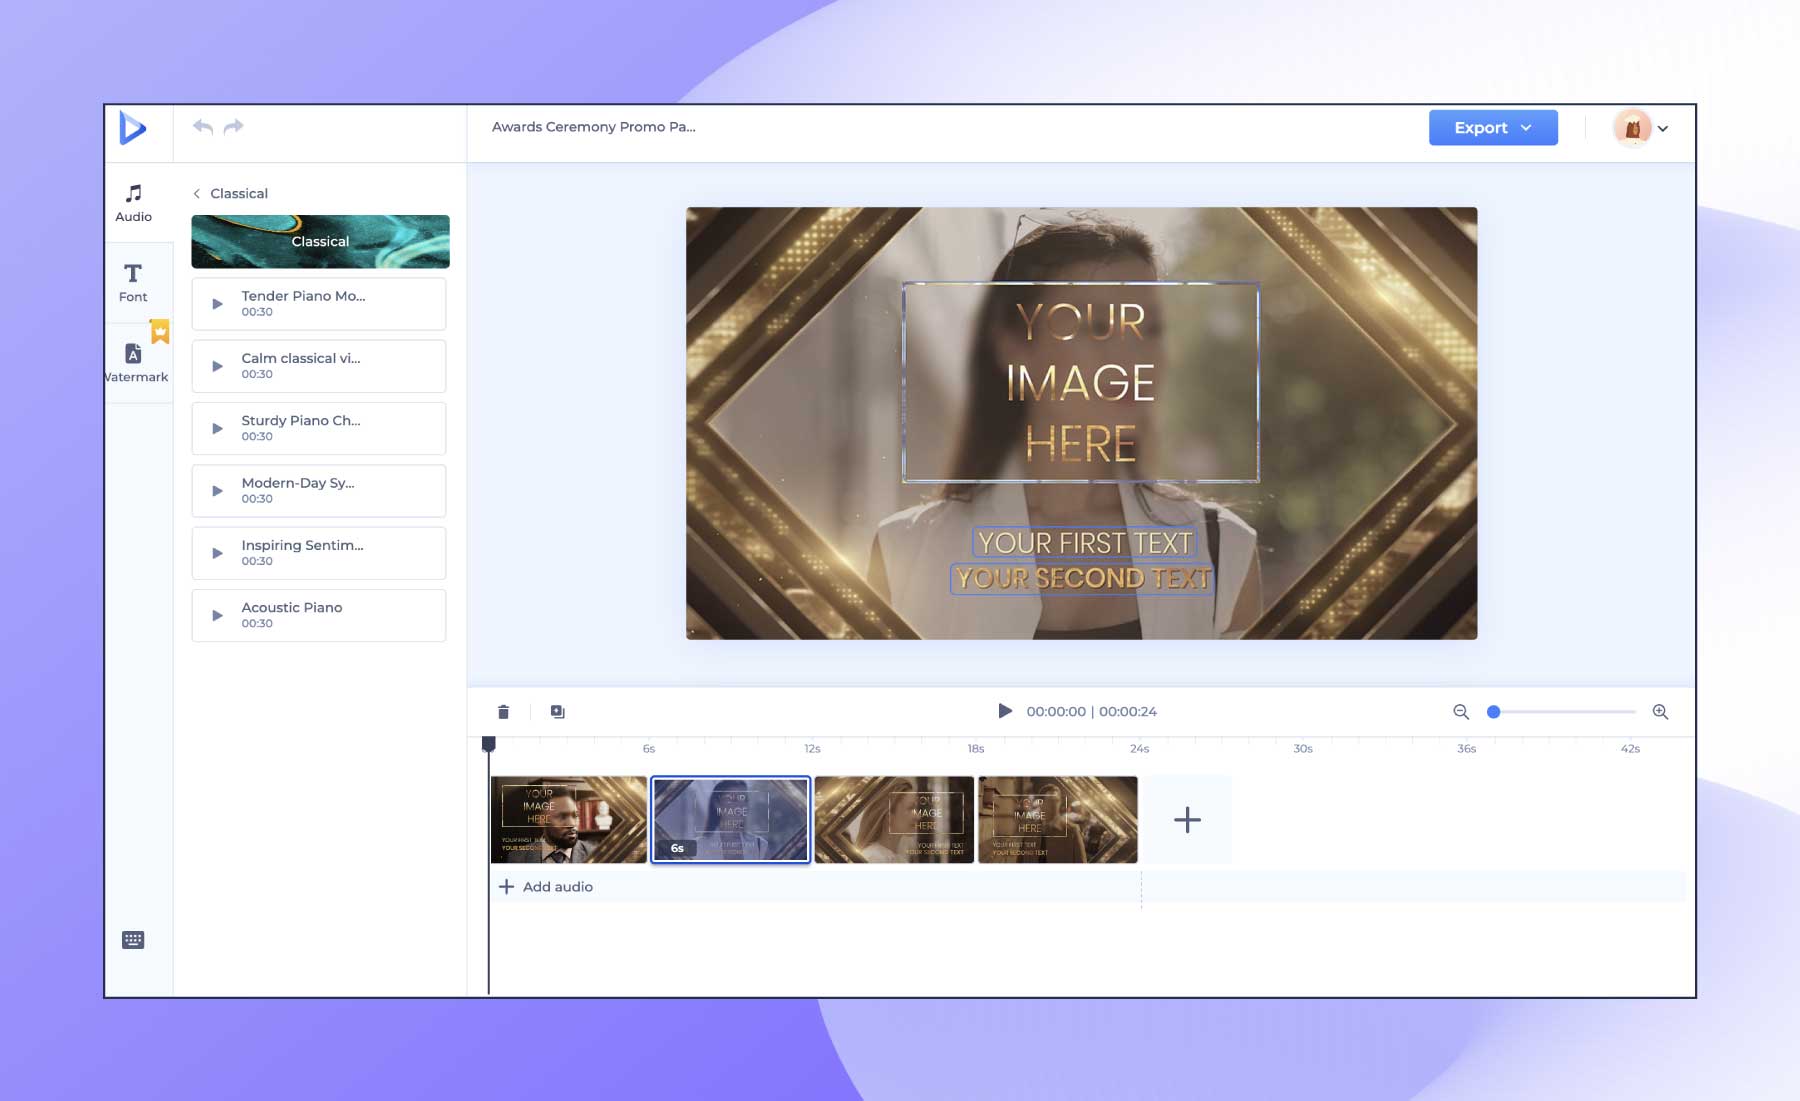
Begin by customizing the text elements within the template to convey your message effectively.
Renderforest allows you to tailor the text—be it a tagline or a detailed description—to suit the narrative you wish to deliver. You can increase the visual appeal by choosing transition styles and fonts that resonate with your brand identity. When it comes to transition styles and fonts, your customization options are virtually endless.
Suppose you want to immerse your video in your brand’s color palette. Renderforest’s color customization feature ensures that every frame aligns with your brand aesthetics, creating a consistent visual experience.
Personalize your video further by adding or generating voiceovers. Whether it’s a narration to guide your audience or the voice of a brand ambassador, Renderforest accommodates many different audio needs. For a touch of originality, users can upload their own music tracks, allowing for a truly customized audio experience.
This way, you can align your video with your brand’s sonic identity. Renderforest boasts a rich library of royalty-free music, catering to varied moods and themes. You’ll be sure to find the perfect musical backdrop that enhances your project’s overall appeal.

Renderforest offers a preview feature, allowing you to witness your creation in its entirety before finalization. You’ll have the chance to ensure that every frame matches your vision and make refinements if necessary.
Once you’re satisfied, downloading your video is straightforward. Renderforest provides a range of format options, catering to different platforms and distribution channels.
Adding the right audio track to your YouTube videos can significantly enhance their appeal and keep your audience engaged. Here’s a step-by-step guide to help you add background music to your YouTube videos:
By following these steps, you can enhance your YouTube videos with music, making them more engaging and enjoyable for your audience.
Adding music to an Instagram video can make it more appealing and engaging for your audience. Here’s a step-by-step guide on how you can add music to your Instagram video:
The process of adding music to video online varies from one platform to another, although each method is straightforward in its own way. Here’s what the process looks like on Windows, Mac OS, Instagram, Android, and iOS:
Besides iMovie, you also have a number of powerful video editing software that work for Mac (and Windows, too!) you can use to add music to a video.
Just as ‘iMovie’ is for Mac, ‘Windows Movie Maker’ is a free built-in video editor for Windows. It offers a vast number of features, and you can use it to add audio to video on your computer.
There are a number of software programs that you can install on Windows to proceed with adding background music to your video. Once you finish editing and adding music as well, you can export the video clip.
Here’s a list of popular, top-rated, and most frequently used editing software for Windows:
We don’t always have our PCs or laptops with us, do we? But we almost always keep our phones at hand. So, what if you want to add to your video in a short while, and all you have with you is your smartphone?
The best way to search for offline Android video apps is through the Play Store. It offers a wide variety of options to add audio to a video. You can find two of the top-ranked free and easy-to-use video apps for Android below.
We did a little bit of research and came up with some of the most popular apps for iOS in case you’re wondering how to add music to your video on your smartphone.
The good news is that some of the high-ranking apps are in fact working for both iOS and Android. Adobe Premiere Rush CC (iOS/Android) is one of the most popular editing programs. With this app you add music to a video for free with a variety of pro-level features. With Adobe, you don’t need to be a professional cinematographer to reach the wanted results with your videos. The software can help you edit and design professional motion graphics videos.
Renderforest avoids the complexities of dealing with copyright issues with its extensive library of royalty-free music tracks. Renderforest’s catalog spans various genres, moods, and tempos. The result is a one-stop solution for all your video soundtrack needs. You’ll have the freedom to choose from a vast selection without worrying about legal intricacies.
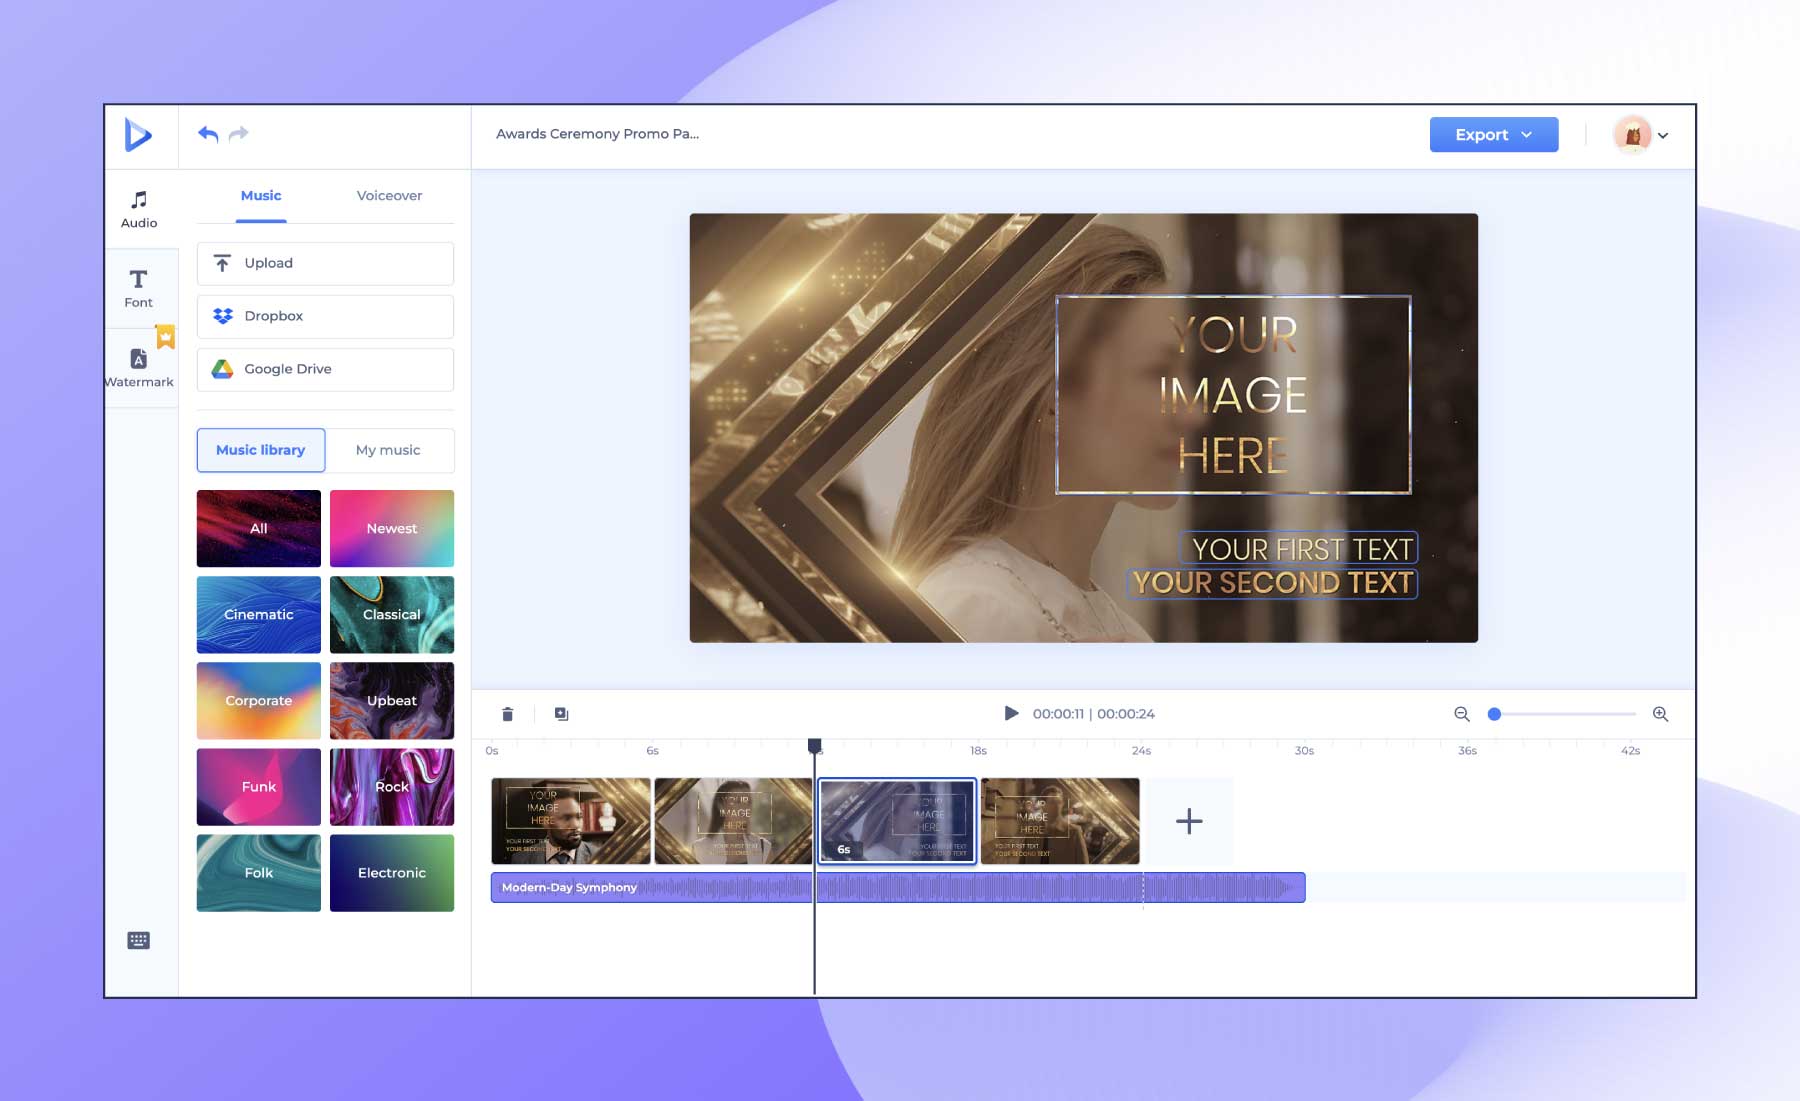
Here, you can see how easy it is to choose the perfect soundtrack within the Renderforest platform. The organized layout and options allow you to find the ideal accompaniment for your video.
Renderforest’s library of royalty-free music is practically a haven for video creators, offering not just convenience but a number of options that enhance the auditory dimension of projects.

Beyond the basics, it’s worth looking at a few additional tips and considerations you can use for adding music to videos. After all, you want an easy and engaging audio-visual experience for your viewers.
Choose music that aligns with the mood and tone of your video. Be it uplifting and dramatic or subtle and calming, the emotional resonance of the music should complement the visuals and narrative.
The length of your video should influence the choice of music. For shorter videos, opt for tracks that grab attention quickly. Longer videos, on the other hand, can invite more gradual and evolving sound experiences.
Maintain a balanced audio mix by adjusting the volume levels. The music should enhance the video without overpowering important dialogue or other audio elements.
Don’t be afraid to experiment with different music genres. Depending on your video’s content, different genres can evoke different emotions and enhance the viewing experience.
If you’re not creating your own music, use royalty-free music to avoid copyright infringement. Renderforest proves wonderful in this scenario, offering not only a rich library of royalty-free audio files but also templates and tools designed with platform compatibility in mind. This allows your videos to meet social media guidelines while standing out creatively.
The connection between visuals and music is a potent force in video creation. Renderforest streamlines this process, making it accessible to all. Content customization, a collection of templates, a library of soundtracks, and tools like the Spotify visualizer or sound wave generator—Renderforest has it all when it comes to creating videos that leave a lasting impression. You can even make a music video! Enhance your creations and embark on a journey of audio-visual brilliance with Renderforest.
Ready to capture your audience’s attention and take your videos to the next level with catchy music? Explore Renderforest’s video maker and video editing tools today!
Yes, you can upload your own music tracks to personalize your videos. This feature lets you align videos with your brand identity or specific project requirements.
Renderforest has an extensive audio library with a diverse range of royalty-free music tracks. The catalog spans various genres, moods, and tempos so that you can find the perfect soundtrack to go with your video content.
Yes, Renderforest’s video editor allows you to adjust the volume levels of the music in your videos. This feature allows for a balanced audio mix, where the music enhances the video without overpowering important dialogue or other audio elements.
Share this
Article by: Renderforest Staff
Dive into our Forestblog of exclusive interviews, handy tutorials and interesting articles published every week!
Read all posts by Renderforest Staff