AI
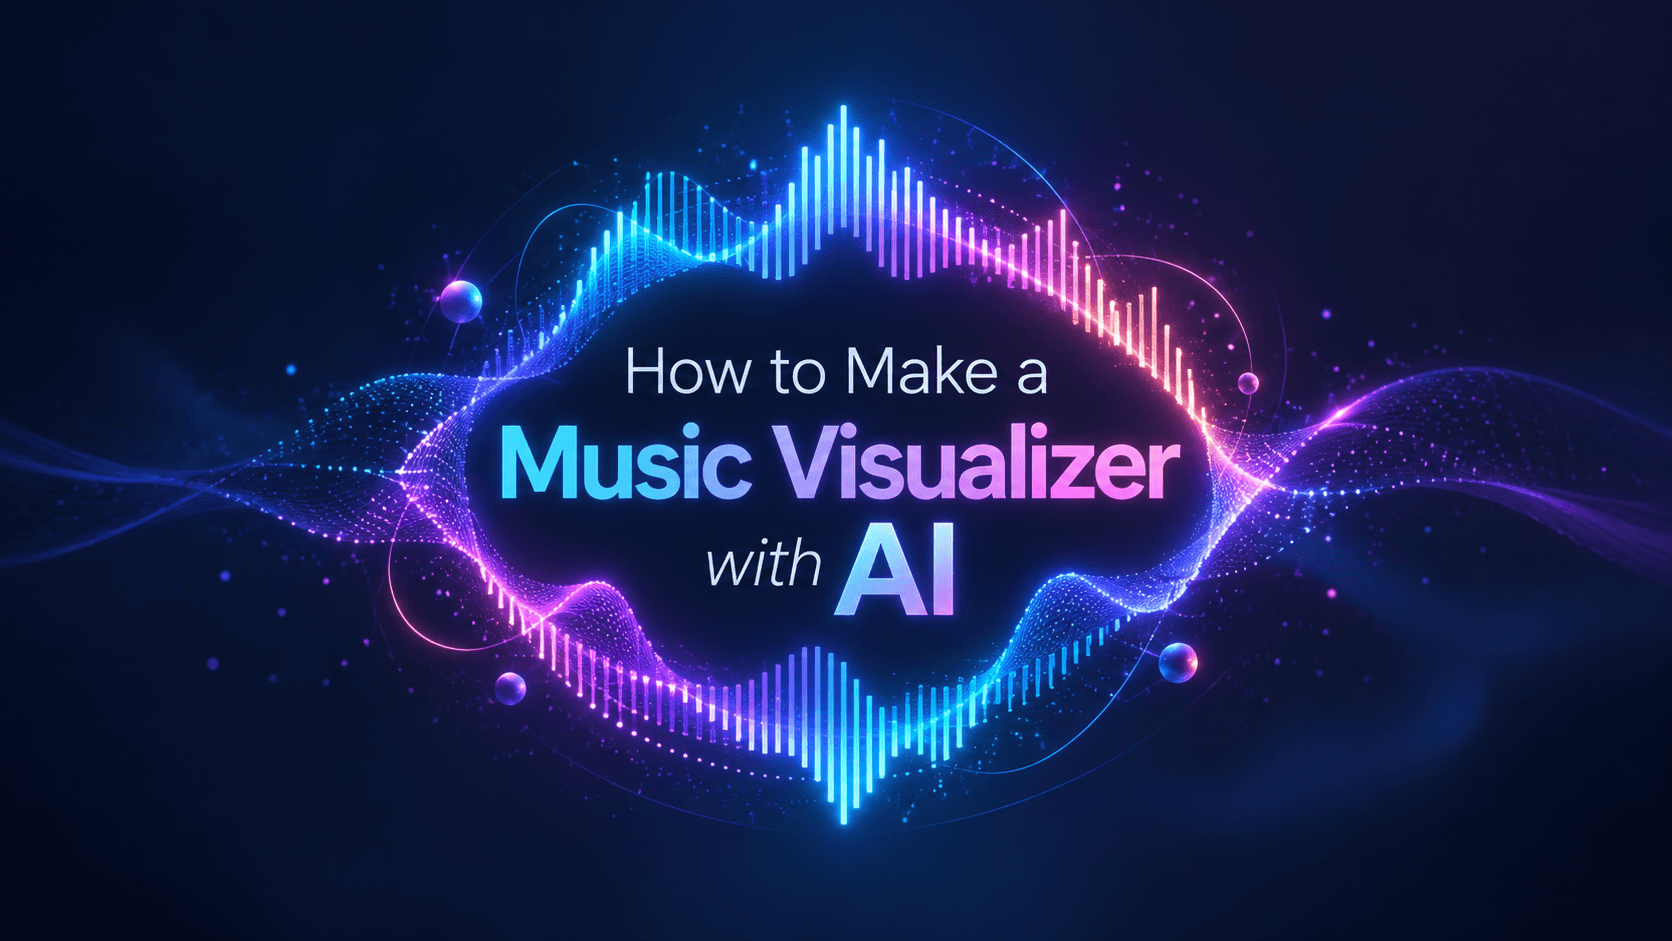
A music visualizer turns sound into motion. The best ones do more than flash colors on the beat. They make the song easier to feel.
AI can help you create a music visualizer faster by analyzing rhythm, energy, mood, tempo, and structure, then turning those signals into moving visuals. But the tool does not make every creative decision for you. You still need to choose the right visual style, match the motion to the song, export the right formats, and check whether the final asset is safe to publish.
This guide shows you how to make a music visualizer with AI from start to finish: preparing your track, choosing a visualizer type, generating audio-reactive visuals, syncing motion to song sections, exporting for YouTube and social platforms, and reviewing the final video before release.
To make a music visualizer with AI, start with the final audio file, choose the visualizer type, pick the platform format, upload the track, generate or customize visuals, sync motion to the song structure, preview the result on desktop and mobile, export a release pack, and check rights before publishing.
The best AI music visualizer is not the one with the most effects. It is the one that makes the audio feel visible without distracting from the track.
Before making anything, be clear about the asset you need. A visualizer is not the same as a lyric video, Spotify Canvas-style loop, or AI music video.
Spotify’s official Canvas guidelines define Canvas as a 3–8 second vertical 9:16 loop that appears in the Now Playing view. Spotify also recommends avoiding rapid cuts or intense flashing graphics because they can overwhelm viewers. That is different from a full YouTube visualizer, which can run for the full track.
A music visualizer is usually the right choice when you want the music to stay central. If the lyrics are the main hook, make a lyric video. If the artist needs a cinematic release asset, make an AI music video. If you need a short streaming loop, create a Canvas-style asset instead of cutting down a full visualizer.
The visualizer type determines the whole workflow. Do not choose the loudest template by default. Choose the visual system that fits the song.
A visualizer should feel like it belongs to the song. A sparse piano track does not need nightclub visuals. A heavy electronic track should not have motion so subtle that the beat feels disconnected.
Start with the final mix or master. Do not build a visualizer around a draft track unless you are comfortable redoing the timing later.
Prepare:
Use the highest-quality audio file available. If the tool only accepts compressed files, export a clean version from your final master instead of using a random download.
The cleaner the input, the easier it is for the visualizer to respond to rhythm and energy changes. A distorted or low-quality file can make the final video feel cheap, even if the visuals are strong.
Do not create one visualizer and hope it works everywhere. A YouTube visualizer, TikTok teaser, Instagram feed clip, and Spotify Canvas-style loop are different assets.
YouTube’s recommended upload encoding settings say the standard aspect ratio for YouTube on a computer is 16:9, while vertical and square uploads adapt to the player and device. That means you should plan aspect ratio before export, not after.
If you create a horizontal visualizer and crop it vertically at the end, important motion may be cut off. If the visualizer includes text, a logo, or cover art, late cropping can make the asset unusable.
A visualizer should feel like the song, not just react to it.
Use the track’s mood, genre, tempo, and energy to guide the visuals.
Beat reaction is not the same as musical direction. A visualizer can move perfectly with the sound and still feel wrong if the mood does not match the artist, genre, or release.
If the track already has strong artwork, consider an album-art visualizer. If the track is instrumental, abstract, or electronic, an audio spectrum or particle visualizer may fit better. If the release has a concept, use AI-generated scenes or visual textures that support that concept.
Now choose a tool and generate the first version.
Renderforest is a practical choice when you want an online music visualizer workflow with templates, audio-reactive visuals, and release-friendly formats. Its music visualizer tool lets creators make visualizer videos for platforms such as YouTube and Facebook using music visualization and audio spectrum-style templates.
If you want the visualizer to feel closer to an AI-generated music video, Renderforest’s AI Music Video Generator describes turning songs into videos by analyzing beat, mood, and structure, with outputs such as full music video clips, animated scenes, beat-reactive visualizers, and story-driven videos.
The tool matters, but the review process matters more. After generating the first version, check:
Do not judge only the first three seconds. Watch the intro, verse, chorus, bridge, final chorus, and outro. A visualizer that looks exciting at the beginning can become tiring if it has no arc.
Many visualizers react to volume or frequency. That is useful, but a full-song visualizer should also respond to structure.
A song is not one flat block of sound. It has sections.
If every section looks equally intense, the visualizer has no arc.
This is where human direction matters. If the tool lets you edit scenes, change intensity, customize colors, or regenerate sections, use those controls. If it only creates one continuous visual layer, choose a style with enough variation to carry the full track.
A good music visualizer should make the listener feel the song’s shape, not only its loudness.
The easiest way to avoid a flat visualizer is to think in intensity levels.
You do not need all five levels in every visualizer. A quiet acoustic song may move between levels 1 and 3. An EDM track may move between 2 and 5. The point is to create contrast so the video grows with the song.
A visualizer should make repeat listening easier, not more exhausting. If the motion feels tiring after 20 seconds, reduce the intensity.
Not every visualizer needs text. But most release assets need at least some identity.
You might include:
Keep it minimal. A visualizer is not a poster. If you add too much text, the video stops feeling like a music asset and starts feeling like an ad.
For TikTok, Reels, and Shorts, keep important text and logos toward the center. Platform buttons, captions, usernames, and interface elements can cover the edges, especially near the lower and right side of vertical videos.
The viewer should feel the song first and read the text second.
A visualizer is often watched on a phone, even if it was created on a desktop.
Before export, test the video on a small screen.
A visualizer can be beautiful in full-screen preview and still fail in a feed. Do not approve the editor preview. Approve the exported file.
A music release usually needs more than one visual asset. Exporting only one master file limits where the song can travel.
A practical release pack might include:
For YouTube, export in high resolution when possible. YouTube’s formatting specifications recommend providing videos in the highest resolution available for playback flexibility.
For Spotify Canvas-style loops, remember that the visual is short and does not need to tell the whole story. It should capture the track’s mood in a few seconds.
A music visualizer can look simple, but it may involve several rights layers.
You may be using:
YouTube’s music Content ID documentation explains that music-related assets can include Music Video, Sound Recording, Composition Share, and Art Track assets. That matters because even a simple visualizer may involve both the recording and the underlying music rights.
Before publishing, check:
The U.S. Copyright Office’s AI registration guidance explains that copyright protection depends on human authorship. For an AI-assisted visualizer, your human contribution may include selecting the music, directing the style, arranging visuals, editing timing, choosing outputs, and modifying the final video.
A clean export is not automatically a cleared release.
A visualizer is useful, but it is not always the right format.
A visualizer works best when the music itself is the focus. If the release needs story, lyrics, personality, or persuasion, choose the format that supports that goal.
A visualizer should support repeat listening. If the visuals become tiring before the song is over, simplify the motion.
Use this before uploading the visualizer.
Do not approve the editor preview. Approve the exported file.
AI can make music visualizers faster, but the strongest results still come from direction.
Start with the final audio. Choose a visual style that fits the song. Let AI generate or animate the motion, then adjust intensity, structure, color, text, and format. Export versions for the platforms where the track will live. Check rights before publishing.
A good visualizer does not try to become a full music video. It gives the song a visual pulse, keeps attention on the music, and makes the release feel alive.
An AI music visualizer is a tool that turns audio into moving visuals using artificial intelligence. It may analyze rhythm, energy, mood, tempo, frequency, or song structure to create visuals that react to the track.
Upload your final audio track to an AI music visualizer, choose a style, let the tool analyze the music, customize the visuals, preview the sync, export platform-specific versions, and review rights before publishing.
A music visualizer is usually built around audio-reactive visuals, waveforms, spectrum bars, loops, or abstract motion. A music video usually has more directed scenes, story, performance, characters, or narrative structure.
A music visualizer focuses on sound-reactive visuals. A lyric video focuses on displaying lyrics in sync with the song. Some videos combine both, but if the words are the main focus, use a lyric-video workflow.
For a full YouTube visualizer, use 16:9 and 1080p or higher when possible. YouTube’s standard desktop aspect ratio is 16:9, and high-resolution uploads give the platform more flexibility when processing the video.
Yes, but keep it short and vertical. Spotify Canvas is a 3–8 second 9:16 loop. It should capture the song’s mood, not try to display the full track or sync every beat.
Only if the lyrics are central to the asset. Short lyric hooks can work in teasers, but full lyric videos need a separate lyric-video workflow.
Many AI and audio-reactive visualizer tools can respond to rhythm, bass, frequency, volume, or song energy. The level of control depends on the tool.
Only if the tool’s terms allow your intended use and you have rights to the audio, artwork, fonts, stock assets, and other materials in the video. Check licensing before publishing.
A professional visualizer has clean audio sync, strong mood match, readable branding, good resolution, controlled motion, platform-specific exports, and rights-safe assets.
Share this


Article by: Liana Ziroyan
Liana is a marketing professional with 11 years of experience in digital marketing, content, and product communication. She has a strong eye for visual storytelling and loves turning ideas into engaging campaigns that connect with audiences. With her experience across branding, creative content, and user-focused messaging, Liana enjoys finding simple, effective ways to make products feel clear, useful, and exciting.
Read all posts by Liana Ziroyan