AI
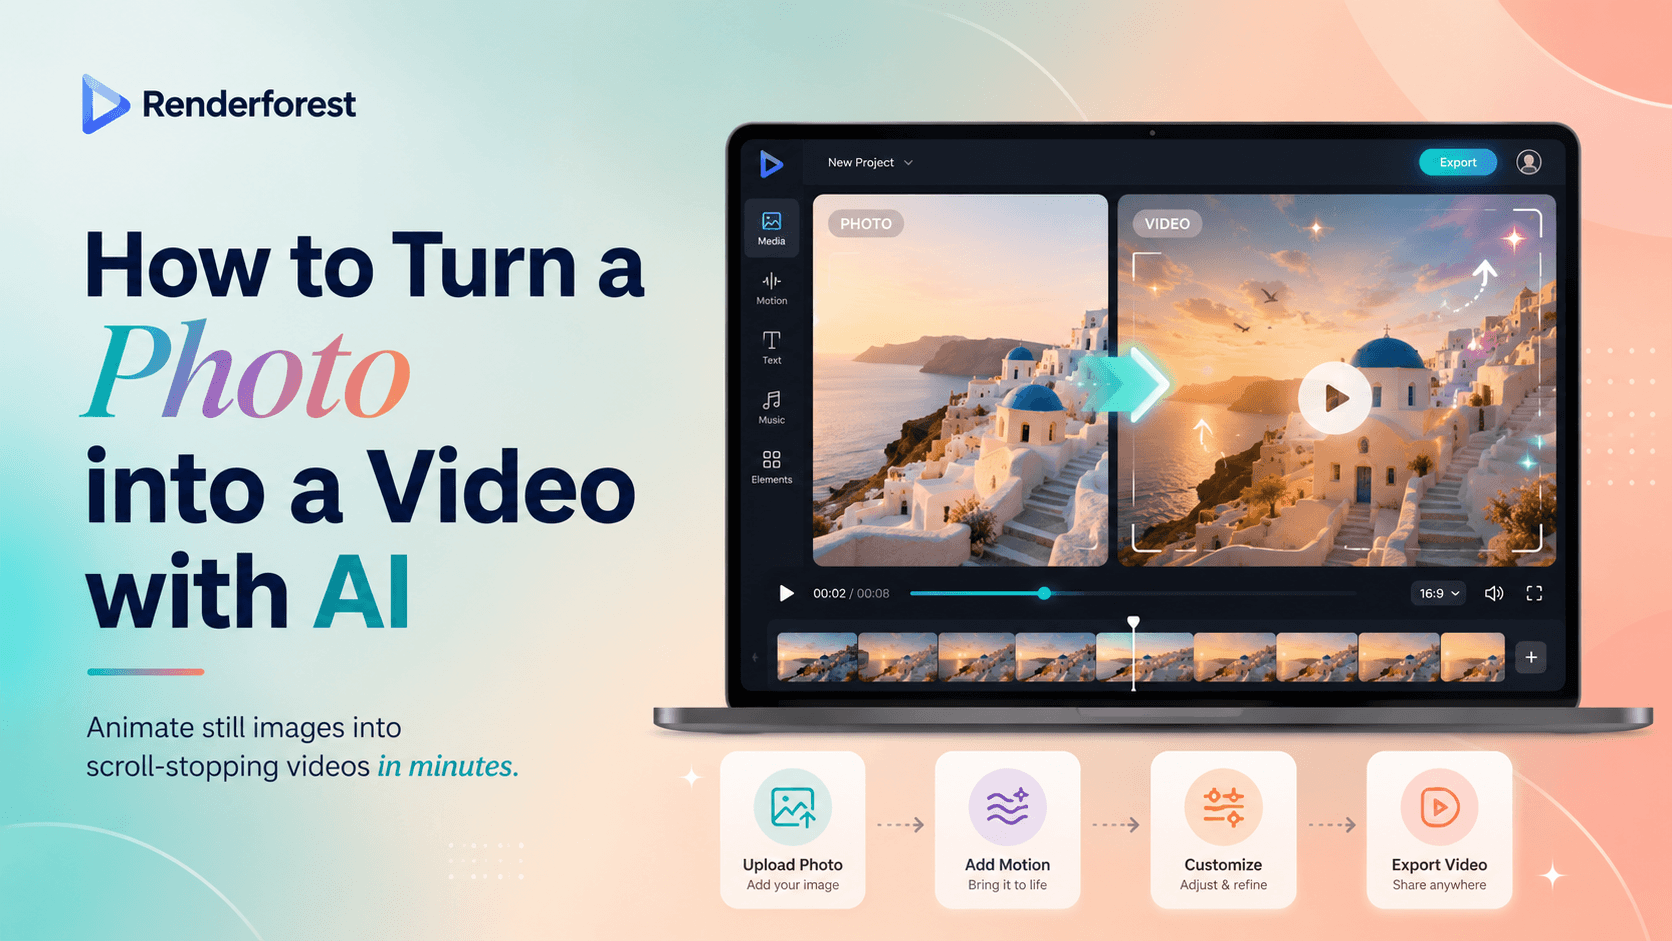
You can turn a photo into a video with AI in a few minutes. Upload the image, describe the motion, generate a short clip, then add the pieces that make it feel finished: text, music, branding, captions, and the right format.
That last part is where most AI videos fail.
A moving photo is not automatically a good Reel, ad, product teaser, event promo, or website hero. A finished video needs motion, message, pacing, sound, and a clear next step. This guide shows you how to turn one still image into a video that feels useful, intentional, and ready to publish.
To turn a photo into a video with AI:
Renderforest’s Image to Video AI is built for turning static visuals into motion videos with camera motion, depth, transitions, and different aspect ratios. Renderforest also says users can refine output in the editor, adjust pacing, add voiceovers, and use the result for social media, presentations, marketing, and ecommerce projects. Source: Renderforest Image to Video AI.
Photo animation usually means adding movement to a still image. The goal is to make the image feel alive.
Photo-to-video is broader. The goal is to turn the photo into a video asset with motion, message, pacing, text, music, format, and a reason to exist.
This article focuses on the full photo-to-video workflow. Not just “how do I make the photo move?” but “how do I turn this photo into something I can actually publish?”
A still image becomes a finished video when it has five layers.
This is the biggest difference between a raw AI output and a usable video. The AI clip gives you motion. Editing gives you meaning.
Use this framework before you generate anything.
Most weak AI videos fail because they skip one of these steps. They may have motion, but no message. Or they may have a nice prompt, but the wrong crop. Or they may look good in preview, but fail on mobile.
The workflow is simple: Goal → Format → Motion → Message → Finish.
Before you upload anything, answer one question:
What should this photo become?
That decision changes the prompt, movement, aspect ratio, text, sound, and final edit.
A common mistake is generating motion first and trying to “turn it into content” afterward. Start with the outcome. The video will be cleaner.
One strong photo can become a good video, but not every goal can be carried by one image.
If the video only needs to attract attention, one photo may be enough. If it needs to explain, compare, or prove something, you probably need more scenes.
AI can turn many photos into video, but some images are much easier to work with.
The best photos have:
Avoid images where the AI has to guess too much.
If the source photo is messy, the AI video will usually be messy too. Clean input gives you more control.
A single photo can become several different types of video. The best option depends on your goal.
If you only need movement, image-to-video AI may be enough. If you need a campaign asset, you also need editing.
The platform decides the shape and pacing of the video.
A vertical video needs different composition than a horizontal one. If your subject is too close to the edges, generate or crop carefully.
Before uploading, make the photo easier for AI to understand.
Do this first:
For product, logo, or brand images, make sure the label and edges are clear. If the logo is tiny, angled, or partly hidden, AI is more likely to distort it.
For portraits, choose a photo where the face is sharp and not partly covered.
For real estate, choose a photo with straight walls, stable perspective, and clean composition.
Open your image-to-video AI tool and upload the photo.
In Renderforest, users can start AI video creation from text, an image, or a script, then choose a video model, style, and format before refining and exporting. Renderforest’s AI Video Generator page also says users can upload an image, choose aspect ratio and duration, and edit within the same workflow. Source: Renderforest AI Video Generator.
This matters because a photo is not only a starting frame. It can also act as a visual anchor for the product, person, style, scene, or brand.
A good photo-to-video prompt tells the AI six things.
Use this structure:
Turn this photo into a [length] video for [platform/use case]. Keep [subject details] unchanged. Add [specific motion]. Use a [visual style] look. Leave space for [text/logo/CTA]. Avoid [things that should not happen]. Format as [aspect ratio].
Example:
Turn this product photo into a 7-second vertical video for an Instagram ad. Keep the product shape, label, logo, color, and packaging exactly the same. Add a slow camera push-in, soft studio light movement, and subtle background depth. Use a clean premium ecommerce style. Leave clean space in the top third for a short text hook and in the final second for a CTA. Avoid changing the label, adding objects, making the product float, or distorting the logo. Format as 9:16.
The prompt should not just ask for movement. It should define the video.
Start short. Four to eight seconds is usually enough for the first generation.
Short tests help you catch problems early:
If a short test fails, a longer generation usually will not fix it. Fix the prompt first.
Do not only watch the video once. Pause it.
AI artifacts often hide in motion but become obvious in still frames.
Check:
If the photo is for a business video, be stricter. A strange frame can make a product, person, or brand feel less trustworthy.
A moving photo becomes a finished video when you add structure.
Depending on the use case, add:
Renderforest’s Image to Video AI page says users can edit scenes, replace images, adjust pacing, and add voiceovers in the built-in editor. It also describes the tool as useful for social media, presentations, cinematic sequences, and marketing. Source: Renderforest Image to Video AI.
That is the difference between turning a photo into motion and turning a photo into a publishable video.
Export the video in the right format for your platform.
Before publishing, test it on the actual device or placement where it will appear.
Use this checklist:
If the video is for ads, client work, ecommerce, real estate, or a paid campaign, do not skip this step.
Here is a practical workflow for Renderforest:
Renderforest’s Image to Video AI page describes the workflow as uploading a photo, illustration, or design, choosing a video generation model, writing a prompt, generating the result, and fine-tuning it in the editor. Source: Renderforest Image to Video AI.
Use this workflow when the goal is not just to animate the photo, but to create a video that can be used in marketing, social media, business communication, ecommerce, presentations, or a website.
Turn this product photo into a 7-second vertical video for a social ad. Keep the product shape, label, logo, color, packaging, and proportions exactly the same. Add a slow camera push-in, soft studio light movement, and subtle background depth. Use a clean premium ecommerce style. Leave clean space in the top third for a short text hook and in the final second for a CTA. Avoid changing the label, rewriting text, adding fake ingredients, making the product float, or distorting the logo. Format as 9:16.
Best for:
Avoid:
Turn this portrait into a 6-second personal brand video. Keep the person’s identity, face, hairstyle, outfit, skin tone, expression, and background accurate. Add a subtle camera push-in, natural blinking, soft hair movement, and gentle lighting. Use a warm editorial style. Leave space for a name title or short caption. Avoid changing facial features, teeth, eyes, mouth, expression, age, hands, or body shape. Format as 4:5.
Best for:
Use permission when animating a real person, especially for business, ads, testimonials, or client content.
Turn this event poster into an 8-second vertical promo video. Keep the event title, date, time, location, logo, and main design exactly the same. Add subtle background motion, light movement, and a clean text reveal effect. Use an energetic but readable event promo style. Leave space for a final “Register now” or “Get tickets” CTA. Avoid rewriting text, changing the date, distorting the logo, adding extra symbols, or making the design too busy. Format as 9:16.
Best for:
For text-heavy posters, keep the original text static and animate the background or supporting design elements.
Turn this interior photo into a 7-second real estate video. Keep the room layout, walls, windows, furniture, decor, and proportions accurate. Add a slow camera push-in and subtle sunlight movement. Use a clean premium property-tour style. Leave space for short property text and agent contact details. Avoid bending walls, moving furniture, changing decor, adding objects, or distorting straight lines. Format as 16:9.
Best for:
Real estate videos should feel stable. Avoid dramatic movement that makes a room look artificial.
Turn this food photo into a 6-second vertical video for a restaurant social post. Keep the dish, plate, ingredients, colors, texture, and composition accurate. Add subtle steam, soft light movement, and a slow camera push-in. Use a warm appetizing style. Leave room for offer text, logo, and location. Avoid changing the dish shape, adding ingredients, moving the plate, melting textures, or making the food look artificial. Format as 9:16.
Best for:
Food videos should look appetizing, not surreal. Steam and light usually work better than heavy object movement.
Turn this travel photo into an 8-second cinematic video. Keep the location, buildings, landscape, people, and composition accurate. Add slow camera movement, gentle cloud motion, soft atmospheric depth, and natural light. Use a cinematic travel style. Leave space for a short destination title. Avoid adding people, vehicles, animals, buildings, unrealistic weather, or changing the location. Format as 16:9.
Best for:
Travel images can handle more atmosphere than product photos, but still need boundaries.
Turn this brand graphic into a 5-second video for a social post. Keep the logo, text, colors, layout, typography, and spacing accurate. Add subtle background motion, clean parallax, and a smooth final frame. Use a modern minimal style. Avoid changing letters, rewriting text, adding extra symbols, distorting the logo, or making the layout too busy. Format as 1:1.
Best for:
When text matters, protect it in the prompt or add it manually after generation.
The safest video is usually not the one with the most motion. It is the one that protects the image while giving it enough life to hold attention.
If the photo contains a face, logo, product label, price, date, legal text, or address, use safer motion.
Sometimes you only have one photo, but you still need a video with a beginning, middle, and end.
Use this structure:
A single photo can become a full video if the message is structured.
This is where photo-to-video becomes more than a visual effect. The photo becomes the anchor for a message.
Different AI tools can turn images into video in different ways, but the core workflow is usually the same: upload an image, describe the motion or scene, generate the clip, then edit or export.
CapCut describes its image-to-video AI generator as a tool for turning albums, product shots, and event photos into dynamic video stories, with AI-generated transitions, script alignment, voiceovers, and motion design. Source: CapCut Image to Video AI.
Adobe Firefly’s documentation says users can generate videos with keyframe images and text prompts, including uploading an image as the first frame and using a prompt to guide the transition or generated clip. Source: Adobe Firefly: Generate videos using images.
Runway describes its product as a creative toolkit with image, video, audio, editing, and language models in one workflow, including tools that can generate video from text, image, video, or audio inputs. Source: Runway Product Page.
The tool matters, but the process matters more. A clean photo, specific prompt, platform-aware format, and careful final edit will usually beat a vague prompt in a more advanced tool.
Motion is only one part. A video also needs message, pacing, format, and ending.
A photo that moves but says nothing may look nice. It may not convert, explain, promote, or hold attention.
Bad prompt:
Turn this into an epic cinematic ad with lots of action.
Better prompt:
Turn this product photo into a 7-second ad. Keep the product unchanged. Add slow camera movement, soft lighting, one text hook, and space for a CTA.
Specific beats dramatic.
A photo that works in 16:9 may fail in 9:16. If the subject is too wide or close to the edge, vertical cropping can cut off important details.
Plan the format before you generate.
AI video tools often struggle with exact letters, numbers, and dates. If text matters, keep it static or add it manually in the editor.
This is especially important for:
You need the right to use the original photo. You may also need permission from people shown in the image, especially if the video is used commercially.
If the AI changes a person, product, or place in a misleading way, do not publish it.
A finished video should feel intentionally designed. If the output is just a moving photo with no hook, no text, no pacing, and no CTA, it may not work as content.
Most problems come from unclear instructions. The fix is usually not a longer prompt. It is a better boundary.
AI photo-to-video is not replacing every video workflow. It is best when you need to create motion from limited assets.
For small businesses, marketers, and creators, AI photo-to-video is useful because it turns one asset into something more flexible. But the best result still needs human judgment.
Before using the video publicly, check:
If the photo is being used in advertising, ecommerce, real estate, healthcare, finance, education, politics, or client work, review it more carefully.
A video generated from a photo can still create real-world expectations. Make sure it does not misrepresent the product, person, event, or place.
Upload your photo to an image-to-video AI tool, write a prompt describing the motion and style, generate a short clip, review it for errors, then add text, music, branding, captions, or a CTA before exporting.
The best way is to start with the final use. Decide whether the video is for a Reel, product ad, website hero, event promo, or presentation. Then choose the right aspect ratio, motion style, prompt, and editing elements.
Yes. AI can generate a short video from one photo by adding motion, depth, camera movement, lighting, or scene changes. To make it publishable, you may still need to add text, music, captions, branding, and a clear ending.
A good prompt tells the AI what the video is for, what must stay unchanged, what should move, what style to use, what to avoid, and what format to export.
Example:
Turn this photo into a 7-second vertical video for Instagram Reels. Keep the subject unchanged. Add a slow camera push-in, soft background depth, and natural light movement. Avoid changing the face, text, logo, or background objects. Format as 9:16.
Yes. Keep the movement subtle and protect the product details in the prompt. Ask the AI to keep the label, logo, packaging, shape, color, and proportions unchanged. Use camera movement, light motion, or background depth instead of making the product itself move too much.
Yes, but use gentle motion. Ask for subtle depth, slow camera movement, and minimal facial movement while preserving the person’s identity, age, clothing, and original photo style.
Some AI tools offer free or limited image-to-video access, but free plans may restrict credits, resolution, watermark removal, commercial use, or export quality. Check the tool’s current plan details before using the video commercially.
AI video tools generate new frames from the original image. If the prompt allows too much movement, the tool may redraw faces, hands, logos, text, products, or backgrounds incorrectly. Reduce the motion and tell the AI exactly what must stay unchanged.
Most photo-to-video clips work best at 4–10 seconds. Short clips are easier to control, less likely to distort, and better suited for social media, ads, website hero visuals, and presentations.
You can, but check the source photo rights, likeness permissions, tool license, watermark, product accuracy, and commercial-use rules first. If the AI changes a product, person, claim, or setting in a misleading way, do not publish it as an ad.
No. Turning a photo into a video usually means using AI to create motion from one image. A slideshow uses multiple images arranged in sequence. A finished video can combine both: one animated hero photo plus supporting slides, text, music, and CTA.
Turning a photo into a video with AI is not just about adding movement. It is about giving one still image a job.
Start with the platform. Decide the message. Protect the subject. Add only the motion the photo can handle. Then finish the video with text, sound, branding, format, and a clear next step.
The best photo-to-video result does not look like an AI trick. It looks like a simple, intentional video made from a strong image.
Share this
Article by: Liana Ziroyan
Liana is a marketing professional with 11 years of experience in digital marketing, content, and product communication. She has a strong eye for visual storytelling and loves turning ideas into engaging campaigns that connect with audiences. With her experience across branding, creative content, and user-focused messaging, Liana enjoys finding simple, effective ways to make products feel clear, useful, and exciting.
Read all posts by Liana Ziroyan