AI
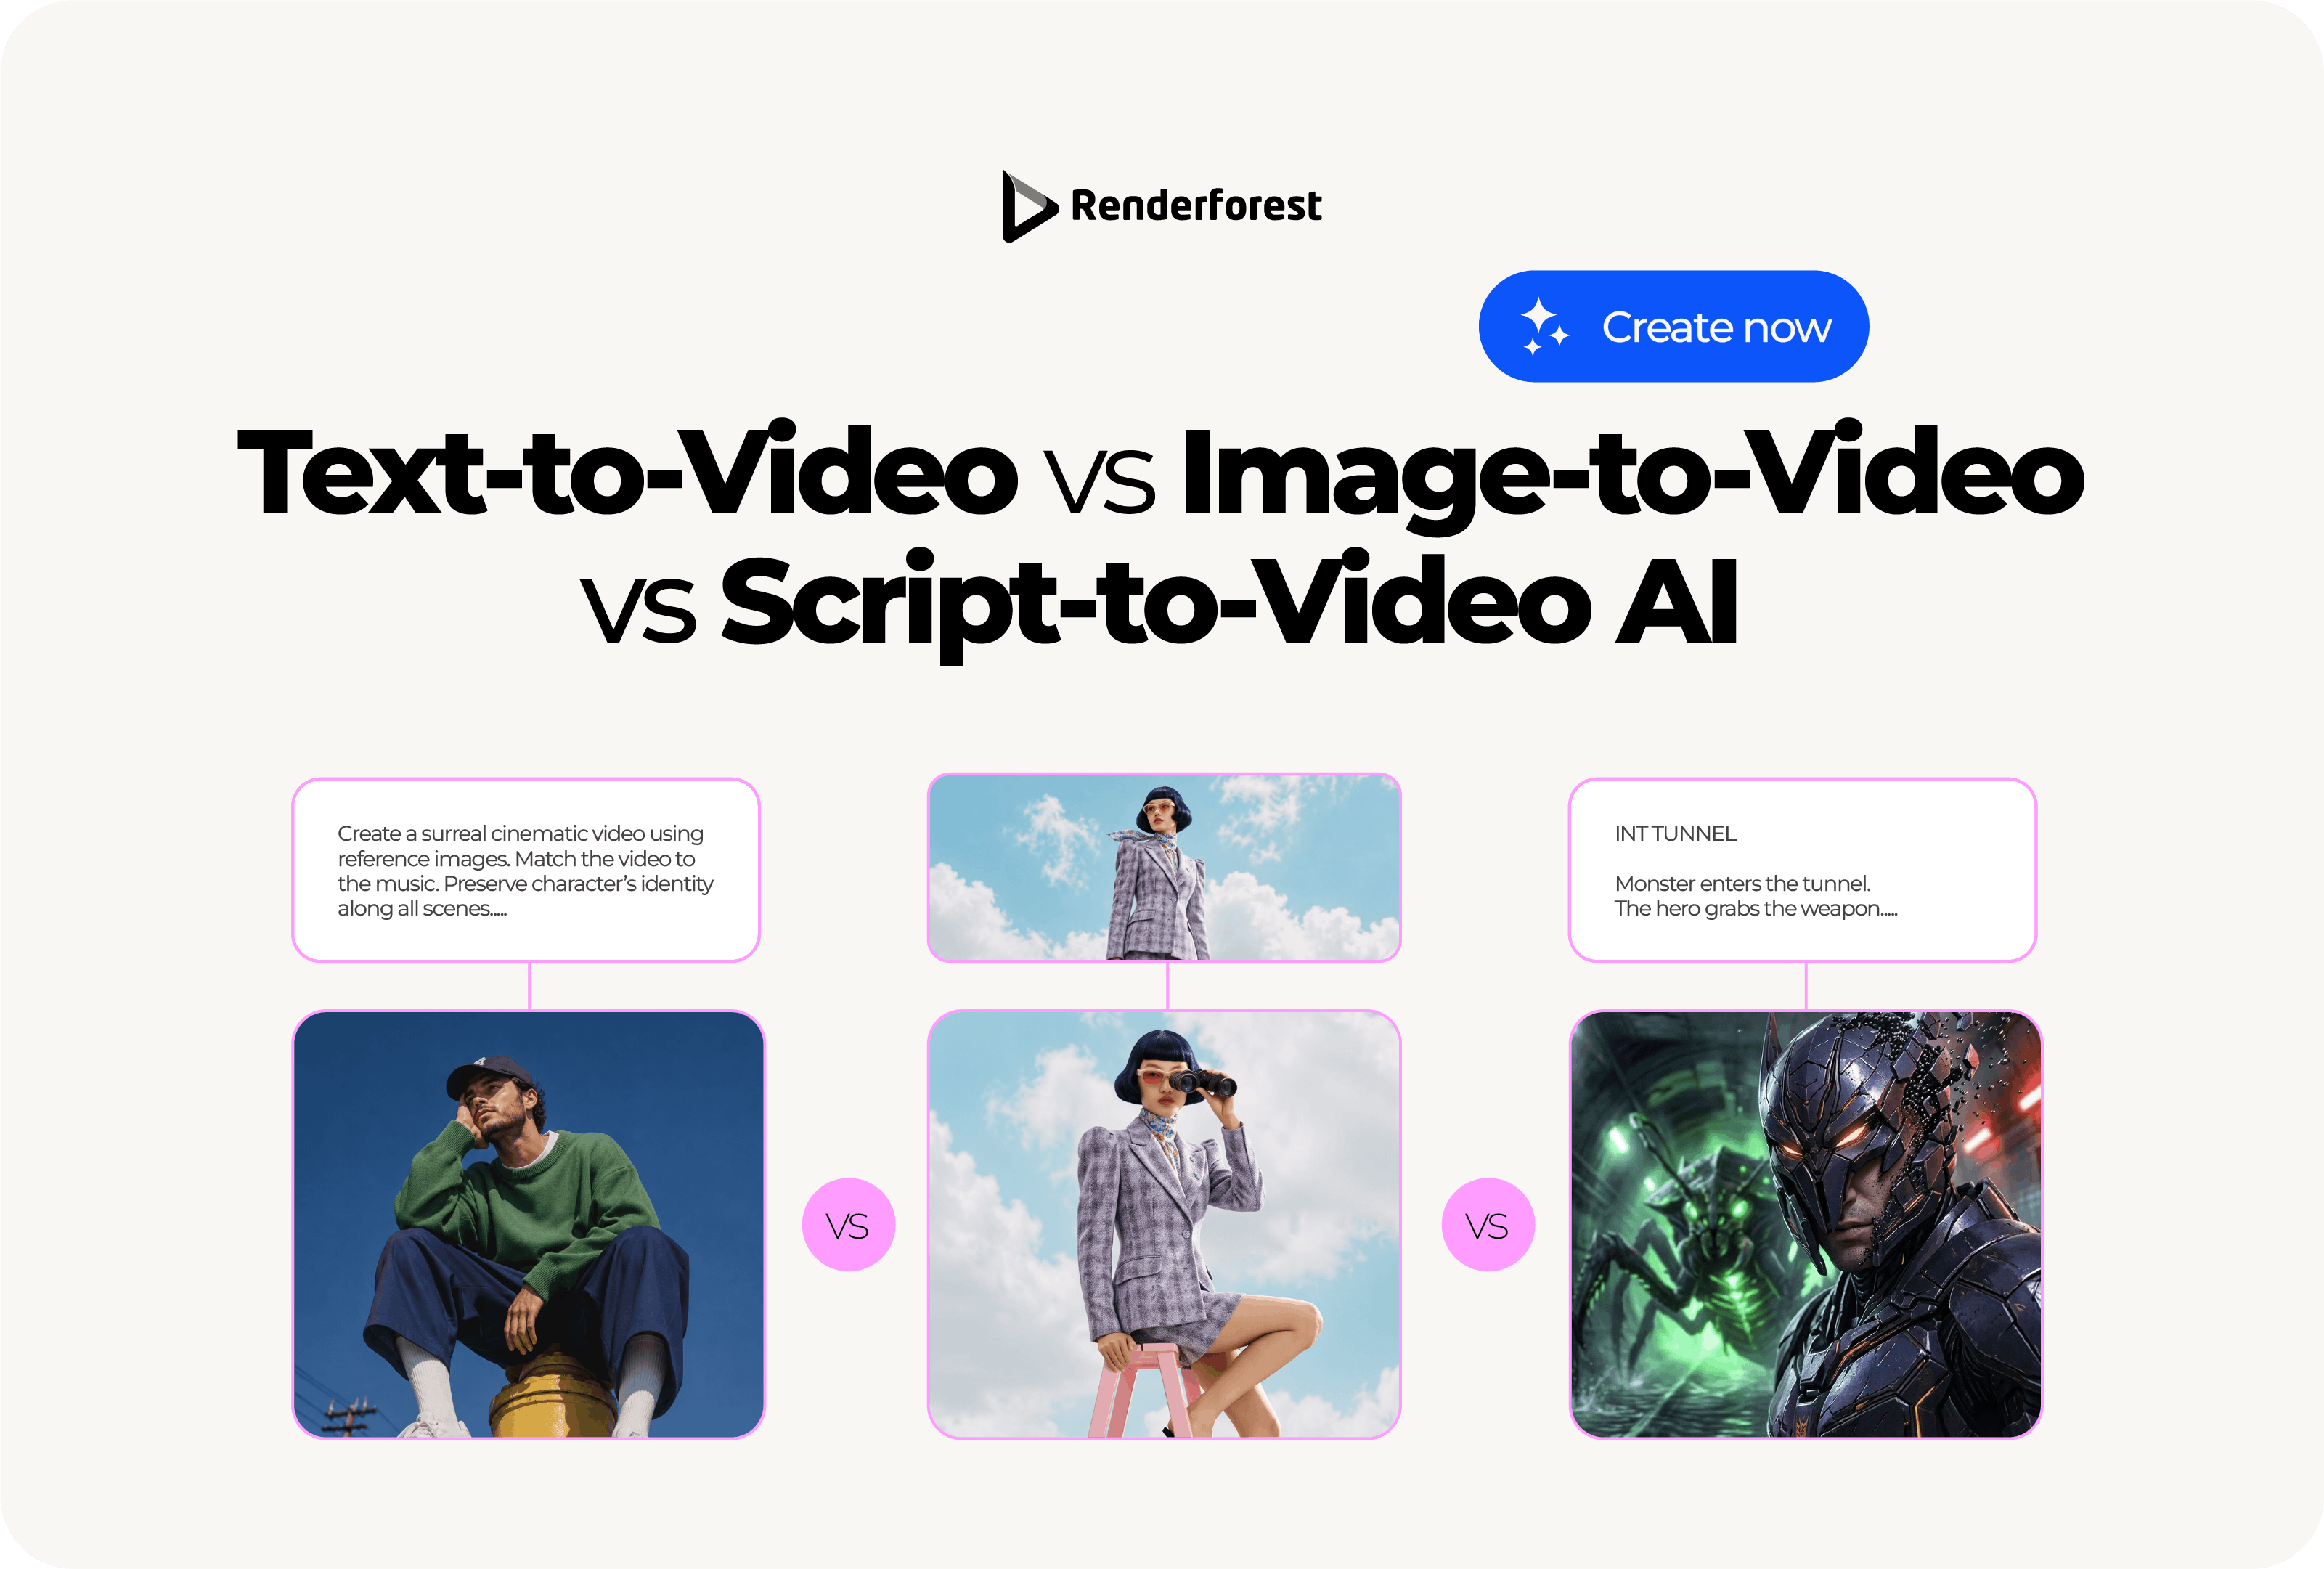
Text-to-video, image-to-video, and script-to-video AI are not three names for the same thing. They solve different creative problems.
Use text-to-video when you have an idea and need to create a new visual scene. Use image-to-video when you already have a product photo, character, mockup, or brand asset that needs motion. Use script-to-video when you need a complete video with scenes, pacing, narration, and a clear message.
The mistake is choosing the workflow based on the tool name instead of the job. This guide compares text-to-video vs image-to-video vs script-to-video AI by input, output, control, use case, and limitations, so you can choose the right starting point before you generate.
Use text-to-video AI when you only have an idea, prompt, or scene description. It is best for concept visuals, social b-roll, mood shots, cinematic clips, ad ideas, and early creative exploration.
Use image-to-video AI when you already have a still image and want to animate it. It is best for product photos, brand visuals, character images, thumbnails, campaign mockups, and anything where the subject needs to stay recognizable.
Use script-to-video AI when you have a message, narration, outline, or full script and want the AI to turn it into a structured video. It is best for explainers, ads, tutorials, training videos, product walkthroughs, educational content, and brand stories.
OpenAI’s Sora 2 prompting guidance recommends describing video prompts like storyboarded shots, including framing, depth of field, action beats, lighting, palette, and distinctive subject details. Google DeepMind’s Veo prompt guide also emphasizes that detailed prompts give more control over style, tone, action, sound, and scene direction.
The easiest way to choose is to ask what you already have.
If you have an idea, start with text-to-video.
If you have a visual asset, start with image-to-video.
If you have a message, start with script-to-video.
That sounds simple, but it prevents most workflow mistakes. Many weak AI videos happen because someone uses a text prompt when they need visual control, or uploads an image when they really need narrative structure.
A helpful way to think about the three workflows is this:
This is the core decision. Do not start with the flashiest workflow. Start with the one that gives you the type of control the project needs.
The same input can lead to different workflows depending on the final video.
A product photo can become a short image-to-video hero clip. That same product can also become part of a script-to-video explainer. A text prompt can create one social clip, but it may not be enough for a full product launch video.
Text-to-video AI turns a written prompt into a generated video clip or scene.
You describe the subject, action, setting, camera angle, camera movement, lighting, style, format, and constraints. The AI uses that written direction to create motion.
A simple text-to-video prompt might look like this:
A handmade candle sits on a wooden bedside table while warm candlelight flickers across the wall. Close-up shot, slow push-in, shallow depth of field, calm lifestyle video style, vertical 9:16, no readable text, no people, no logos.
Text-to-video works best when the prompt describes a visible scene, not just a topic.
Weak prompt:
Create a video about productivity.
Better prompt:
A freelance marketer organizes a messy desk into three neat work zones: laptop, notebook, and phone. The camera moves slowly from left to right as morning light enters through a window. Realistic productivity video, clean home office, vertical 9:16, no readable text, no logos, no distorted hands.
The second prompt gives the model something to shoot. It defines who appears, what happens, where it happens, how the camera moves, and what should not appear.
Adobe’s guidance on writing effective video prompts describes text-to-video as a way to generate clips from written descriptions, including direction for subject, emotion, setting, camera angle, and camera movement. Source: Adobe Firefly video prompt guidance.
Text-to-video is the fastest way to get from “I have an idea” to “I can see it.”
Use it when you want to explore visual directions before you have footage, product assets, or a polished script. It is especially useful for mood, atmosphere, b-roll, early concepts, and short social clips.
Text-to-video is weaker when exact consistency matters.
A prompt can describe a product, but it may not preserve the exact label, shape, logo, material, or color across generations. It can describe a character, but it may not keep the character identical from one scene to the next.
Be careful using text-to-video for:
For those cases, start with real assets, image-to-video, or manual editing.
Image-to-video AI turns a still image into a moving clip.
Instead of asking the model to invent the subject from text, you give it a starting visual. That visual might be a product photo, brand illustration, character design, concept art, campaign image, poster, mockup, thumbnail, or AI-generated still.
Then you prompt the motion.
Animate this product photo with a slow camera push-in. Add soft morning light moving across the bottle, subtle background blur, and gentle natural shadows. Keep the bottle shape, label placement, and color consistent. No extra objects, no text changes, no logo distortion.
Image-to-video is the better starting point when the subject matters more than creative randomness.
Google’s Gemini API video documentation notes that Veo can create videos using image inputs, including first and last frames, which can help guide where a shot begins and ends. Source: Google AI for Developers.
Use image-to-video when your instruction is basically: “Make this visual move.”
That makes it strong for product marketing, brand campaigns, character continuity, and visual assets that have already been approved.
Image-to-video is only as strong as the starting image.
If the image is cropped badly, poorly lit, too busy, or visually unclear, the motion will likely inherit those problems. The AI can animate what you provide, but it may not fix weak composition or turn a single image into a full narrative.
Image-to-video is also not enough when the project needs:
For those, use script-to-video or combine image-to-video with a script-based workflow.
Script-to-video AI turns a script, narration, outline, article, or message into a structured video.
Unlike text-to-video, which usually focuses on one generated scene, script-to-video is built for a full video. It can help break a message into scenes, match visuals to narration, create pacing, and structure the video around a hook, problem, solution, and CTA.
A simple script input might look like this:
Create a 45-second video for small business owners.
Hook: “You do not need a full production team to make your first product video.”
Problem: “The hard part is turning one idea into scenes.”
Solution: “Start with a simple script, generate a draft, and edit the final details.”
CTA: “Create your first draft and refine it scene by scene.”
Style: realistic, practical, modern small business video.
Format: vertical 9:16.
The output should not just be one clip. It should become a video sequence.
Renderforest’s AI Video Generator describes a workflow where users can start with text, an image, or a script, choose a model, style, and format, then refine visuals, voiceover, and scenes before export. Renderforest’s Text to Video AI page also describes turning text into a draft video with scenes, pacing, and narration.
Use script-to-video when the message matters as much as the visuals.
This is the right workflow for videos that need to communicate something clearly from start to finish. If the viewer needs to understand a product, lesson, process, offer, announcement, or story, script-to-video is usually the best starting point.
Script-to-video can feel generic when the script is generic.
Weak script:
Make a video about how our software helps teams work better.
Better script:
Scene 1: A marketing manager switches between five open tabs and a messy spreadsheet.
Voiceover: “Project updates should not live in five different places.”Scene 2: The same manager opens one dashboard where tasks, comments, and files are organized.
Voiceover: “Bring the work, feedback, and deadlines into one shared view.”Scene 3: The team reviews the project status together before launch.
Voiceover: “So everyone knows what is done, what is blocked, and what happens next.”
Script-to-video works best when the script separates message, scene, and outcome.
If the input is vague, the output will usually be vague too.
Let’s say you need a 30-second launch video for a new skincare product.
The project sounds simple, but each workflow gives you a different kind of output.
This is the key difference:
Text-to-video gives you atmosphere.
Image-to-video gives you control.
Script-to-video gives you structure.
A real product launch video often needs all three.
You might use script-to-video to build the 30-second ad, image-to-video for the product hero shot, and text-to-video for supporting lifestyle clips.
For a product launch, use image-to-video when the product needs to look accurate. Start with approved product photography, then add motion such as a slow push-in, light movement, background blur, or subtle camera drift.
Use text-to-video for supporting lifestyle scenes around the product, such as a bathroom counter, gym bag, kitchen shelf, or morning routine.
Use script-to-video for the full launch video with hook, benefit, proof, and CTA.
Best workflow:
For an educational explainer, use script-to-video first. The message needs sequence: problem, concept, example, takeaway.
Use text-to-video for visual metaphors, simple demonstrations, or abstract scenes.
Use image-to-video when you have diagrams, illustrations, screenshots, or charts that need motion.
Best workflow:
For a café, salon, gym, or shop, use image-to-video if the business already has real photos of the location, product, or service.
Use text-to-video for atmosphere when no footage exists yet, such as a cozy café table, clean fitness studio, spa room, or restaurant dish setup.
Use script-to-video if the final promo needs a voiceover, offer, location, schedule, or CTA.
Best workflow:
A brand story needs more than one nice clip. It needs narrative movement.
Use script-to-video for the story structure. Use image-to-video for approved brand visuals, founder photos, product images, or campaign assets. Use text-to-video for supporting atmosphere, such as studio scenes, workspace b-roll, abstract transitions, or customer-context visuals.
Best workflow:
For high-volume social content, text-to-video is often the fastest starting point. It can generate hooks, backgrounds, visual metaphors, trend-style clips, and creative variations.
Use image-to-video when the post needs a consistent product, character, model, or brand visual.
Use script-to-video for multi-scene ads, educational Shorts, Reels, TikToks, and video carousels.
Best workflow:
The best AI video workflow is often not one method. It is a sequence.
Use this when you want more visual control than text-to-video alone gives you.
Best for:
Use this when you need a full video but some scenes feel generic.
Best for:
Use this when the story needs structure but the visuals need brand control.
Best for:
Most projects do not stay in one workflow.
You might start with a script, replace a weak scene with a text-generated clip, then animate a product image for the final CTA. That is why an all-in-one workflow is useful.
With Renderforest’s AI Video Generator, you can start from text, an image, or a script, choose a model, style, and format, then refine generated scenes before exporting. Renderforest also has dedicated workflows for Text to Video AI and Image to Video AI.
A practical workflow looks like this:
The goal is not to let AI make every decision. The goal is to choose the right starting point so you spend less time fighting the output.
A small business owner sits at a kitchen table at sunrise, writing a product video idea in a notebook beside a laptop and phone. The camera slowly pushes in from a medium shot to a close-up of the notebook. Realistic creator workspace, soft morning light, vertical 9:16, no readable text, no logos, no distorted hands.
Use this when you need a new scene from scratch.
Animate this product photo with a slow push-in and soft light moving across the packaging. Keep the product shape, label placement, color, and background consistent. Add subtle depth of field and gentle shadow movement. No new objects, no text changes, no logo distortion.
Use this when the starting image matters.
Create a 45-second video for small business owners.
Hook: “You do not need a full production team to make your first product video.”
Problem: “The hard part is turning one idea into scenes.”
Solution: “Start with a simple script, generate a draft, and edit the final details.”
CTA: “Create your first draft and refine it scene by scene.”
Style: realistic, practical, modern small business video.
Format: vertical 9:16.
Use this when the video needs structure and a full message.
Text-to-video AI creates a video from a written prompt. Image-to-video AI animates an existing image. Use text-to-video when you want to invent a new scene. Use image-to-video when you need the subject, product, character, or visual style to stay closer to a reference.
Text-to-video is best for individual clips or scenes. Script-to-video is better for complete videos with a hook, scene order, narration, pacing, and CTA.
Image-to-video starts with a still visual and adds motion. Script-to-video starts with a message and turns it into a structured video. Use image-to-video for visual consistency and script-to-video for storytelling.
Use text-to-video AI when you have an idea but no footage or visual asset yet. It is best for creative exploration, mood shots, social b-roll, concept scenes, visual metaphors, and early campaign ideas.
Use image-to-video AI when you already have a product photo, character image, brand visual, mockup, illustration, or thumbnail that needs motion. It is usually better than text-to-video when visual consistency matters.
Use script-to-video AI when your video needs a clear message, voiceover, scene order, pacing, and CTA. It is best for explainers, ads, tutorials, training videos, educational videos, product walkthroughs, and brand stories.
Image-to-video is usually better when product accuracy matters because it starts from a product photo or approved visual. Text-to-video can help create mood or lifestyle b-roll, but it may change product shape, color, label, or packaging details.
For quick social clips, text-to-video is often fastest. For product-based social ads, image-to-video gives more control. For educational Reels, Shorts, or TikToks with a clear message, script-to-video is usually better.
Script-to-video is best for the story structure. Image-to-video is useful for approved brand visuals, founder photos, product images, or campaign assets. Text-to-video can support the video with atmospheric b-roll.
Yes. Many strong AI video workflows combine all three. You can use script-to-video for structure, text-to-video for new scene ideas, and image-to-video for product or brand consistency.
Sometimes AI video can replace simple b-roll, concept visuals, mood shots, first drafts, or abstract scenes. It should not replace real footage when accuracy, proof, safety, legal compliance, medical detail, customer evidence, or real event documentation matters.
Text-to-video, image-to-video, and script-to-video are not interchangeable.
Use text-to-video when you need to create a scene from an idea. Use image-to-video when you need to animate a visual that already exists. Use script-to-video when you need a complete video with structure, narration, pacing, and a clear message.
The best choice depends on what you already have and what the final video must do. Start there, and the workflow becomes much easier to choose.
Share this


Article by: Liana Ziroyan
Liana is a marketing professional with 11 years of experience in digital marketing, content, and product communication. She has a strong eye for visual storytelling and loves turning ideas into engaging campaigns that connect with audiences. With her experience across branding, creative content, and user-focused messaging, Liana enjoys finding simple, effective ways to make products feel clear, useful, and exciting.
Read all posts by Liana Ziroyan