Social Media Marketing
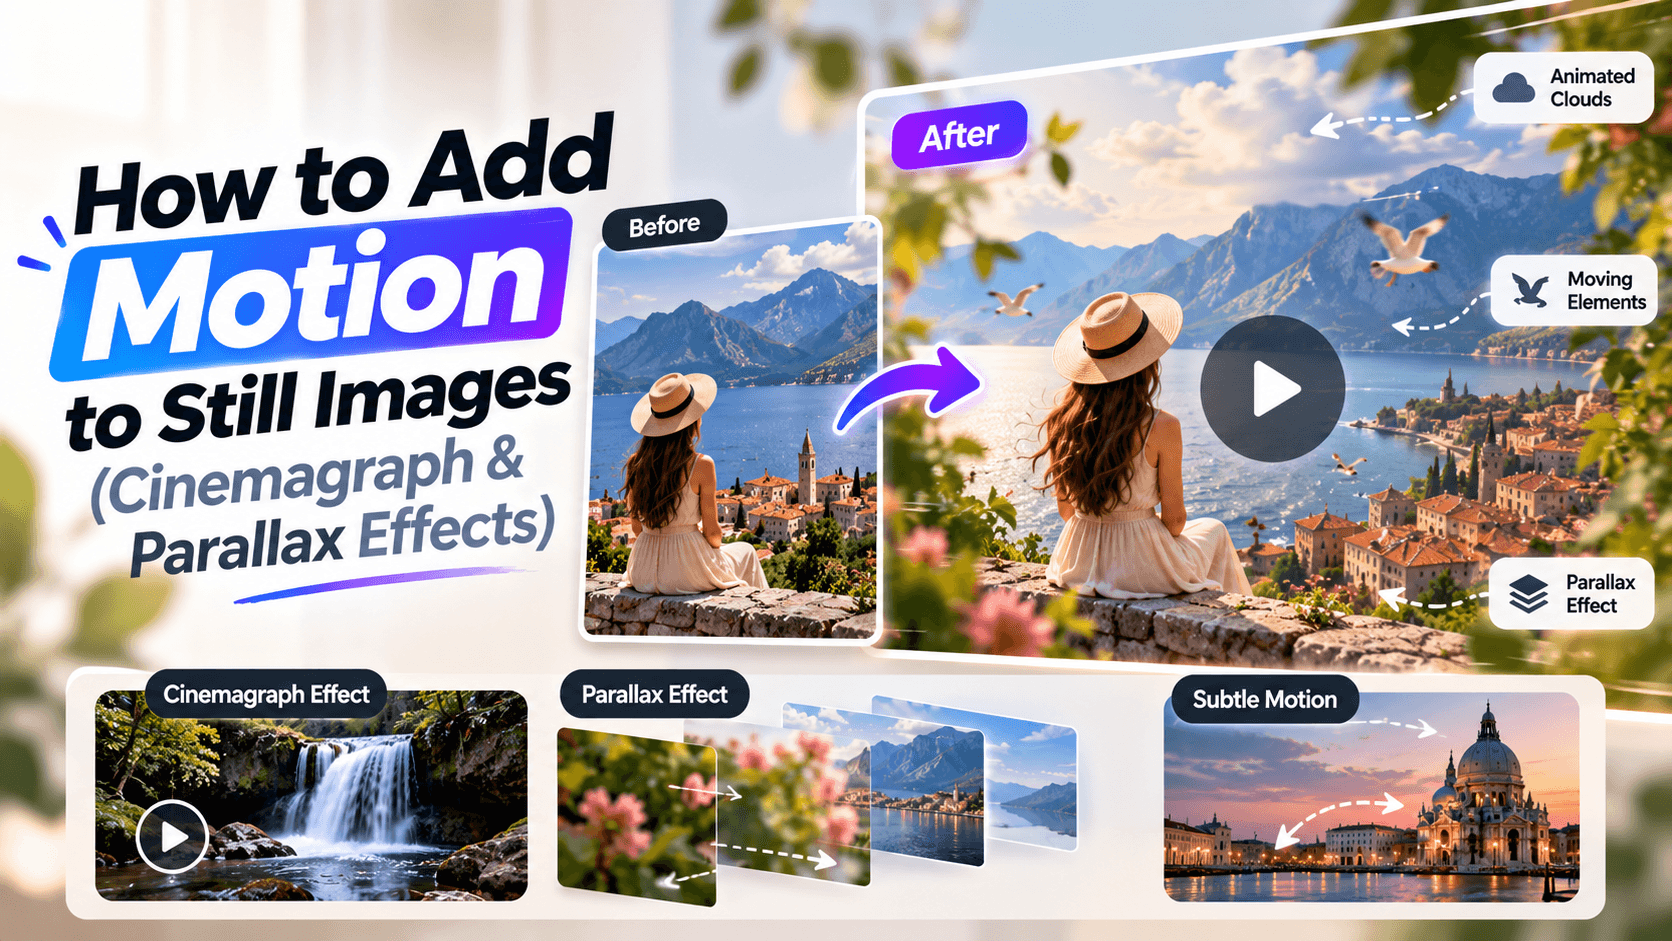
You can add motion to still images by using pan-and-zoom, parallax depth, cinemagraph loops, or AI image-to-video tools. The right method depends on what you want the viewer to notice first: the product, the person, the atmosphere, the headline, or the story behind the image.
The mistake is adding movement just because the tool allows it.
A still image becomes stronger when motion gives it direction. A coffee photo feels warmer when only the steam moves. A portrait feels more cinematic with a slow depth push. A product photo feels premium when light moves across the packaging without changing the label. A poster becomes more engaging when the background moves but the event details stay perfectly readable.
This guide shows you how to choose the right motion style, create cinemagraph and parallax effects, use AI image-to-video tools, and avoid the cheap-looking animation mistakes that make still images feel worse instead of better.
To add motion to a still image, choose one motion style, protect the important parts of the image, apply subtle movement, then export for the right platform. Use pan-and-zoom for simple movement, parallax for depth, cinemagraphs for one looping detail, and AI image-to-video for fast animated variations.
The basic workflow is:
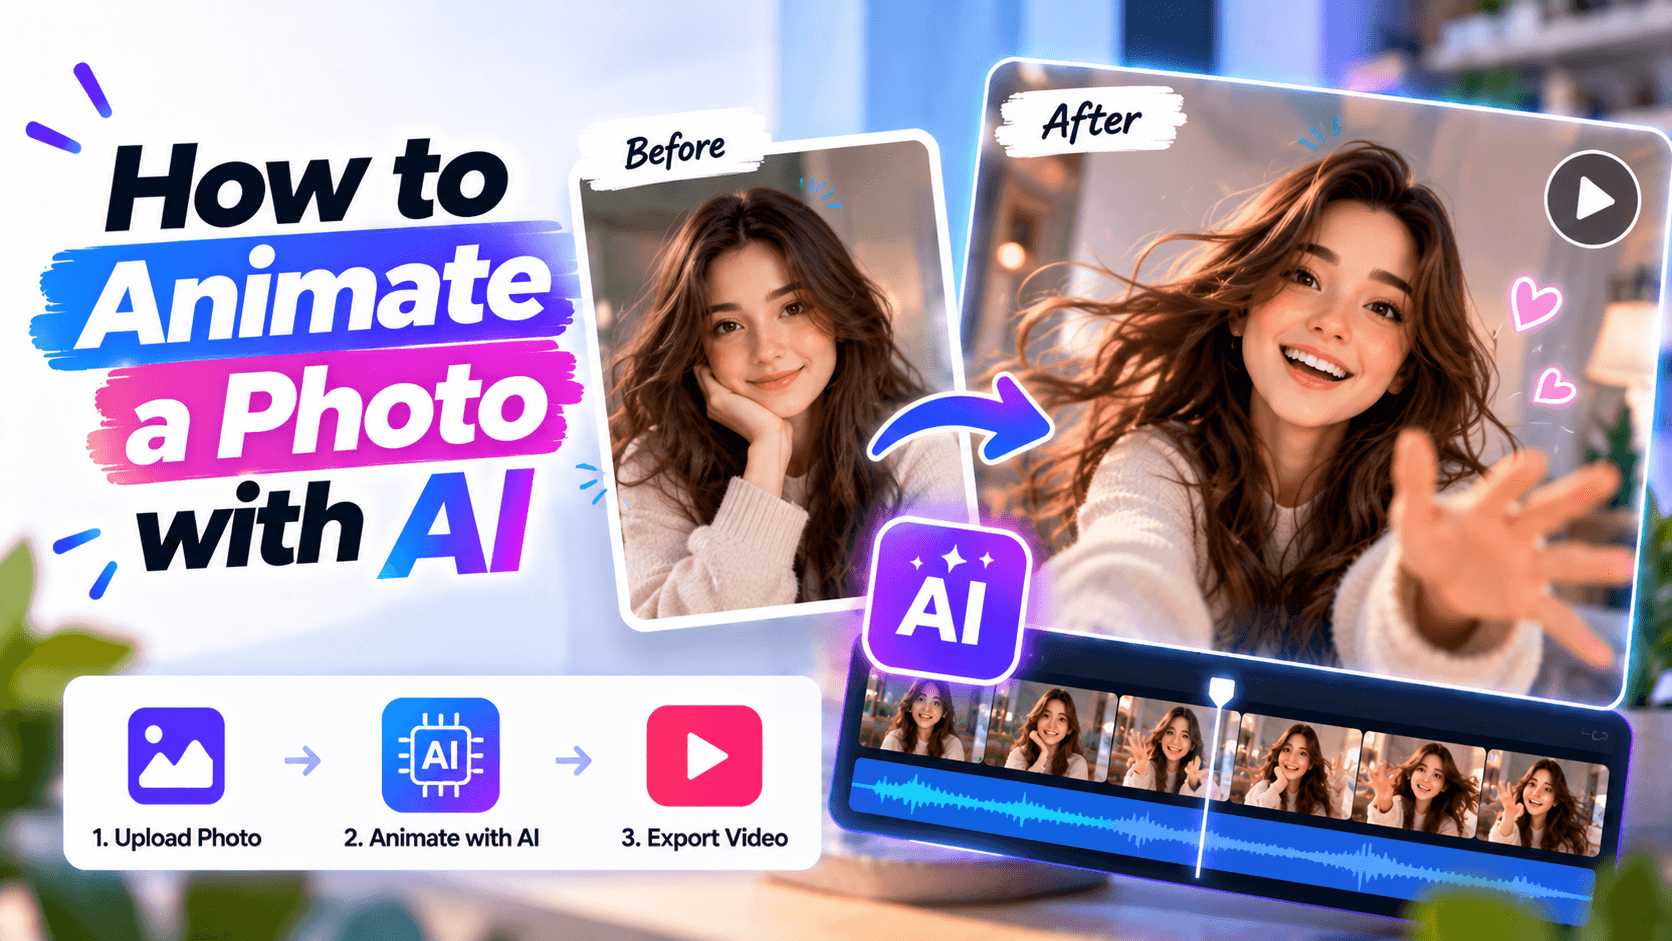
Renderforest’s Image to Video AI is built for this kind of workflow: turning static visuals into motion videos with AI-generated movement, transitions, and depth. Source: Renderforest Image to Video AI.
Adding motion to a still image does not always mean making the whole picture move. In most cases, the best result comes from moving less.
Usually, you are doing one of four things:
A cinemagraph is usually a still photograph with a seamless looped moving element. Kevin Burg and Jamie Beck, who describe themselves as the inventors of the medium, define a cinemagraph as a “living image” with an element of movement looped seamlessly. Source: Cinemagraphs.com: What is a cinemagraph?.
A parallax effect creates a sense of depth by separating image layers, then moving those layers or a virtual camera. Adobe’s After Effects tutorial describes a parallax photo workflow that separates foreground from background in Photoshop and adds a 3D camera in After Effects. Source: Adobe: Animate photos with a parallax effect.
Pan-and-zoom is the simplest version. Britannica describes the Ken Burns effect as a technique that brings still photography and documents to life by panning and zooming with the camera. Source: Britannica: Ken Burns Effect.
Do not start by opening a tool. Start by choosing the effect that fits the image.
The rule is simple: the more important the accuracy of the image, the less aggressive the motion should be.
A product label, event date, logo, face, address, UI screenshot, QR code, or price should not be reshaped by motion. In those cases, animate the camera, lighting, background, or supporting design elements instead of the subject itself.
Before animating a still image, map the image like an editor.
Ask four questions:
This is the difference between “animated” and “edited.”
Bad motion says: “Look, the picture moves.”
Good motion says: “Look here.”
If the viewer notices the effect before they notice the subject, the motion is too loud.
Some parts of an image should almost never be left to AI or heavy motion effects.
Event dates, prices, product labels, and logos are not good places to let AI improvise. If they matter, keep them static or add them manually after generating the motion.
Pan-and-zoom is the safest way to add motion to a still image. It does not require cutting out layers, masking movement, or generating new visual details. You are moving a virtual camera across the image.
Use it when you want:
Use this table as a guide:
Pan-and-zoom works because it gives direction to the viewer’s eye. It is not flashy, but it is dependable.
A beautiful 16:9 pan can still fail if the final video is for TikTok and the product gets cropped out in 9:16. Choose the platform before choosing the movement.
Parallax is the effect people often describe as “making a photo look 3D.” The image is still 2D, but the layers move as if they exist at different depths.
In a simple parallax effect, the foreground moves faster, the background moves slower, and the camera creates the illusion of space.
Adobe’s parallax tutorial uses this same basic logic: separate foreground from background, then move through the image with a 3D camera in After Effects. Source: Adobe: Animate photos with a parallax effect.
Parallax works best when the image has clear depth.
Good candidates:
Weak candidates:
The hardest part is not the camera move. It is the cutout.
If the subject’s edges look rough, the whole effect looks cheap. Hair, hands, product curves, transparent glass, and fine details need careful cleanup.
A good parallax effect should make the image feel deeper, not dizzy.
A cinemagraph is not just any moving photo. It is a still image with one repeated motion that loops smoothly.
That one moving element is the point.
Examples:
The rest of the image stays still.
That contrast is what makes a cinemagraph feel elegant. If everything moves, it becomes a video. If only one part moves, the viewer notices the detail.
For polished marketing assets, MP4 is usually better than GIF because it handles gradients, detail, and compression more cleanly. GIFs can work for simple loops, but they often look heavy, grainy, or limited in color.
Traditional cinemagraphs are usually made from video footage, not only a single photo. You freeze most of the frame, then reveal a small moving area from the video underneath.
Workflow:
If you only have a still image, you can still create a cinemagraph-style result with AI or manual animation, but be careful. Artificial steam, water, hair, or light movement can look convincing only when it stays subtle.
Cinemagraphs work because they are restrained. Treat them like a whisper, not a trailer.
AI image-to-video tools generate motion from a still image and a prompt. This is the fastest way to create motion when you do not want to manually separate layers, mask movement, or build a loop.
Renderforest’s Image to Video AI lets users turn images into motion videos with AI-generated movement, transitions, and depth. Source: Renderforest Image to Video AI.
Renderforest’s AI Video Generator supports starting from text, an image, or a script, then choosing a video model, style, and format before refining generated visuals, voiceover, and scenes. Source: Renderforest AI Video Generator.
Use AI image-to-video when you want:
Use this structure:
Turn this still image into a [length] video for [platform/use case]. Keep [important elements] unchanged. Add [specific motion]. Use a [style] visual tone. Avoid [common distortions]. Format as [aspect ratio].
Example:
Turn this product photo into a 6-second vertical video for Instagram Reels. Keep the product shape, label, logo, color, and packaging exactly the same. Add a slow camera push-in, soft light movement, and subtle background depth. Use a clean premium ecommerce style. Avoid changing the label, adding objects, warping the product, or making the motion too dramatic. Format as 9:16.
The most important part of the prompt is often the “keep unchanged” sentence. AI works better when you tell it what not to touch.
AI works best when you tell it what must not change. That is especially important for products, logos, faces, text, and brand colors.
Use this workflow when you want a practical, non-technical way to turn static visuals into video.
If you are creating a full campaign video, not just a moving image, use Renderforest AI Video Generator so the animated image can become part of a larger video with scenes, voiceover, and editing. Source: Renderforest AI Video Generator.
The cleanest way to think about it:
Renderforest should not be forced into every workflow. If you are building a precise, hand-masked cinemagraph from video footage, a traditional editor may be the right tool. If you want to turn a still image into a short, platform-ready motion video quickly, Image to Video AI is the better fit.
The fastest way to ruin a still image is to move too much.
Use these rules.
One strong motion idea is better than five weak ones.
Good:
Bad:
AI and parallax effects can distort details. Protect anything the viewer needs to trust.
Always check:
If text matters, keep it static or add it manually after generating the motion.
Most still-image motion looks better when it is slower.
A good rule:
Fast movement makes still images feel like templates. Slow movement makes them feel designed.
Linear movement looks mechanical. Easing makes the movement start and stop naturally.
Use easing for:
If the movement feels robotic, easing is usually the first fix.
If the final asset will be published on a blog, landing page, or product page, do not treat it only as a design file. Treat it as search and user-experience content.
Google’s image SEO documentation recommends giving images strong context, using descriptive file names and alt text, and making sure images can be discovered and indexed. Source: Google Search Central: Image SEO best practices.
If you embed video examples, Google recommends making videos easy to find, providing high-quality thumbnails, and using structured data where appropriate. Source: Google Search Central: Video SEO best practices.
For important embedded videos, VideoObject structured data can help Google understand details such as the video name, description, thumbnail, upload date, and duration. Source: Google Search Central: Video structured data.
For this article, the strongest media assets would be:
This is one of those topics where original visuals are not optional. They are part of the answer.
Not every image should move.
A tightly cropped portrait, low-resolution selfie, busy poster, or product photo with tiny text can break when animated. Choose an image with enough space around the subject and a clear focal point.
The more dramatic the motion, the more likely the image is to distort.
If the subject is important, keep the subject stable and move the camera, light, or background.
A 16:9 image may fail as a 9:16 video. Plan the platform before generating motion.
Text-heavy images are risky. AI may rewrite letters, blur numbers, or distort logos.
For posters, announcements, price graphics, and event dates, keep original text static and animate the background or supporting design elements instead.
For cinemagraphs and website hero videos, the loop point matters. If the end jumps back to the beginning, the viewer notices.
A good loop should feel like it could continue forever.
AI-generated motion still needs editing. Review the clip, trim awkward frames, add captions, add brand elements, and export properly.
If everything moves at the same speed, the effect feels flat. Depth comes from contrast: foreground, midground, and background need different amounts of movement.
Most motion problems are not tool problems. They are direction problems. The image needs a clear focal point, a limited motion area, and a reason to move.
Use this table when choosing the workflow.
The best method is the one that protects the image’s purpose.
Turn this product photo into a 6-second video. Keep the product shape, label, logo, color, packaging, and proportions exactly the same. Add a slow camera push-in, soft studio light movement, and subtle background depth. Avoid changing text, adding objects, warping the product, or making the motion too dramatic. Format as 9:16.
Add subtle motion to this portrait. Keep the person’s face, identity, hairstyle, clothing, and expression unchanged. Add a gentle camera push-in, slight background depth, and soft natural light movement. Avoid changing facial features, eyes, teeth, skin tone, or body shape. Format as 4:5.
Turn this food photo into a short cinemagraph-style video. Keep the dish, plate, ingredients, colors, and composition accurate. Add gentle steam and soft light movement. Avoid changing the food shape, adding ingredients, or making the motion look artificial. Format as 9:16.
Turn this landscape photo into an 8-second cinematic video. Keep the location, buildings, people, and composition accurate. Add slow camera movement, subtle clouds, atmospheric depth, and natural light. Avoid adding new objects, fake weather, or changing the scene. Format as 16:9.
Animate this event poster into a vertical promo video. Keep all text, dates, times, logo, and layout unchanged. Add subtle background motion, light movement, and clean depth. Avoid rewriting text, changing the date, distorting the logo, or making the design too busy. Format as 9:16.
Turn this brand image into a 10-second website hero loop. Keep the logo, headline area, colors, and composition unchanged. Add slow background depth, soft light movement, and a seamless loop. Avoid sudden motion, text distortion, new objects, or distracting effects. Format as 16:9.
Before you publish, review the video like an editor, not like a tool user.
This step matters more than people think. A moving image can look impressive in the editor and still fail on a phone screen if the crop is wrong or the text is too small.
You can add motion to a still image by applying pan-and-zoom, creating a parallax effect, making a cinemagraph, or using an AI image-to-video tool. The best method depends on whether you want simple camera movement, depth, looped motion, or AI-generated animation.
The easiest method is pan-and-zoom. It works in most video editors and does not require cutting out layers. For more dynamic motion, use an AI image-to-video tool.
A cinemagraph is a still photograph with one seamless looped moving element. The rest of the image stays still, which creates a subtle “living photo” effect. Kevin Burg and Jamie Beck define a cinemagraph as a still photograph with an element of movement looped seamlessly. Source: Cinemagraphs.com.
A parallax effect creates the illusion of depth by separating an image into layers and moving those layers or a virtual camera. Adobe’s workflow for animating a photo with parallax uses separated foreground and background layers with a 3D camera in After Effects. Source: Adobe: Animate photos with a parallax effect.
Parallax makes the whole image feel deeper by moving layers at different speeds. A cinemagraph keeps most of the image still and loops one moving detail, such as steam, water, hair, or light.
Yes. AI image-to-video tools can generate motion from a still image and prompt. The best results come from clear instructions about what should move, what must stay unchanged, and what style the motion should follow.
Yes, but keep the product accurate. Use slow camera movement, light motion, or background depth instead of making the product itself bend, rotate, or change shape.
Yes. Keep the text static and animate the background, lighting, or supporting design elements. If the text includes dates, prices, addresses, or legal details, add it manually after the motion is generated.
Most animated still images work best at 4–10 seconds for social content, 6–12 seconds for website hero loops, and 4–7 seconds per image in slideshows.
Use MP4 for most polished marketing videos because it usually gives better quality and smaller file sizes. Use GIF only when the platform specifically needs it or the animation is very simple.
It usually looks fake because too much is moving, the subject is distorted, the loop jumps, or the motion has no clear purpose. Reduce the motion, protect important details, and add easing.
The best way to add motion to a still image is not to animate everything. It is to choose the one movement that helps the image do its job.
Use pan-and-zoom when you need simple direction. Use parallax when the image has depth. Use cinemagraphs when one small loop can create atmosphere. Use AI image-to-video when you need fast variations or a more dynamic result from one image.
Motion should make the still image clearer, not louder.
Share this


Article by: Liana Ziroyan
Liana is a marketing professional with 11 years of experience in digital marketing, content, and product communication. She has a strong eye for visual storytelling and loves turning ideas into engaging campaigns that connect with audiences. With her experience across branding, creative content, and user-focused messaging, Liana enjoys finding simple, effective ways to make products feel clear, useful, and exciting.
Read all posts by Liana Ziroyan