Video Editing
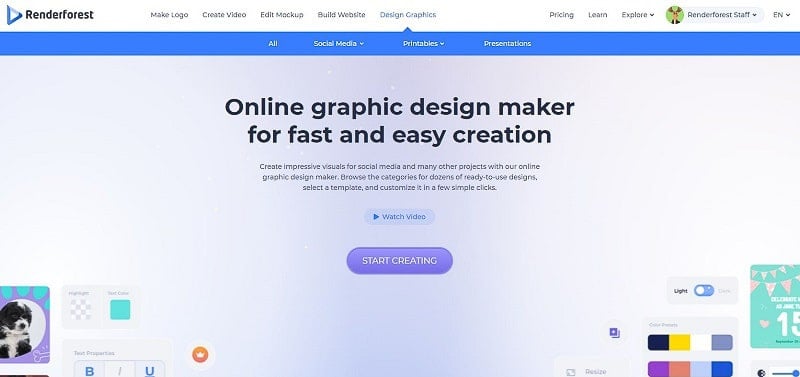
You might have heard the news: We recently launched our graphic maker that had been in the making for quite some time. We’re inspired by your positive feedback and are looking forward to helping you make the most creative and extraordinary visuals on the web!
Renderforest Graphic Maker is designed to facilitate the graphic creation process for everyone. With a vast collection of templates at your fingertips, you can make professional graphic designs in a couple of minutes.
Excited to see how the graphic maker works? Then let’s jump straight into our tutorial!
First, go to “Design Graphics” from the main menu bar and hit the “Start Creating” button once you’re ready to begin your graphic-making journey.
Here, you’ll find all the available graphic templates laid out in front of you. If you have something specific in mind, use the search field to look for the graphics you need. Otherwise, browse the categories and subcategories to access templates that match your specific project.
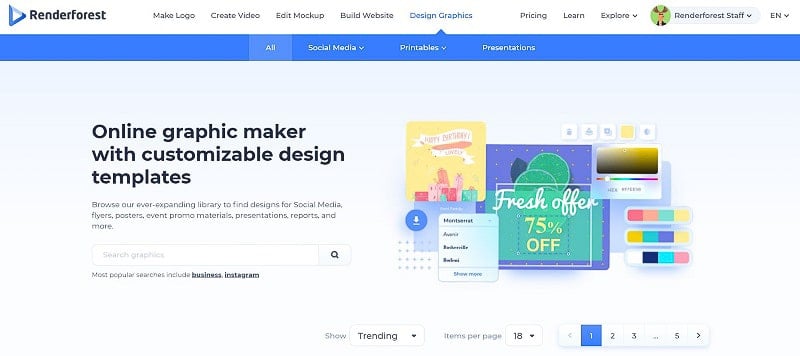
There are three main categories: Social Media, Printables, and Presentations. By selecting each, you’ll be given various thematic packs you can use for your design project. Each pack comes with customizable templates. Select a pack, and the templates are yours to edit.
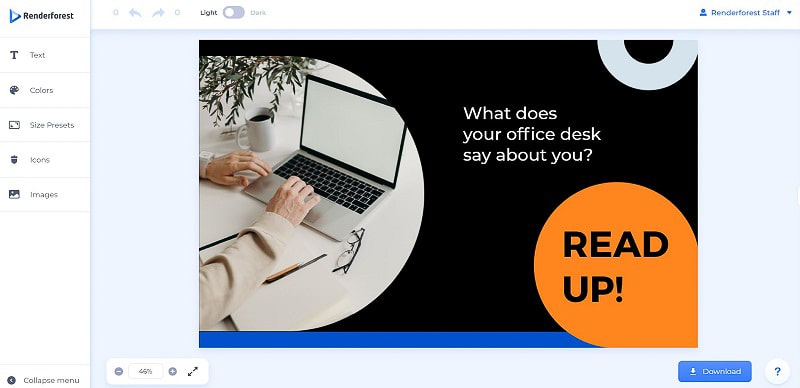
For this tutorial, we have chosen the “Company Promotion Design Pack.” Note that the editing process is the same for all the packs. So pick yours, and let’s explore further.

Right under the pack description, you’ll notice the sizes that are available for the templates. Pick a suitable size and scroll down to view the templates.

Once you find a design that seems right for your project, simply click on it, and you’ll be directed to our online graphic editor.
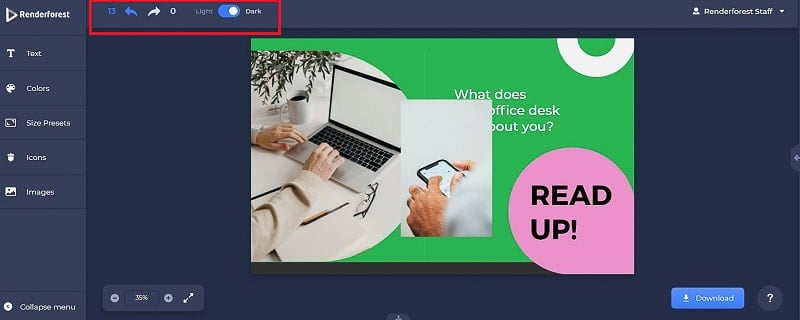
Before you ask, yes, there’s a dark mode available for our fellow nyctophiles. With that out of the way, now let’s get to editing!

On your left-hand side, you’ll have a toolbar that will allow you to make changes to the premade design. You’re free to alter the text, colors, size, icons, and images of any given template.
Click on any text box to edit it with your text. Once you do, a new window will open up on your left where you can change the text font and colors, tweak text properties, alignment, letter spacing, and other details.
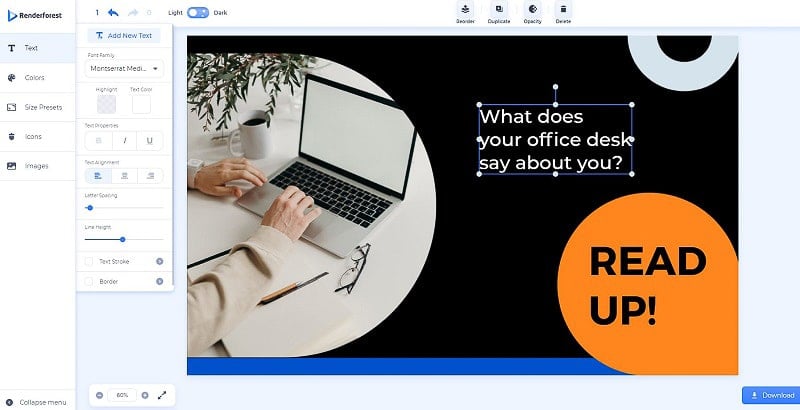
If you want to add new text, you can do so with the button on the very top of the text editor. You’ll be given the option to add a heading, subheading, or paragraph text.

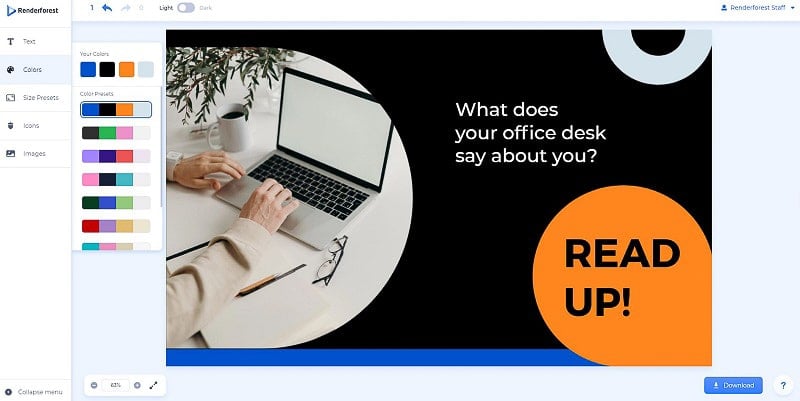
When you’re finished with the text, move on to the color section that’s located right under “Text.” Here, you can either choose one of the suggested color presets to change the color palette or create your own by clicking on and replacing each color individually.
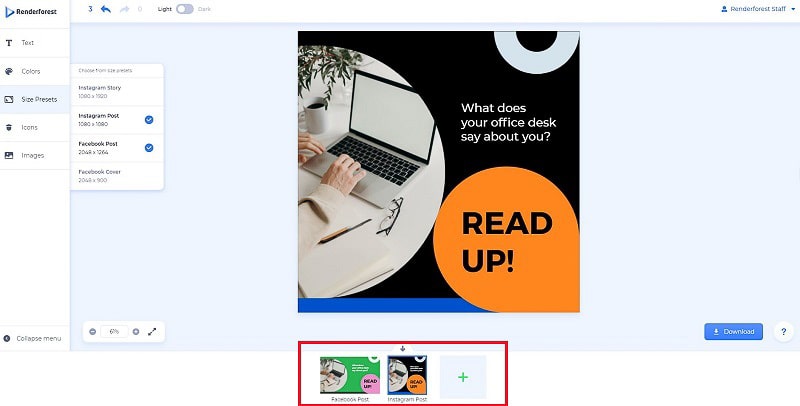
Satisfied with the colors? Awesome, now let’s go to the next section — Size Presets. Here, once again, you can switch between the available size presets and pick the one with the right dimensions.
Note that you can add more than one size preset and work on each one separately. You’ll see all your chosen presets in the bottom slide bar, and you can go back and forth to edit them interchangeably.
After figuring out the size presets, you can proceed to the “Icons” section. This part is pretty straightforward: You find icons and click on them to add to your design if needed. The search tool will help you find the right icon(s) much quicker.
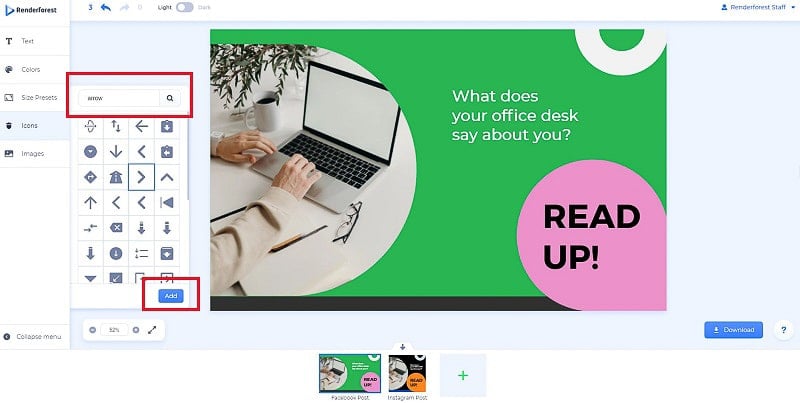
Once the icon is added, you can reposition and resize it as well as change its color and opacity from the top horizontal bar. We’ll discuss the latter in more detail a bit later on. Click on the icon, then drag and drop it to change its position.

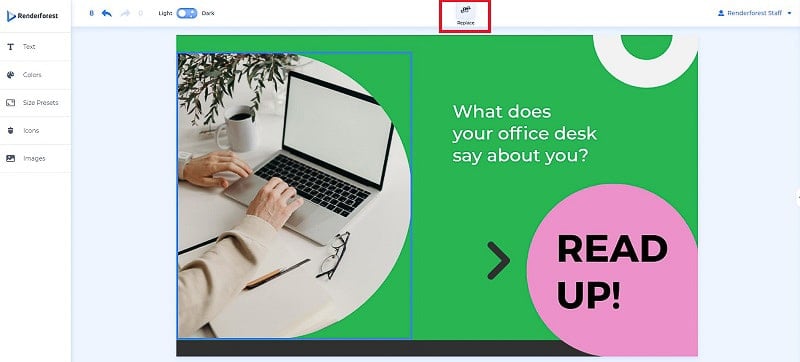
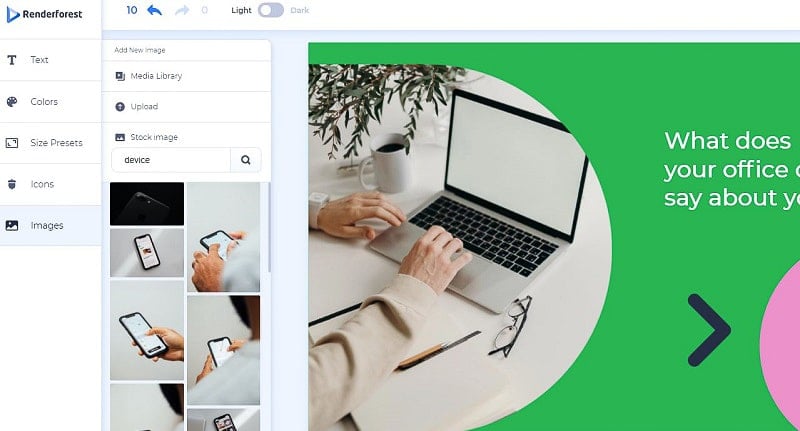
The last section in our toolbox is “Images.” Guess what, it allows you to upload new images or replace the existing ones. To replace a visual, click on the image holder and then on the “Replace” button that will appear in the top toolbar.
To add a new image, you’ll have the following options:
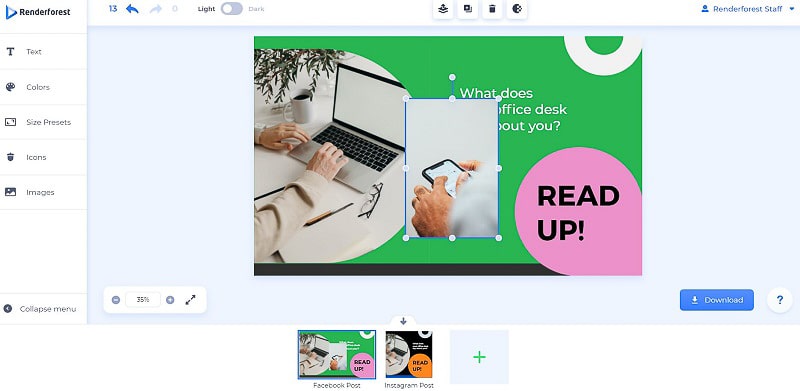
Click on any photo to add it to your design. Just like with icons, you can enlarge, reduce, stretch, rotate, and reposition your image.
Now that we’re done with the side toolbox, we can start digging into the top toolbar. First in line are two little arrows that let you undo and redo your most recent actions. Right next to the arrows is the switch that will allow you to toggle between light and dark modes.
Switching the mode won’t affect your design, so switch without worrying.
Select any element in your visual to play around with its layer. The layer management tools will be available in the top toolbar. Let’s see what we have!
The first tool enables you to manage the layer order. You can move your selected layer forward and backward, send it to the very front of all layers or to the very back.
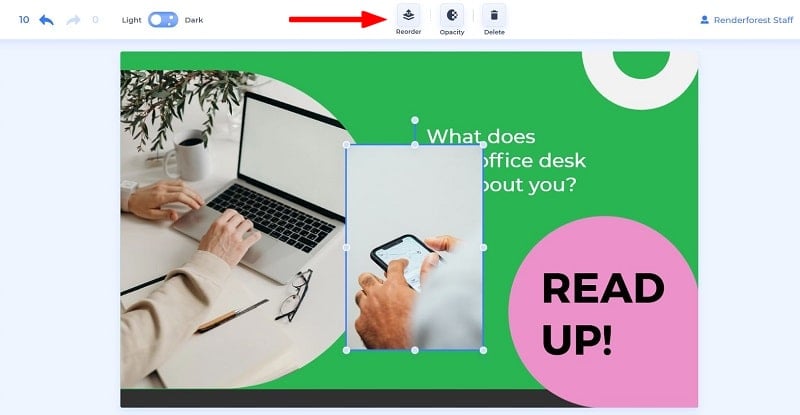
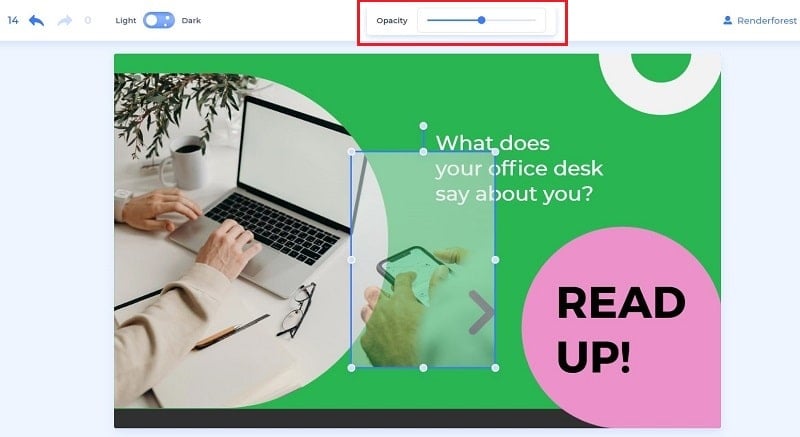
Use the “Opacity” tool to control the transparency of your layer. Move the slider left or right to make the selected element more transparent or opaque respectively.
Made a mistake with a layer? No worries, just use the last button on the line to delete unwanted images, text fields, and icons.

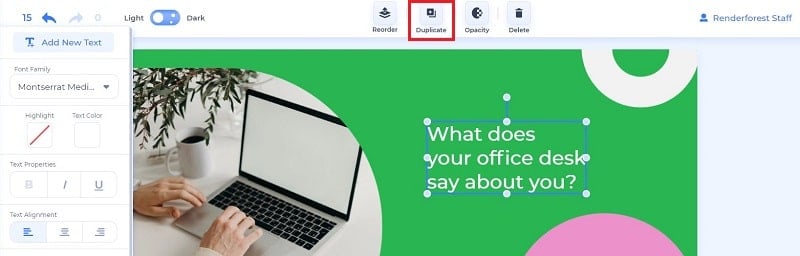
If your selected layer is not an image but a text holder, in addition to all the mentioned tools, you’ll also have a “Duplicate” button. Hit it to make as many copies of your text as you wish.
At this point, your graphic should be perfectly customized. To zoom in and out on your project, you’ll have a zooming section in the lower-left corner of your screen. Use the “+” and “-” signs to zoom in and out or adjust the percentage as needed.
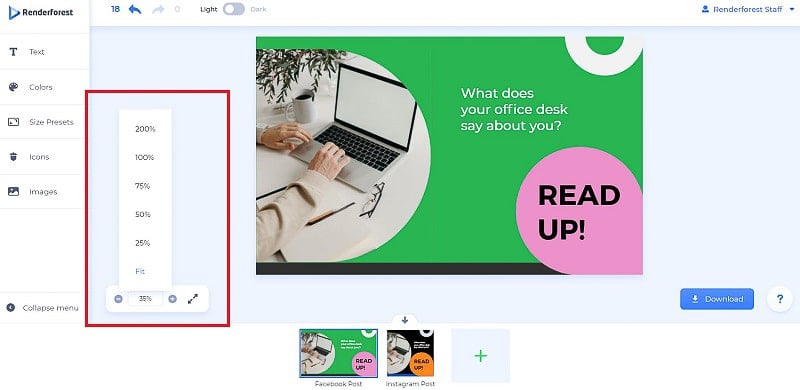
You can also get a full-screen preview of your project by hitting the full-screen button resting right next to the zoom settings.

Once you’ve viewed your graphic from every possible angle and maybe asked your friends or colleagues to do the same, you’re ready to download your masterpiece! Click the “Download” button in the far right corner and select the file format for your download. As of now, the supported file types are JPG and PDF.

You’ll also be able to get a public link to your project, which you can share with your team or another contributor.
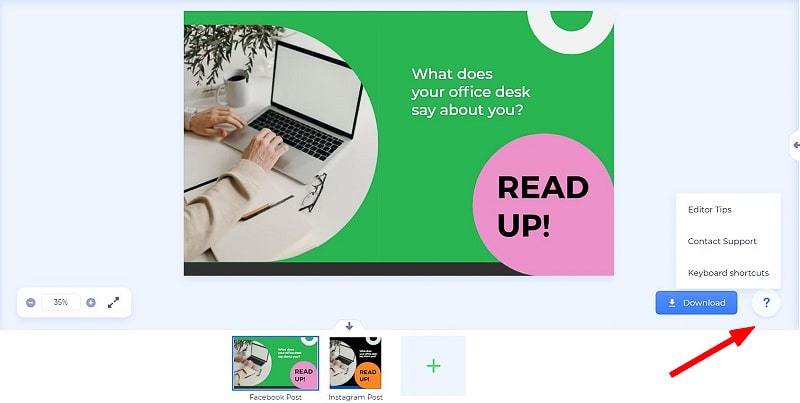
If you need additional help while creating your designs, click on the question mark icon in the right-hand corner, and you’ll have access to quick editor tips (which you hopefully won’t need after this tutorial), our support team, and some keyboard shortcuts.
Last but not least, click on the tiny arrow on your right side to find other design layouts from your chosen pack. Click on the scene you like, and you can start editing it right away.

Keep in mind that the new template is going to replace the one you’re currently editing. So make sure to download your previous design before you move on to the next one.
They say no first draft is perfect; If you find that’s the case with your project, you can return and edit it as many times as you need. Easily access your design from the “My Graphics” page and hit “Edit” to continue editing.
On the “My Graphics” page, you can also export and download your visuals in your desired format.

Well, looks like you now have all the tips and tools to create fascinating graphics. Our library of design packs will continue to expand to meet your every branding need. If you have any feedback, we’ll be happy to hear from you!
Are you thrilled to start working on your graphic design project? Then click the button below to dive into our freshest graphic collection:
Share this
Article by
Dive into our Forestblog of exclusive interviews, handy tutorials and interesting articles published every week!
Read all posts by Renderforest StaffCreate Professional
with Renderforest All-In-One Branding Platform.


Create Professional
with Renderforest All-In-One Branding Platform.
Sign Up Now. It’s Free!