AI
Let’s be honest. We respond to visual content better than to text. That is why using images, videos, and infographics will help you catch the attention of your audience.
Today, slideshows are one of the most popular and trendy visuals used on the web. You probably see sliders several times a day on different websites while surfing the web.
Let us define what exactly slideshows are. Slideshows are dynamic content that display collections of images spiced up with texts, design elements, and also music. One of the things that makes them so trendy is the dynamics that keeps your site visitors engaged and active.
Besides, sliders allow you to place a collection of images in a single section of your web page, which saves space for other content. In short, slideshow galleries deliver visual information in a dynamic and engaging way.
Renderforest slideshow maker offers a wide range of Slideshow templates from Parallax Circles to Baby Birth Timeline, from Cinematic Photo Slideshow to Digital Hi-Tech Presentation. You’ll also find memorial video templates you can use to create a tribute slideshow. Our catalog is big enough to meet all your expectations when making your slideshows. They are designed to provide unique visual effects to your images, increase your website’s attractiveness, and engage your audience.
In this tutorial, we are going to show you how to create a great slideshow video with Renderforest’s online animation maker.
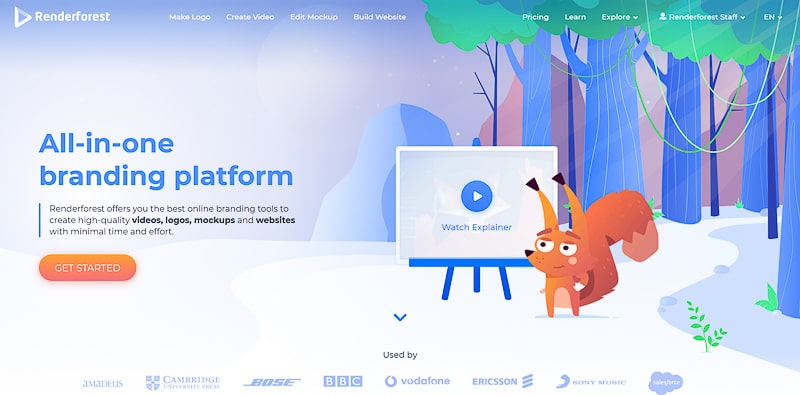
To start creating your awesome slideshow, you need to go to “Create Video” from the navigation menu.
Choose the “Slideshow“ category from “Video Templates” section. This category consists of thematic subcategories, which can be picked from the drop-down list.
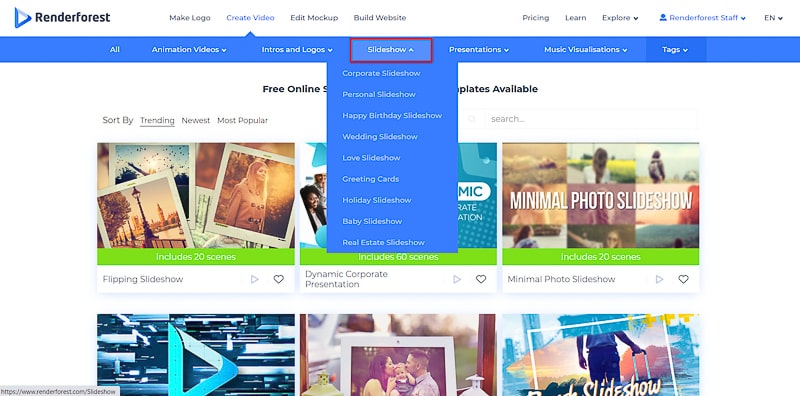
There are the following subcategories in the Slideshow category – Corporate, Personal, happy birthday video maker, Wedding, Greeting Card, Love, Holiday, Baby, and Real Estate templates. It’s all about creative freedom. Whatever you want to make, these templates will allow you to get results beyond your expectation.
There are several ways in which you can create a slideshow. Let’s start with the simple editing option.
Select one of our slideshow maker templates. Here, we will go with the “Flipping Slideshow” template. Click “Create Now” to start.

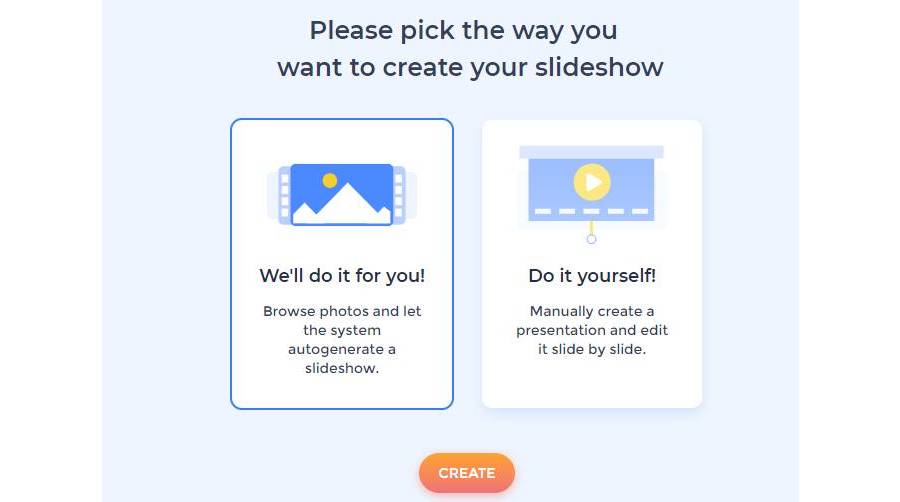
For a bulk upload and simpler editing process, select the “We’ll do it for you!” option and hit “Create.”
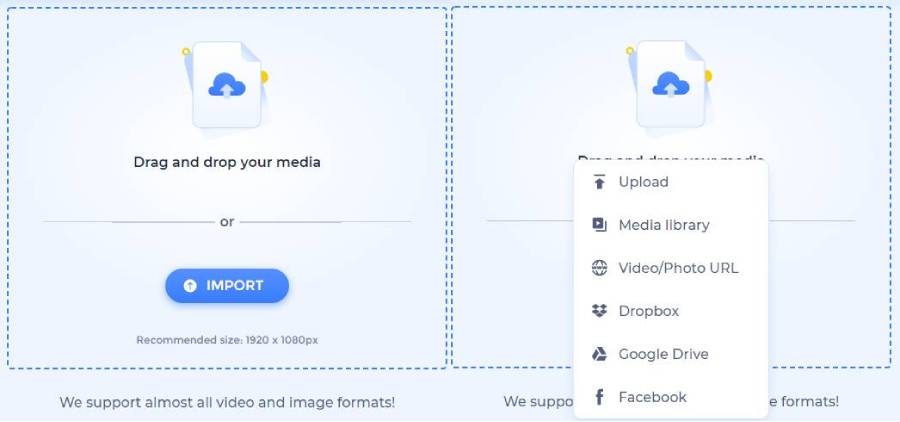
Next, you can drag and drop your media to the editor or add it using any of the following methods: upload, select from your media library, add using a URL, or select images from Dropbox, Google Drive, or Facebook.
Once your images appear, drag them left and right to adjust the order. In the slideshow, the photos will appear in the order they appear in the timeline, so make sure to pay extra attention to this step.
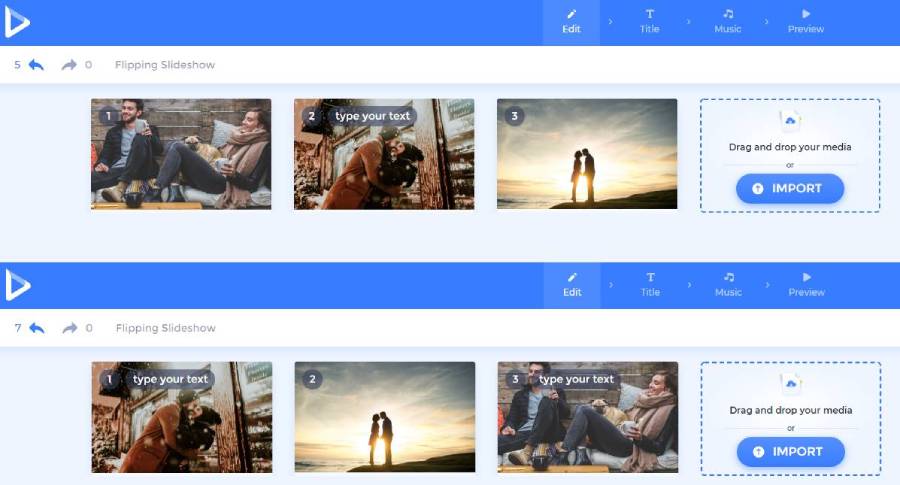
Hover over each image to add text, click the bin icon to delete the image, or select the More Options icon on the upper-right corner of each image to edit the visual.

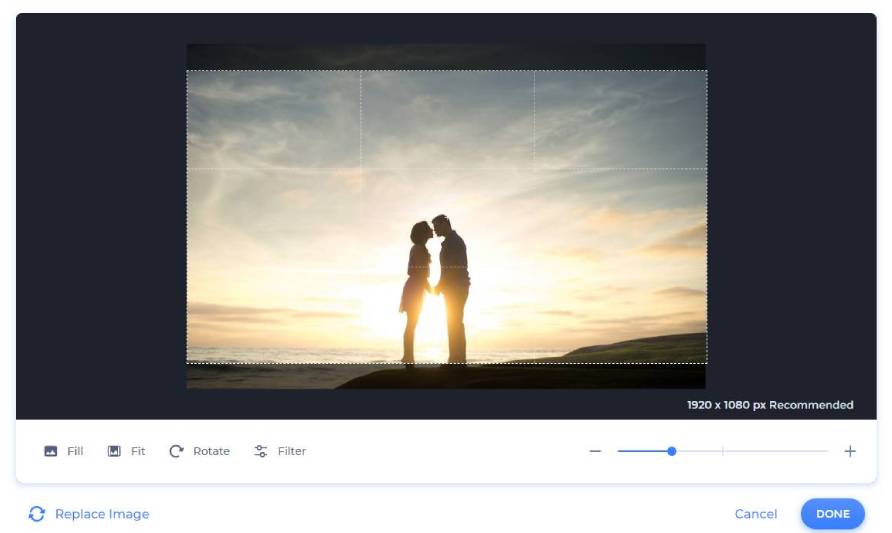
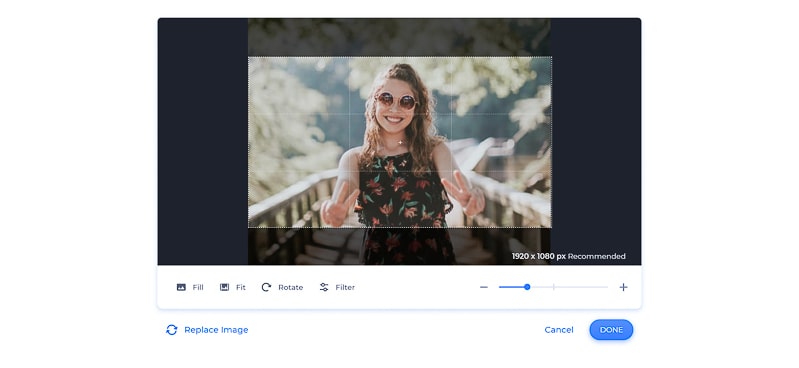
In our advanced editor, crop the image, adjust the size, rotate it, or add filters. In case you don’t like how the image looks, you can replace it by clicking the “Replace Image” button. When the editing is final, click “Done” to go back to the editor.
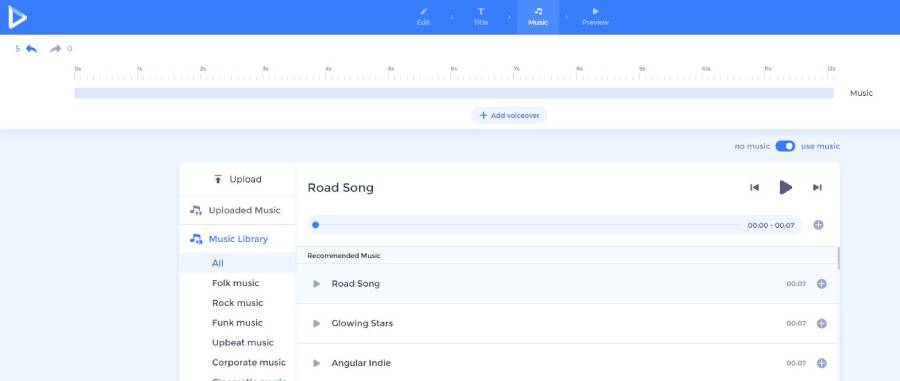
Once you’ve edited all the images, move to the music section to add background music or a voiceover to the slideshow. You can select from the tracks available on our platform, or upload your own music.
Then, move to the preview section to see how your video looks. Select the free preview, and wait for your video to render. Happy how the video turned out? Download it in high quality. And in case there is anything you want to change, simply go back to the editor.
Another way of making a slideshow on Renderforest is by adding and editing scenes manually. This method may take longer but will give you more control over the final outcome. In the step-by-step guide below, we will look at how this can be done with the example of this video:
Pick one of our amazing Slideshow templates, Fragmented Transitions Slideshow, for example. This template can be used as a personal slideshow, birthday surprise, wedding videos, graduation videos, and a lot more. It gives you a great opportunity to gather all your happy and unforgettable moments in one slideshow and share it with your loved ones.
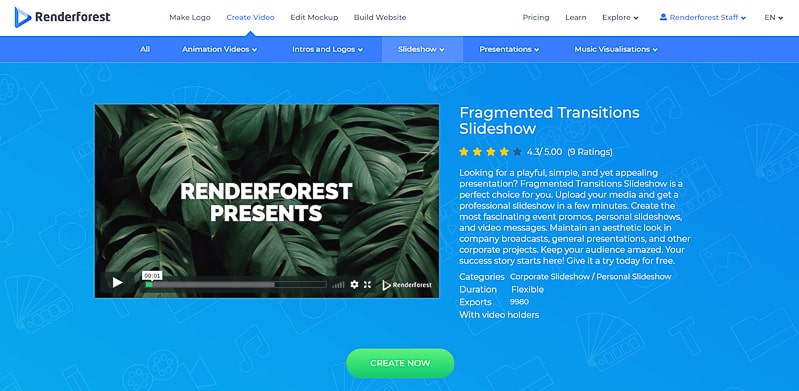
Click on the “Create Now” button to start editing the template. You will be redirected to the editor where you can choose one of the two suggested options: load our ready-made presets or add your preferred scenes manually.

If you click on “Load a Preset,” you will see our ready-made presets created to ease your video creation process and make it much more enjoyable.

Check all of them out and decide which one will suit your needs the best. Click on “Use Ready Story” and edit the scenes with your media files, text, and a background music track.

But if you want your video to be as unique as possible, click on “Add Scene” and start selecting scenes manually. This template offers four scene categories: image holders, video holders, text holders, and logo animations.

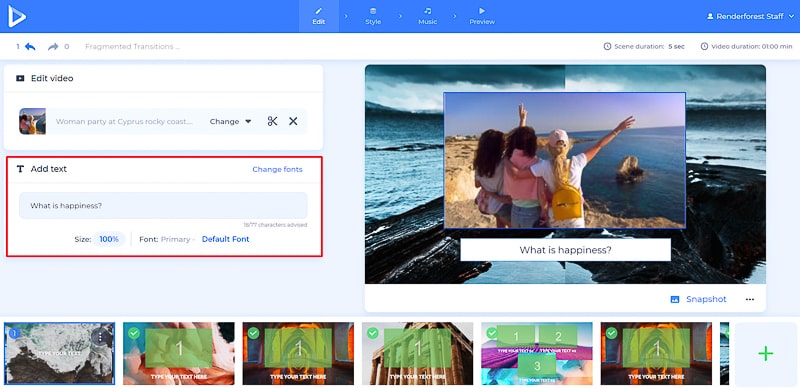
Once you insert all the necessary scenes, start customizing the scenes with your media files and text with the help of the tools on the left side of the editor.
Now, let’s speak about the image and video holders. There are several methods to upload pictures or videos to your project: through image or video URL, from your device or Media Library, or use our Stock Library for free.

Upload your images, crop, and resize it to match the size of the image holder.
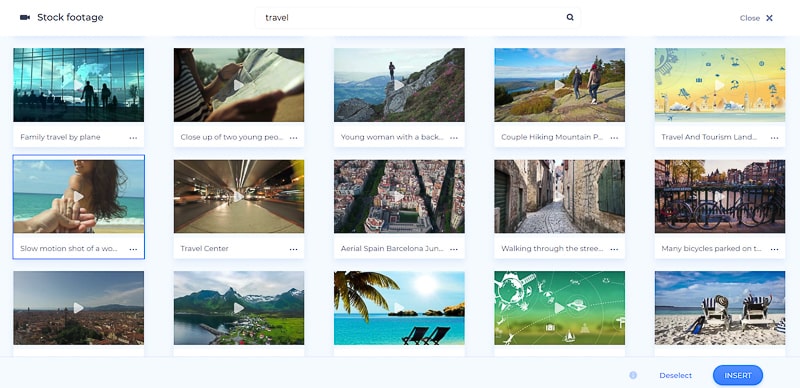
If you have personal videos, feel free to upload them through the methods mentioned above. If not, you can use our Stock Footage Library for free. There are 150.000+ videos to check out and choose the most appropriate one for your slideshow.
Once you insert the video, adjust it by trimming the parts you want to use in your slideshow. Click on “Done” and move to the next section.

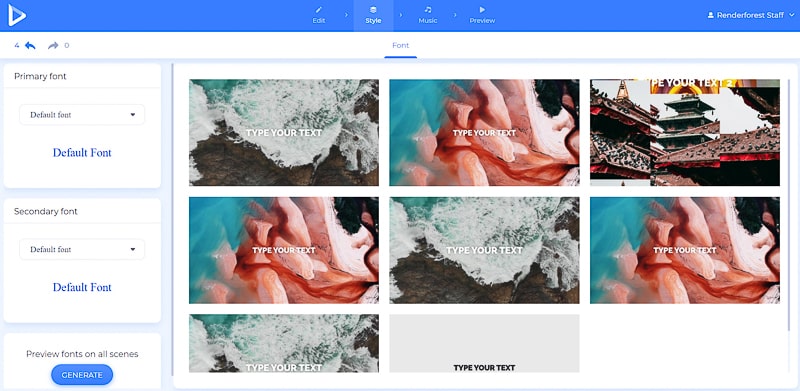
Great, you’ve finished the video editing section. Now, it’s time to go to the “Style” section and choose the primary and secondary fonts for your video.
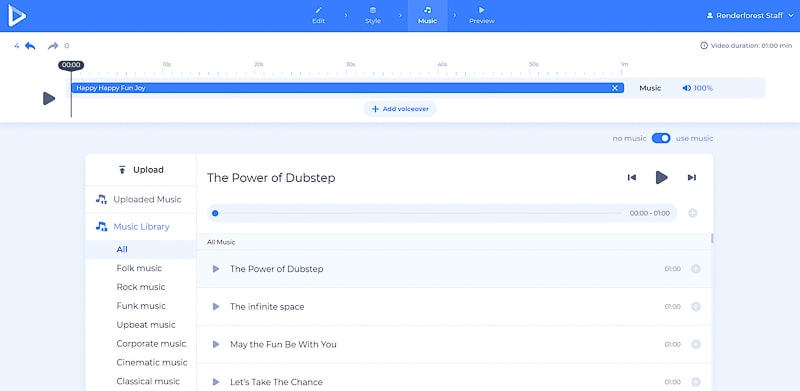
What about adding some music? Go to “Music” and choose one of the tracks from our vast catalog or simply upload your own music – it’s up to your taste and mood. You can also add your voice over.
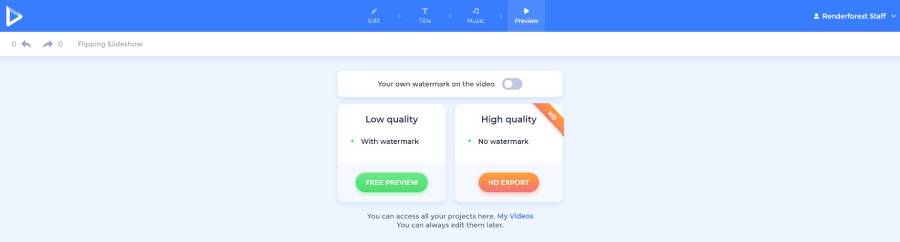
When you have finished all the steps in your video creation process, go to the “Preview” section to see how your slideshow looks.

There are several options for exporting your creation. The first one is the free option. We recommend you to export the free version first, before processing to the paid rendering. Free videos have SD360 quality, and you’re able to edit, download, and publish these videos anytime you wish.
Another option is to buy high-quality videos by choosing one of our paid subscription plans. You can find all the details of our pricing here.
All your videos are saved in your Renderforest account. You can reach them anytime by going to the “My Videos” page. Click on your name and choose “My Videos” from the drop-down list for editing or extracting it.
We hope our tutorial was helpful. Start your slideshow creation journey today with us!
Click on the button below to start:
Share this
Article by: Renderforest Staff
Dive into our Forestblog of exclusive interviews, handy tutorials and interesting articles published every week!
Read all posts by Renderforest Staff