Video Editing
Taking your business online is a huge step toward success. To go online, you need an impressive and professional website, or at least a landing page where you will have a chance to show what you have: your service or products.
Luckily for all non-coders, it’s now possible to create a website without any coding skills. You can use online website builders, which can help you easily create your own professional website or landing page with beautifully designed, customizable, and responsive templates.
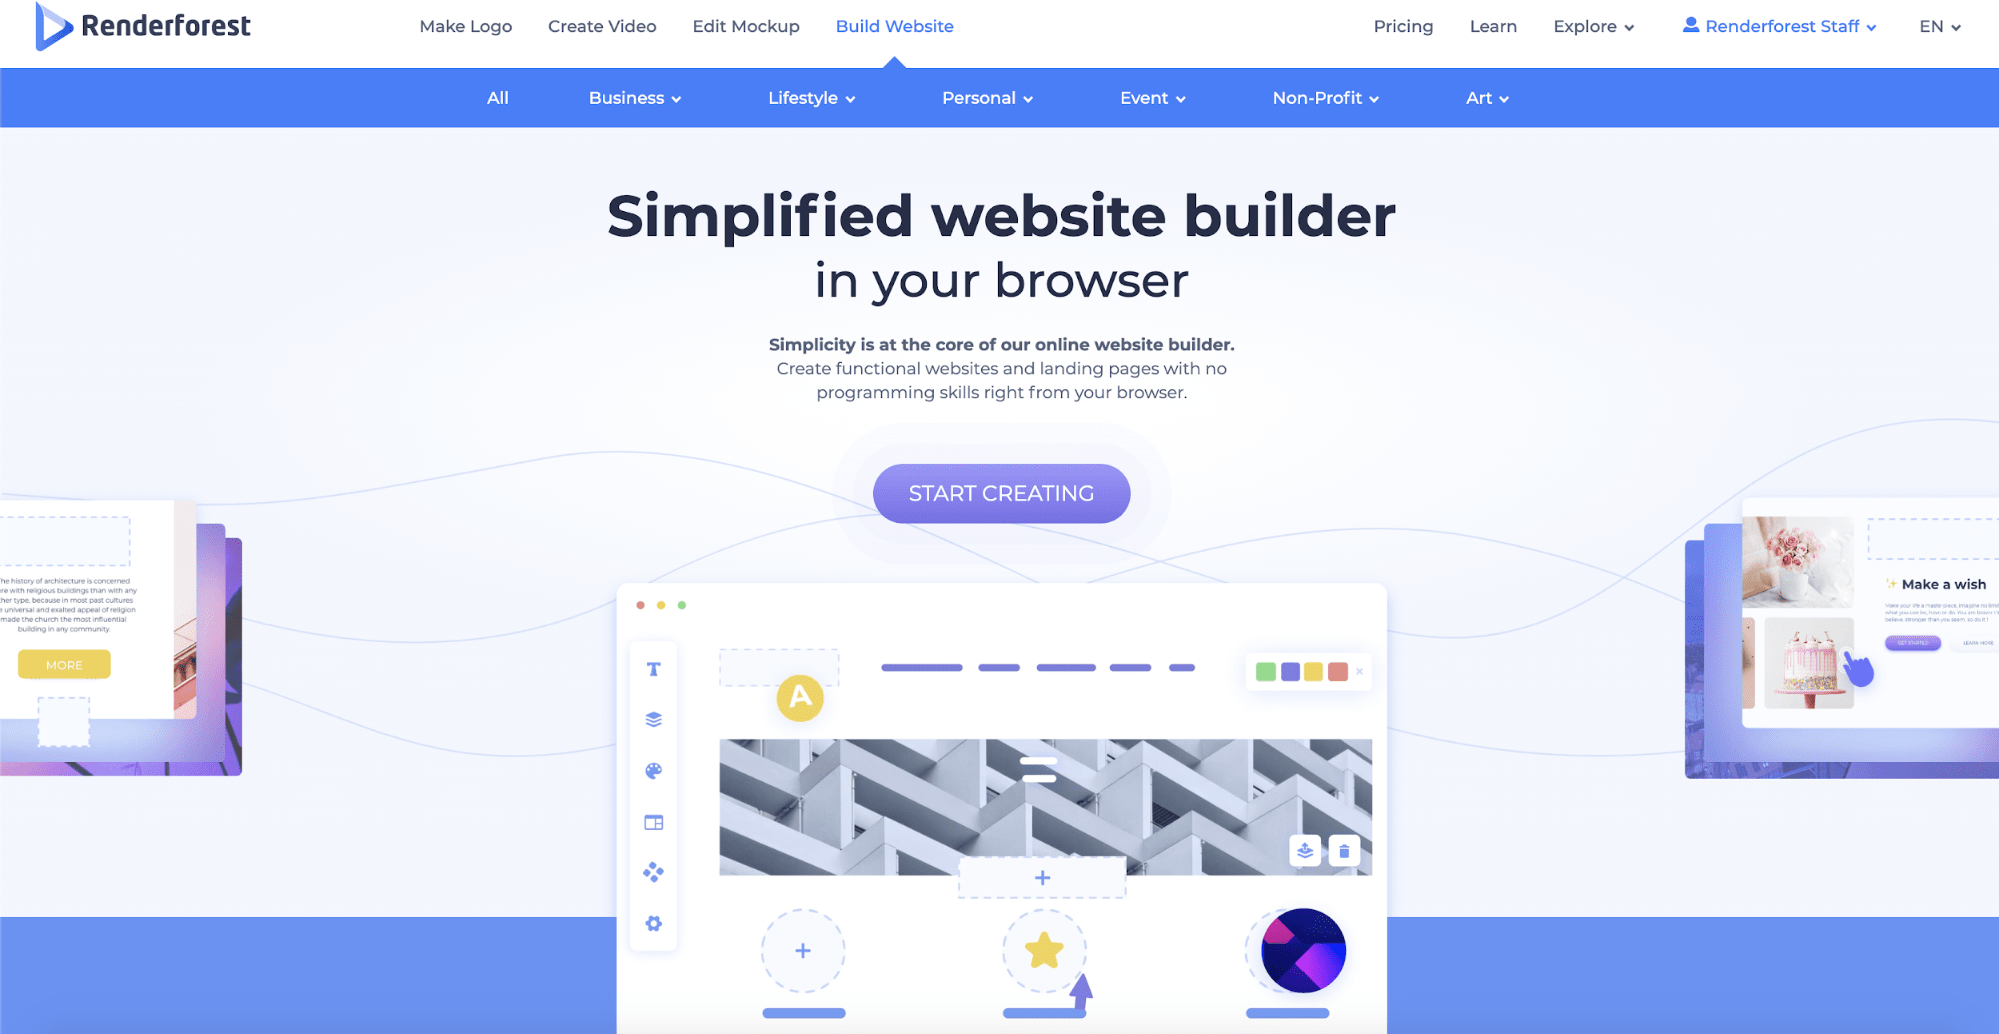
Renderforest offers an amazingly simple solution that takes website creation to a new level. In this tutorial, you can find all the instructions for using the website builder and its functionality.
So, how to get started? Go to “Build Website” from the navigation menu and click the “Start Creating” button.
Here you have two options: create your website from scratch by adding a component or load a template.
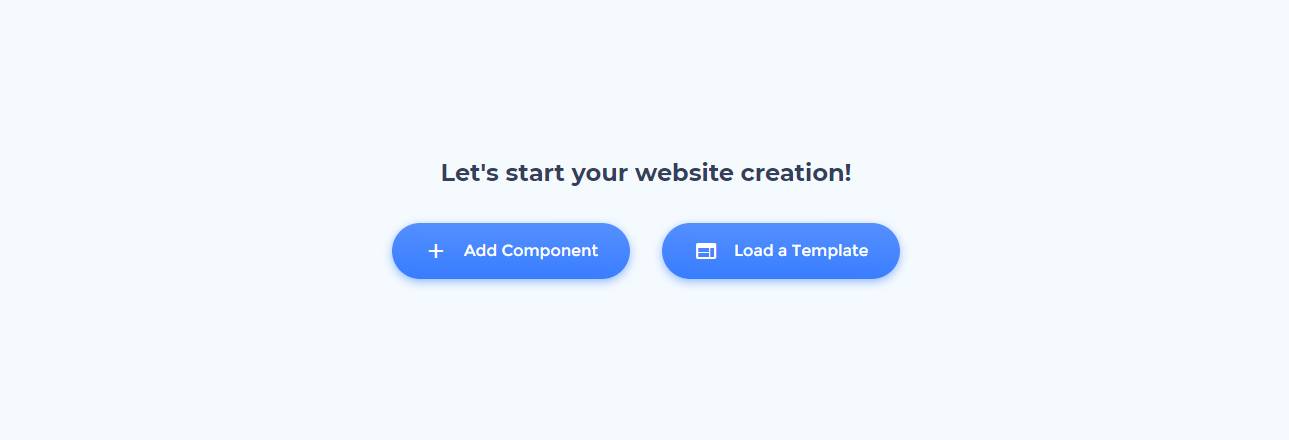
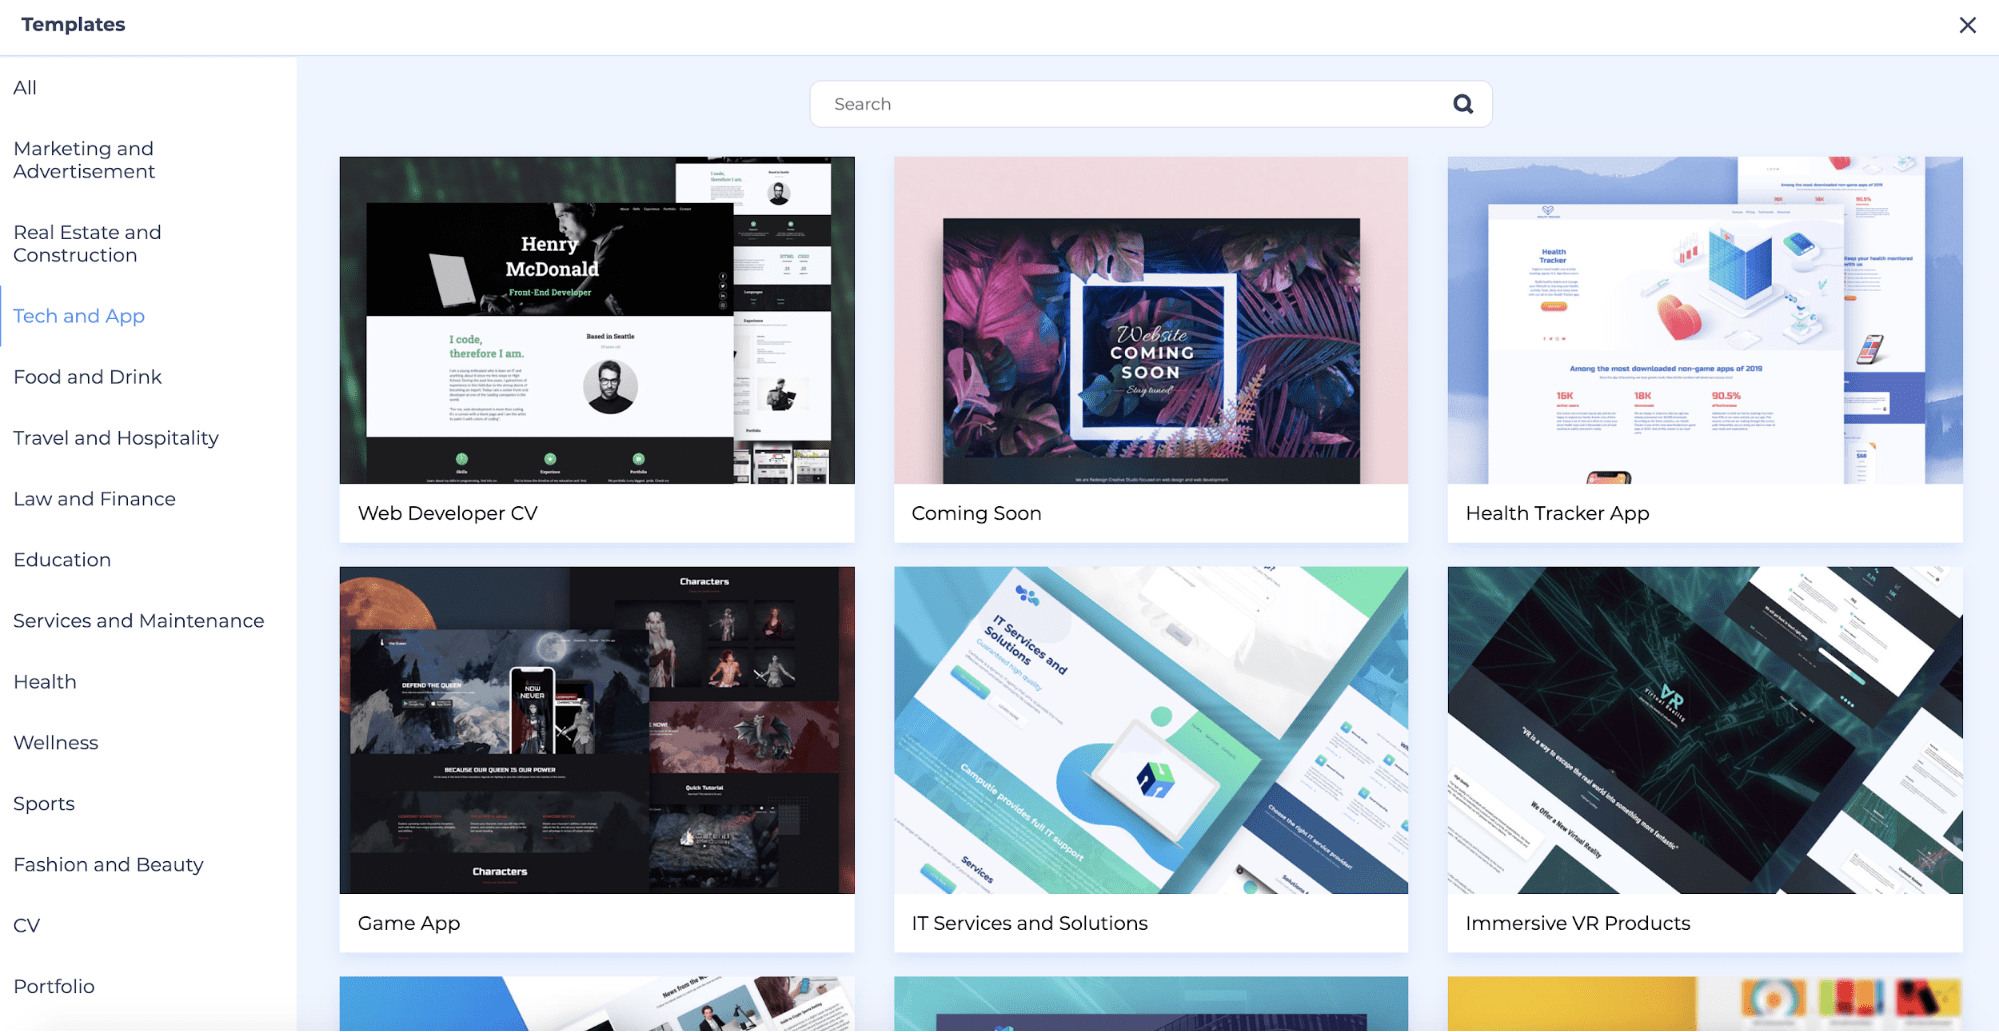
To create your website with the help of our ready-made templates, click “Load a Template.” There are more than 20 template categories, including but not limited to Marketing and Advertisement, Real Estate, Tech, Personal and Portfolio, Music, Travel and Hospitality, Photography, Fashion, and Education, with customizable templates ready to be used.
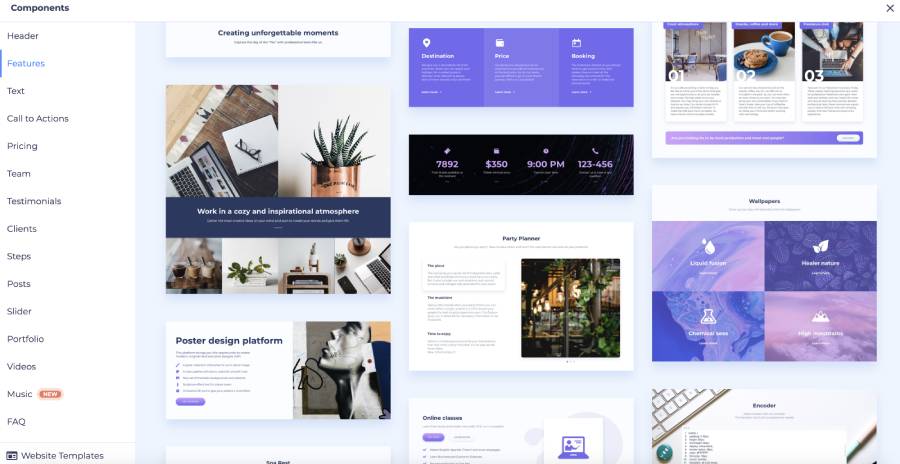
If you want to create your website from scratch, go back and click on “Add Component.” Choose from over 150 components (ready-made sections), which come with default texts and images. The components include headers, call-to-actions, simple text, testimonials, posts, sliders, videos, email forms, music, FAQs, contacts, footers, and more.
Select the component you like, hover over it and click “Add”. The section will be added to your website. Above and under each section, you can find a “+” button. Click it to add another component.
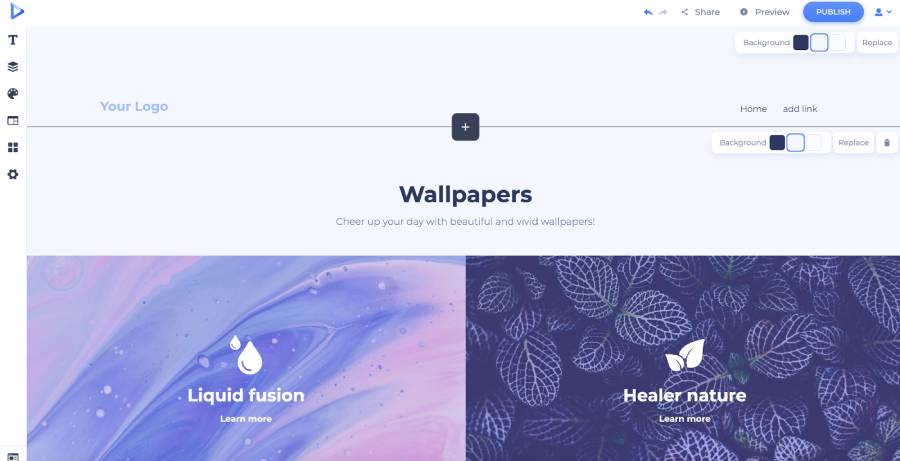
Customize each component by changing the texts, images, icons, buttons, and background color.
Click on a text section to type or paste your text. Note that each text section has a limited number of characters. Please, write your texts within the character limits to keep the overall look and design.

To customize the buttons, click on the edit button that appears when you hover on the button. Here, write your text, choose the link type from the dropdown menu, and add the landing page or section.
In the upper right corner of each section, you can find the section settings. From there, you can change the background color, replace the background image, move the section up or down, replace it, flip the orientation, or delete it.

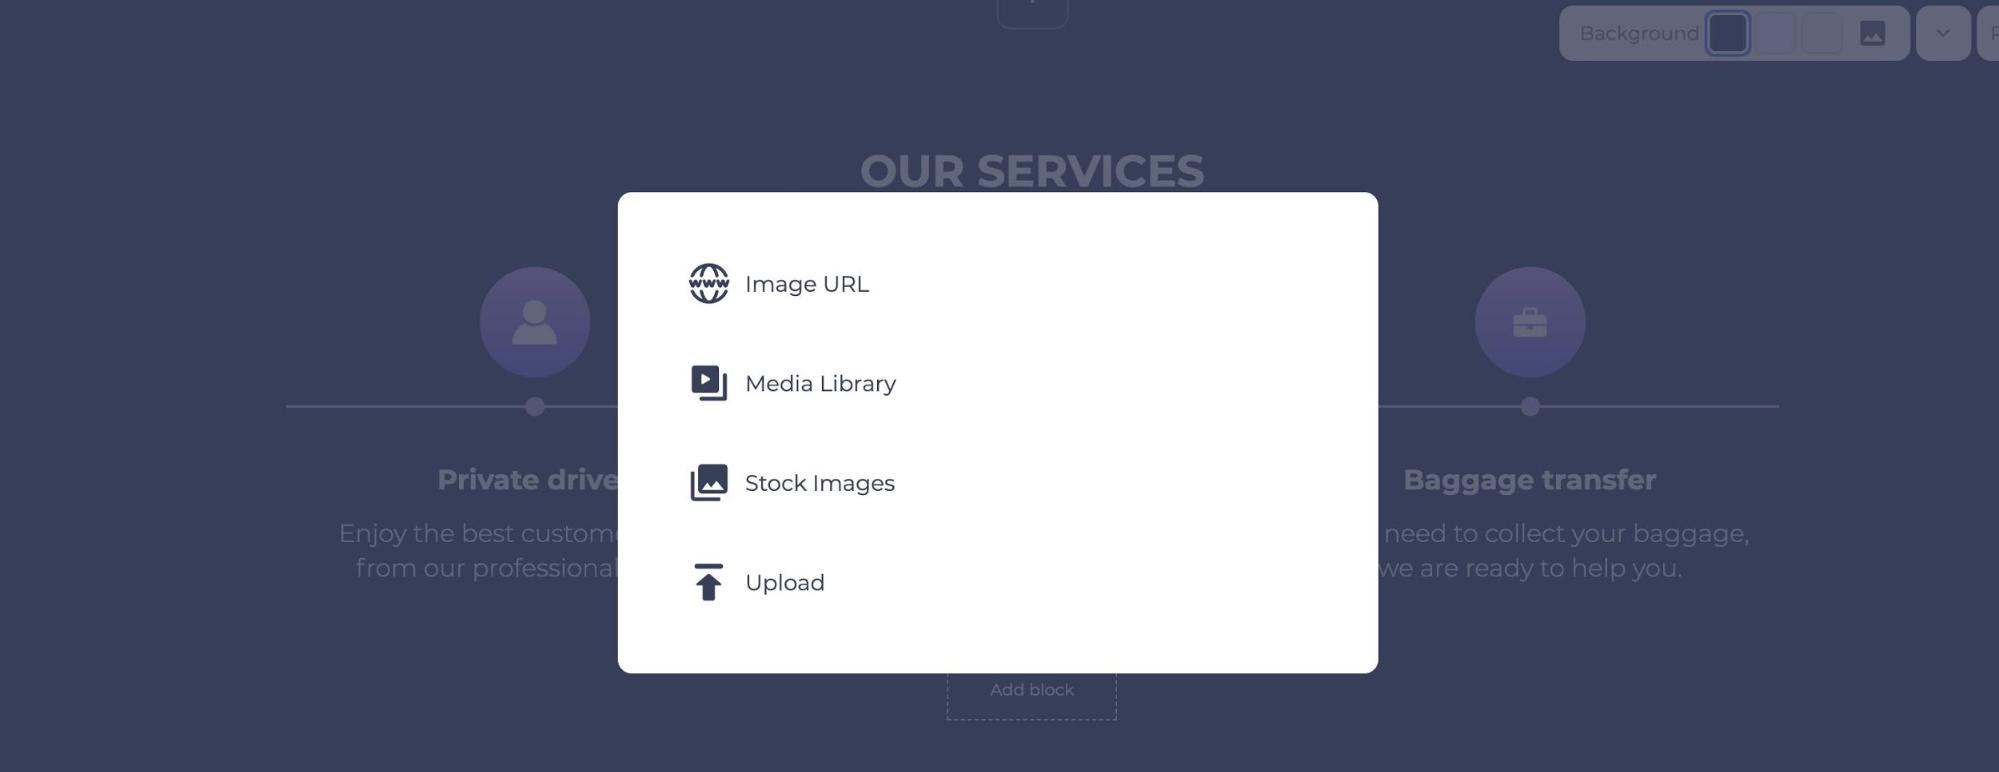
To add an image or change the background visual of a section, click on any image to open the popup with several options. You can add an image in four different ways: add an image URL, choose an uploaded image from your Media Library, use stock images, or upload from your device.
Media Library is your storage where you keep all your media files. If you have a previously uploaded image you want to use, you can find it in your media library.

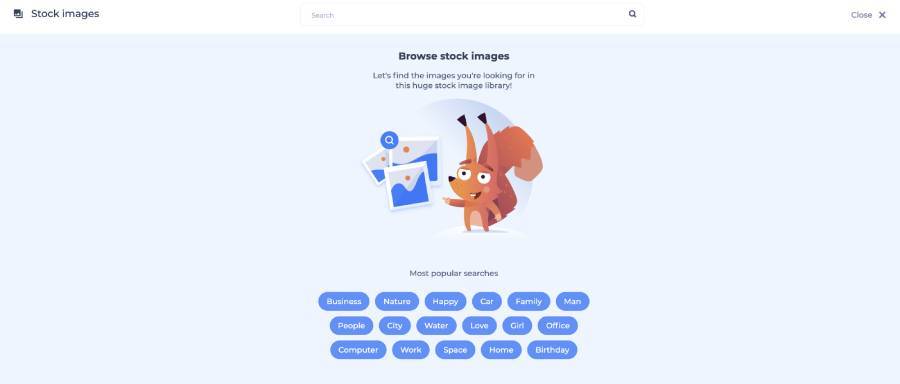
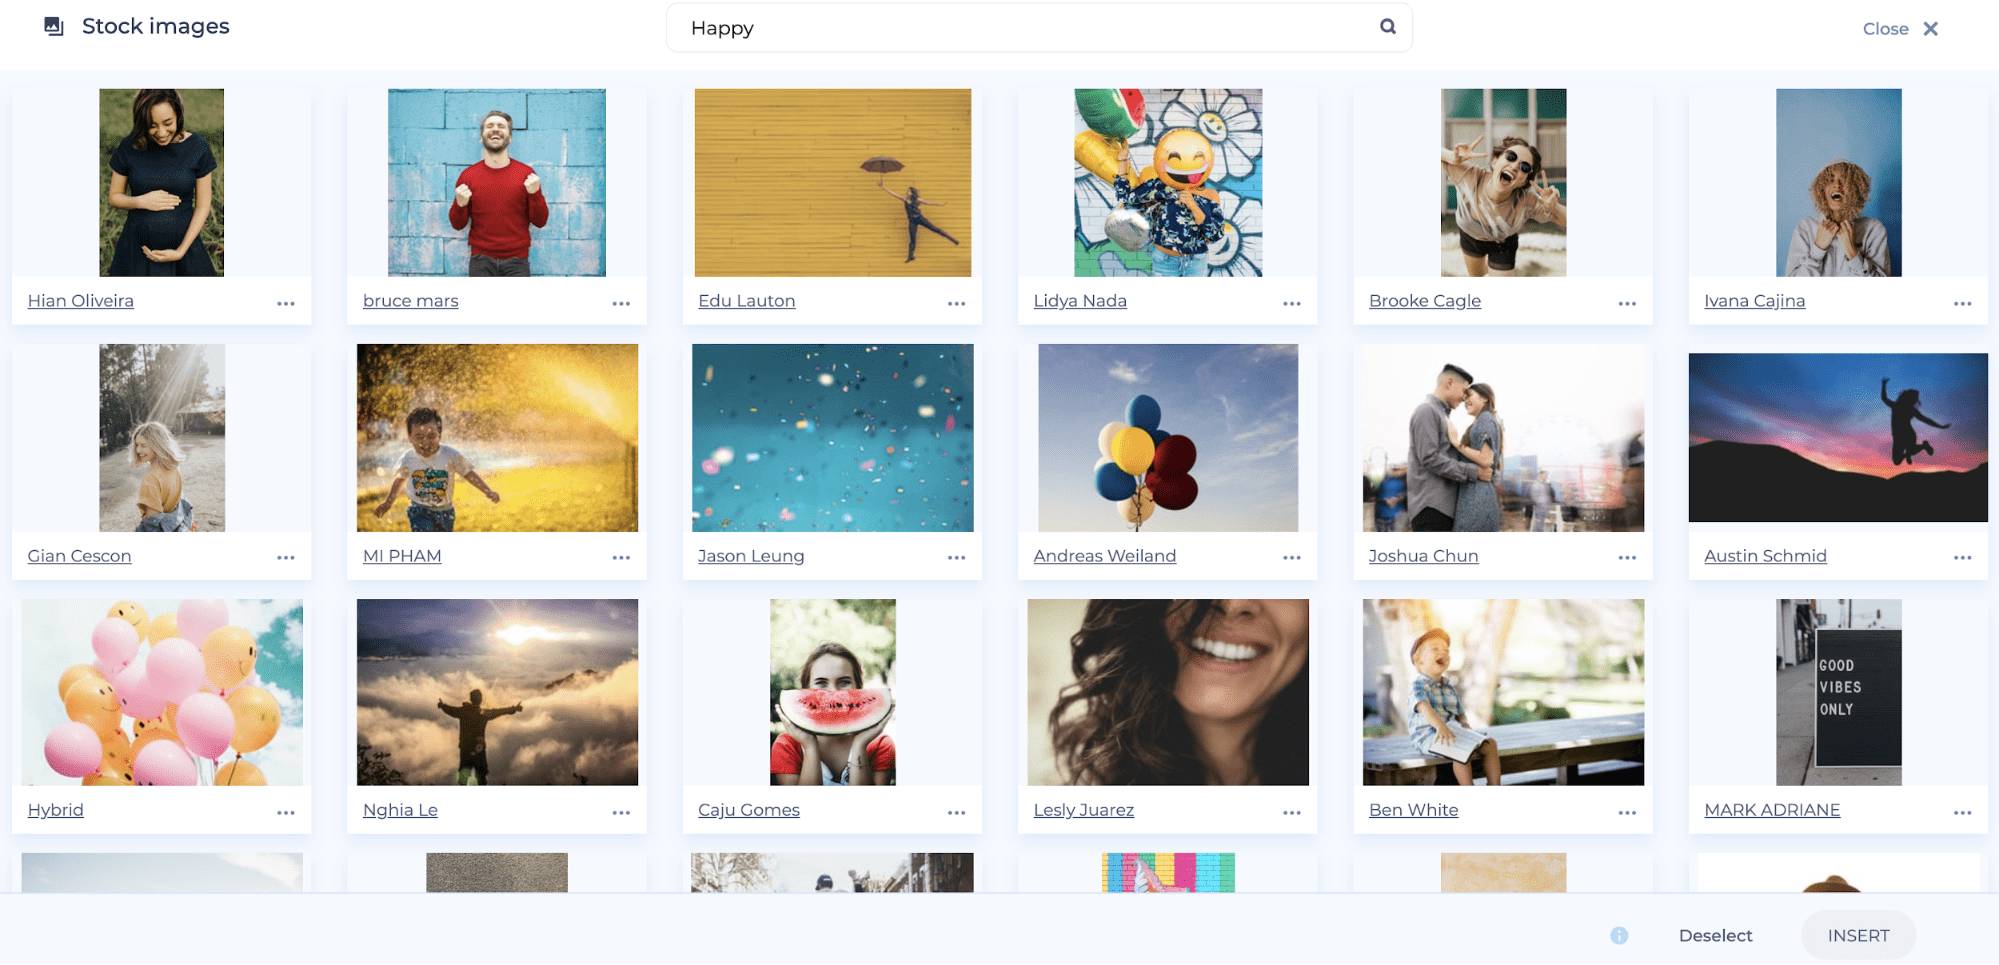
Click on “Stock images” to find relevant images for your website from a large collection of available stock visuals. Click on the most popular search options for quick browsing, or search for specific keywords or terms.
After you’ve selected the image you want to use, click “Insert” and it will be added to your website.
Similarly, you can edit the sections with videos. Here, you have 2 options: add a video URL, or create a new video. If you choose the second option, you’ll be redirected to our video template library with over 800+ templates and 1200+ presets. Create your video, publish it, and add the URL to your website.

To add music to your website, go to the list of music components, and select the one that suits you best. You can add tracks from “SoundCloud” and “Spotify.”

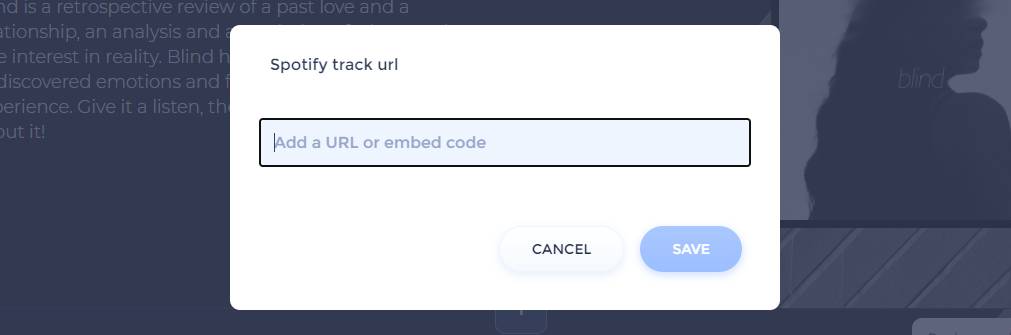
Hover over the track, and click the edit button to add the music of your choice.

Paste the track URL or the embed code you’ve previously copied and hit save. Your track will be added to the website.
If your component has icons that you need to change, click on the edit button that appears when you hover on the icon. Here you can search for icons, select a relevant one, and save the changes.

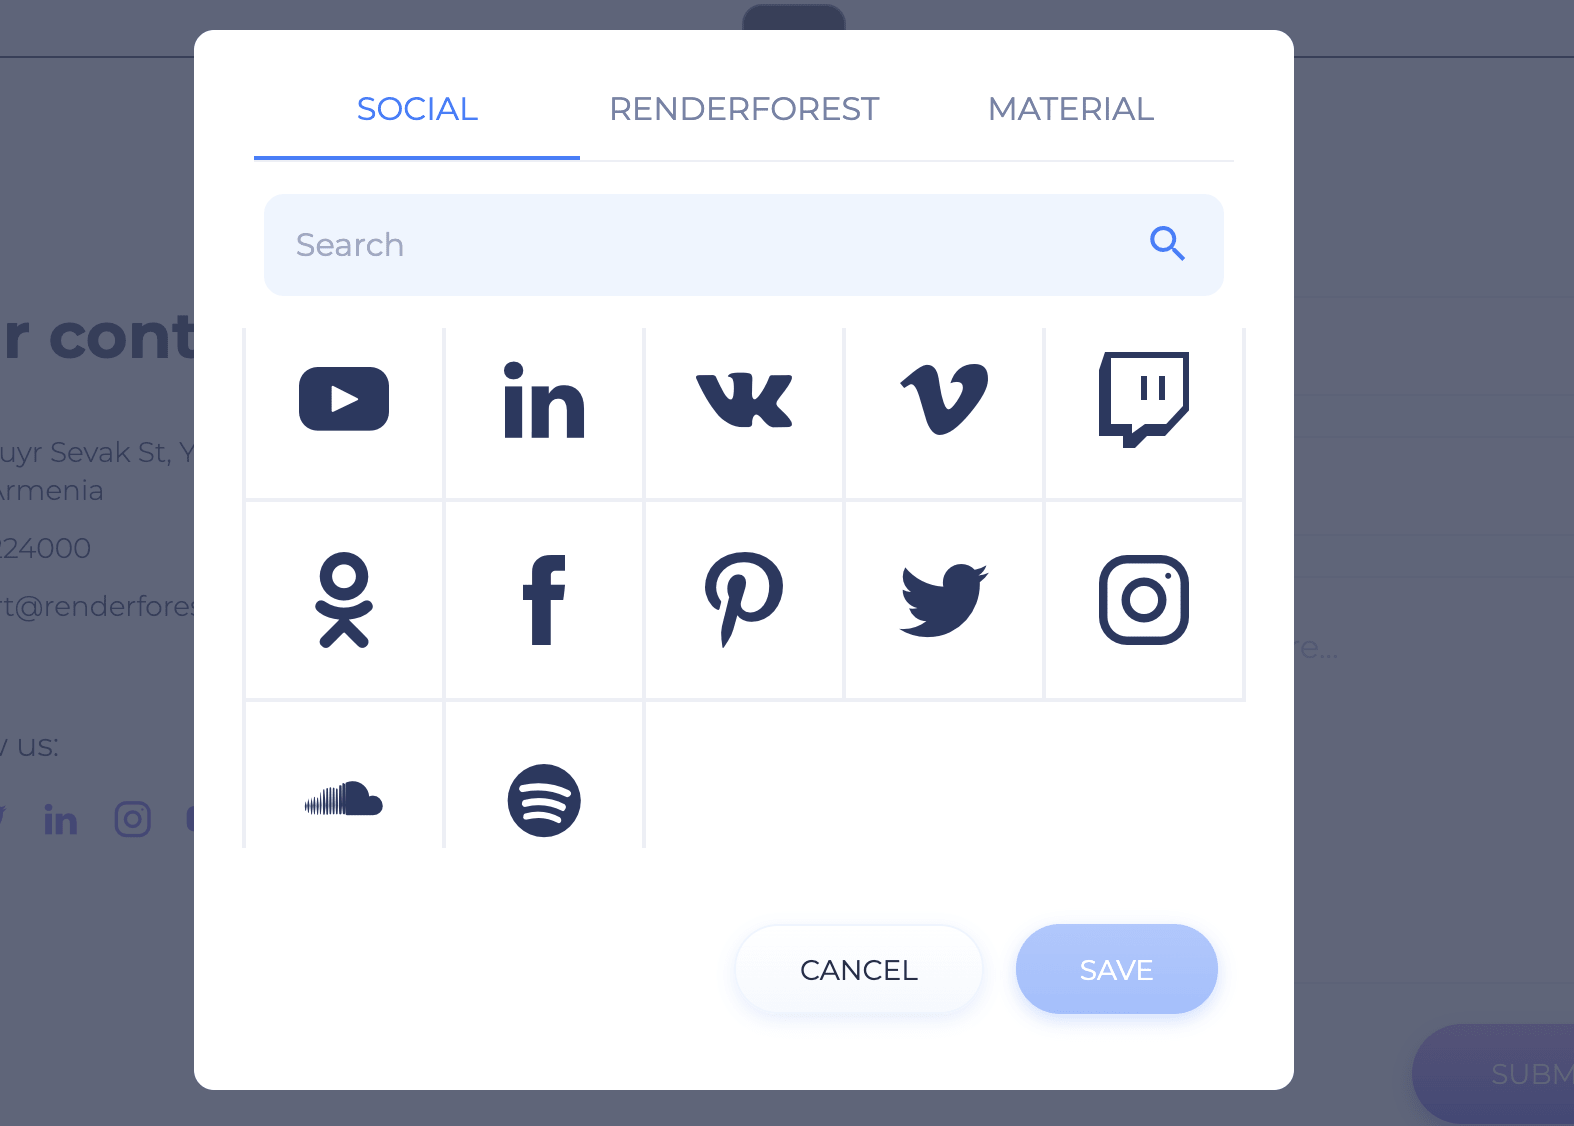
Social follow icons are also fully customizable. Select a component containing them, hover over them to remove the unnecessary ones, or click on the pencil icon to edit them.

From the “Social” section, simply find and select the icon you need, edit it, and add it to your website.
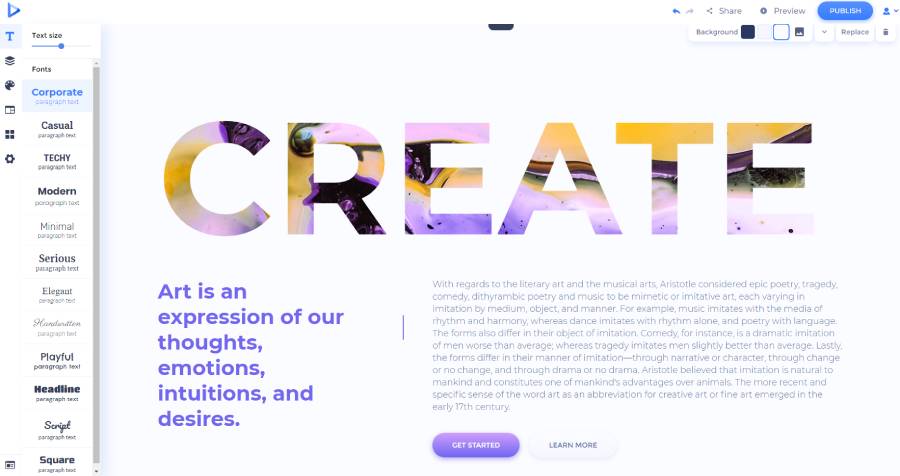
The website components have their default text size and style that you can change with one click. Go to the “Text” section from the left sidebar menu to select the text size and style of your choice.
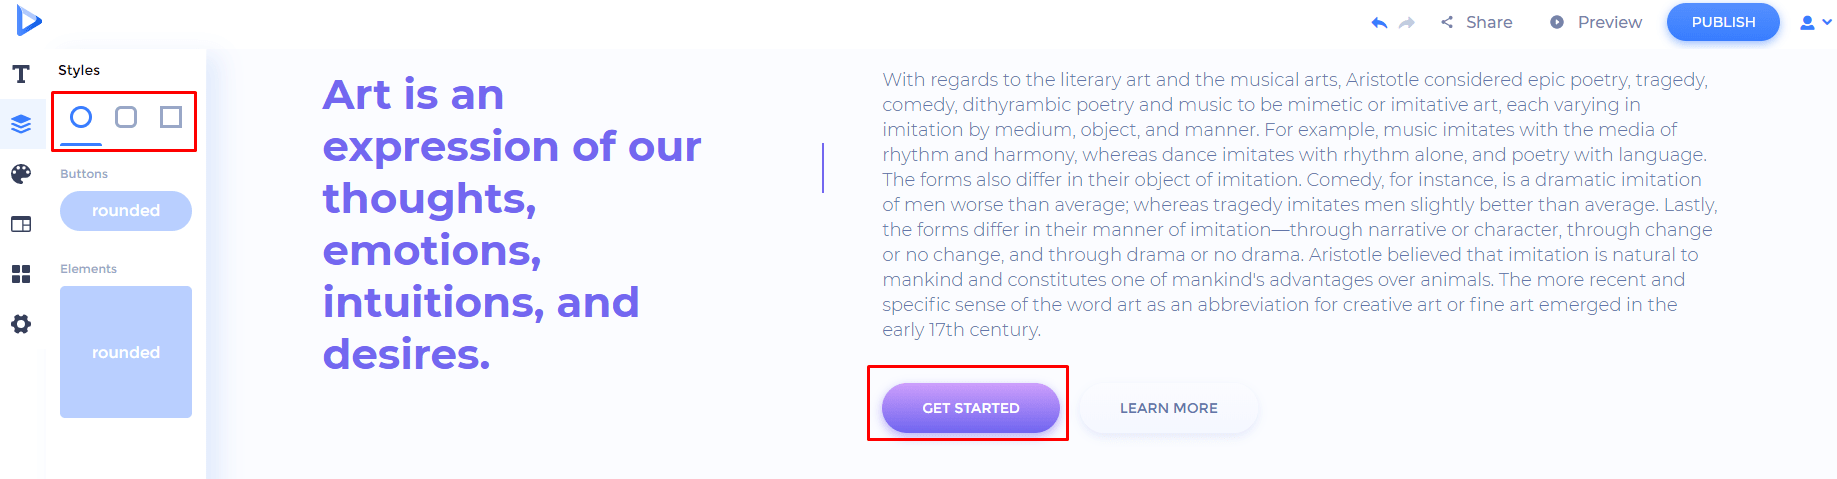
In the “Style” section, you can select the style of your buttons, icons, and other shapes throughout the website. There are three options to choose from: rounded, cornered, and sharp.
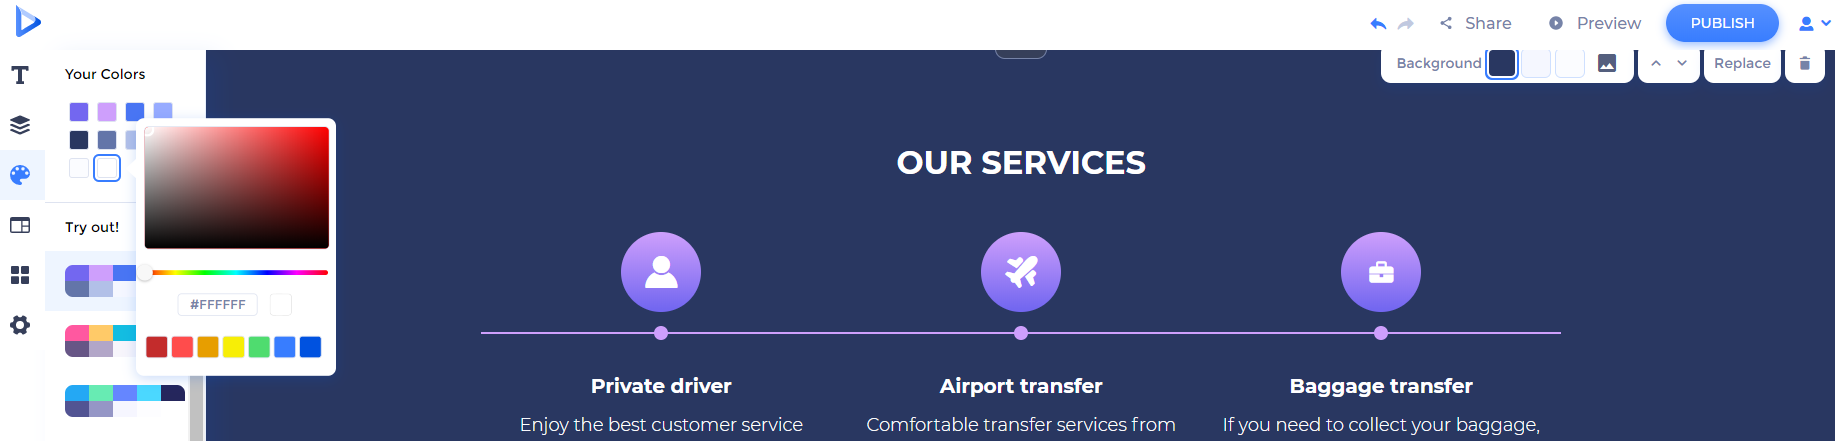
To change the colors of your website, go to the “Color” section. Add your custom colors or choose one of the color palettes suggested by our professional designers.
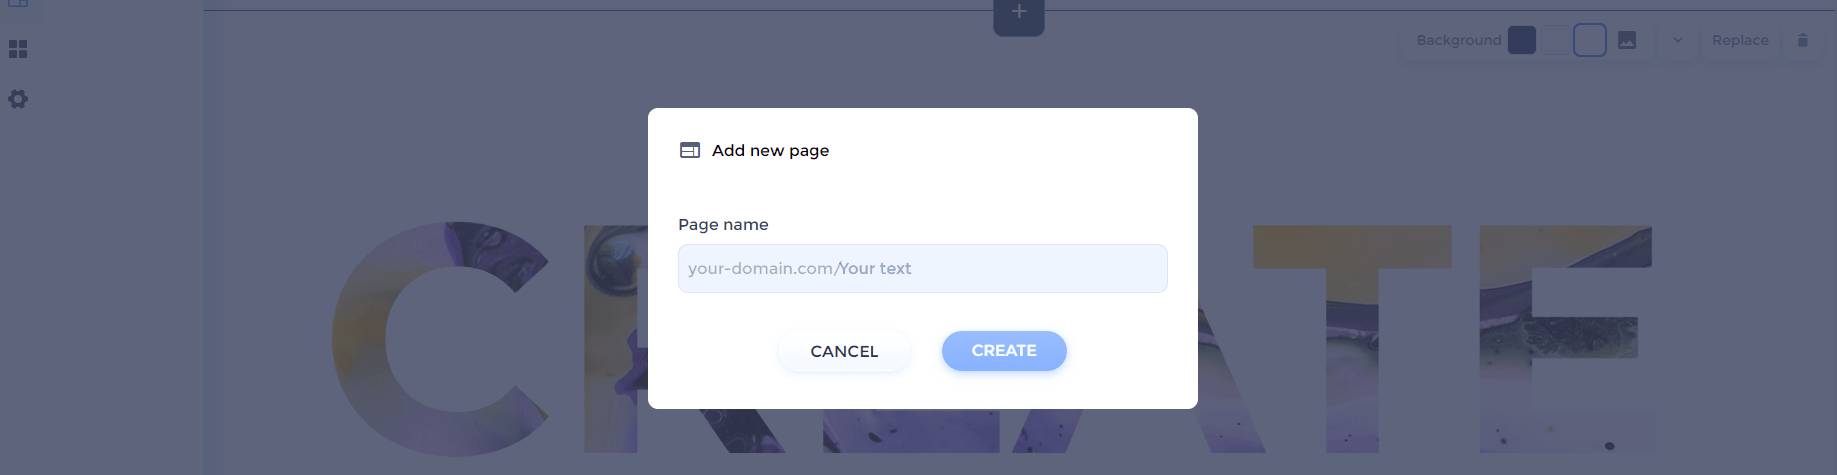
If your website is not a one-page website, you will need to add more pages. To create a new page, go to the “Pages” section from the same left sidebar menu and click on “Add New.” Then, write your page name, which is also used as the page URL, and click on “Create.”
You can then access the page from the same left-side navigation menu, and start editing it and adding components as on the previous page.
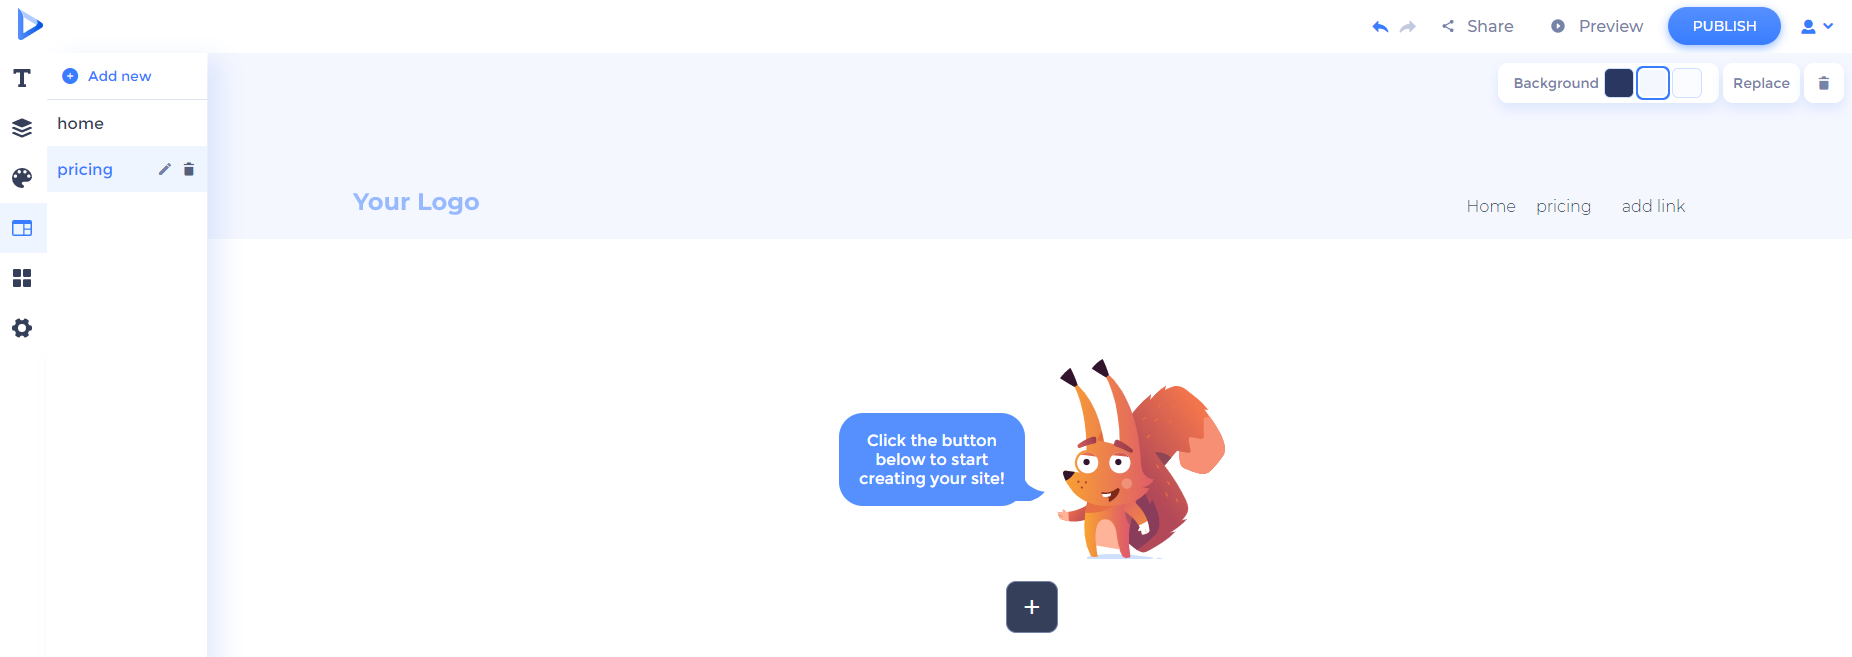
You can then add links redirecting to this new page. Hover over the button you want to redirect to this and press the pencil icon to edit the link. Manually edit the name of the link and select the page you want the button to redirect to.

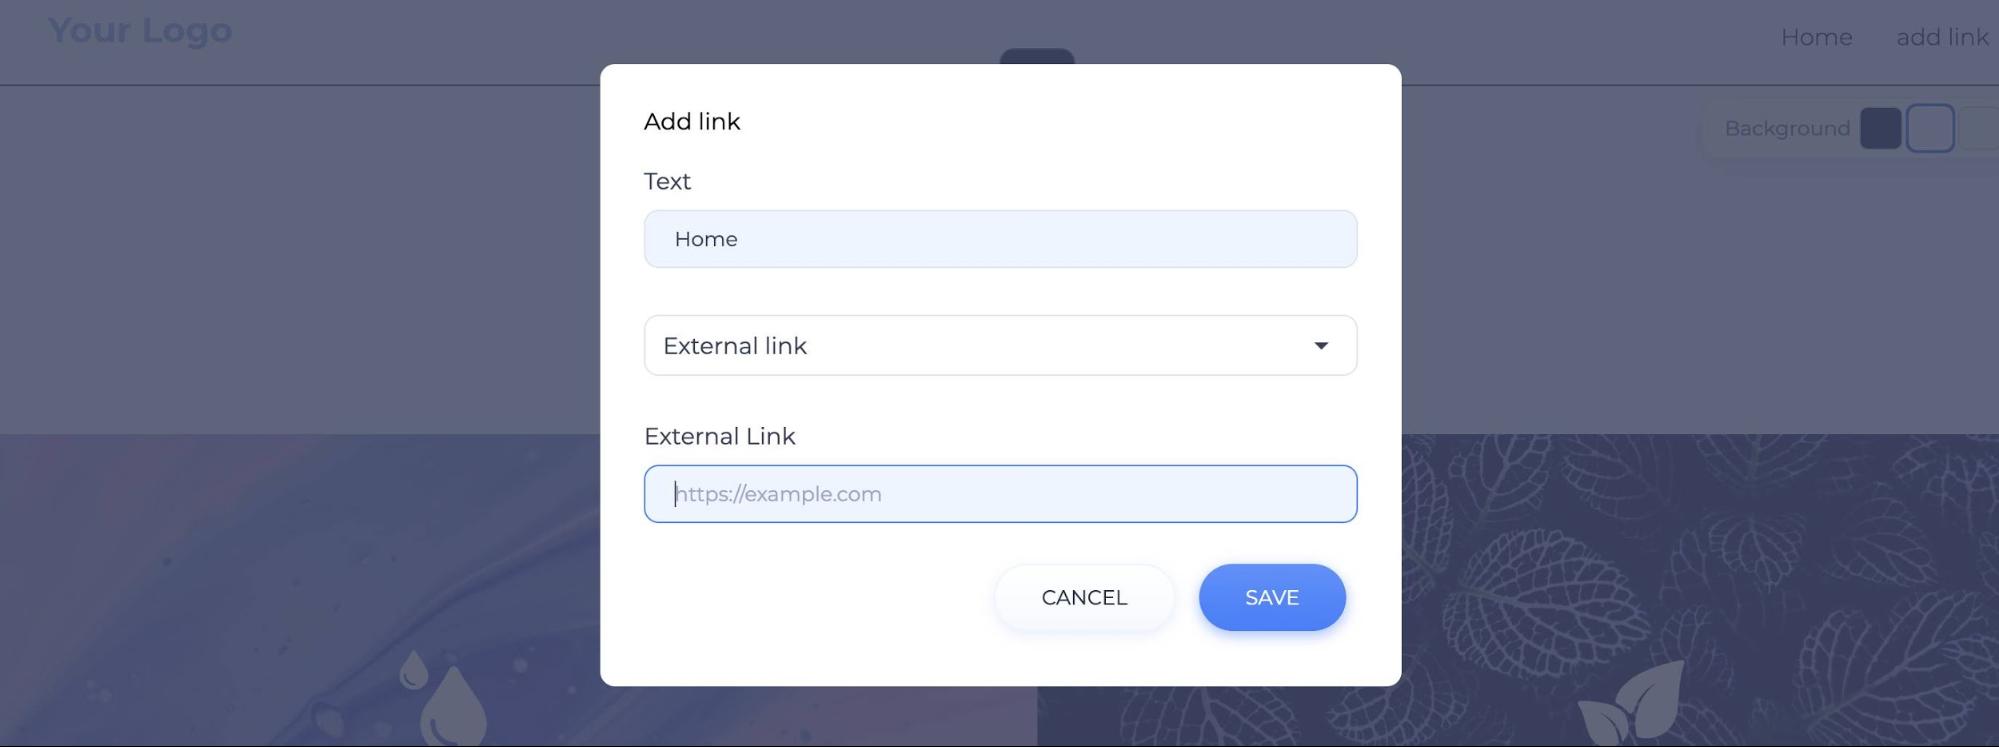
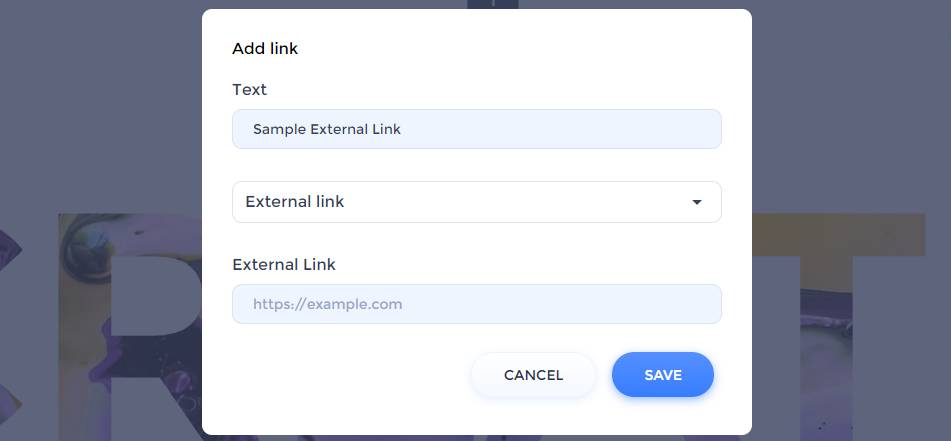
Besides linking your internal pages, you can also link to external sites or landing pages. Click on “Add link” and edit it by writing the page title, choosing the “External link” option from the dropdown menu, and adding the link.
You also have the option of linking your menu item to a specific section on the page. For example, if you want to link your “Contact Us” menu item to the “Contact Us” section on your homepage, click on “Add link,” then write the name, select “to section” option from the dropdown menu and the section on a particular page. Please note that this option is recommended for one-page websites.

From the “Widgets” section you can add live chat to your website for better customer support.
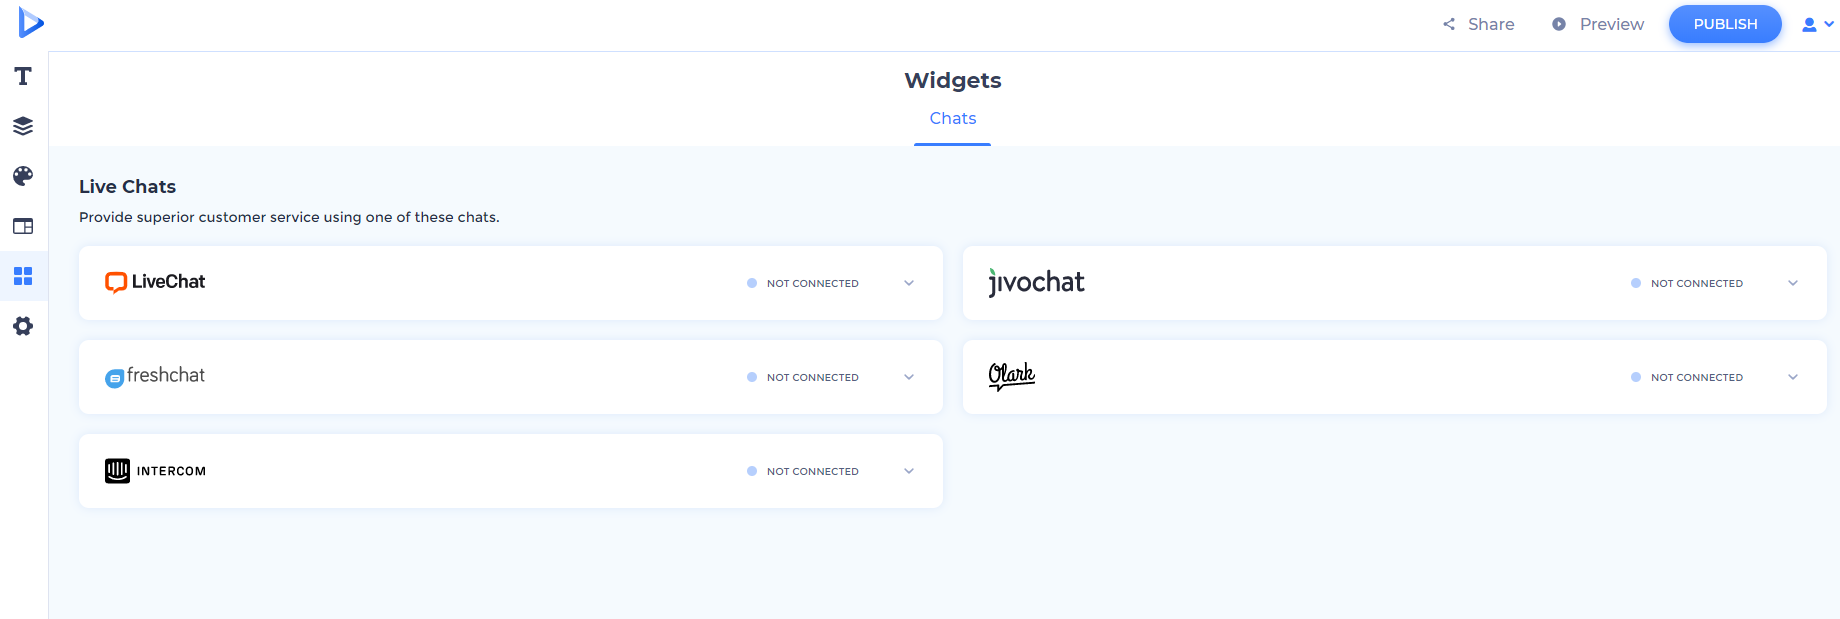
Expand the widget of your choice, paste the copied code, or enter your Chat ID and click “Connect.”

The widgets will be attached, and you will have a working live chat on your website.
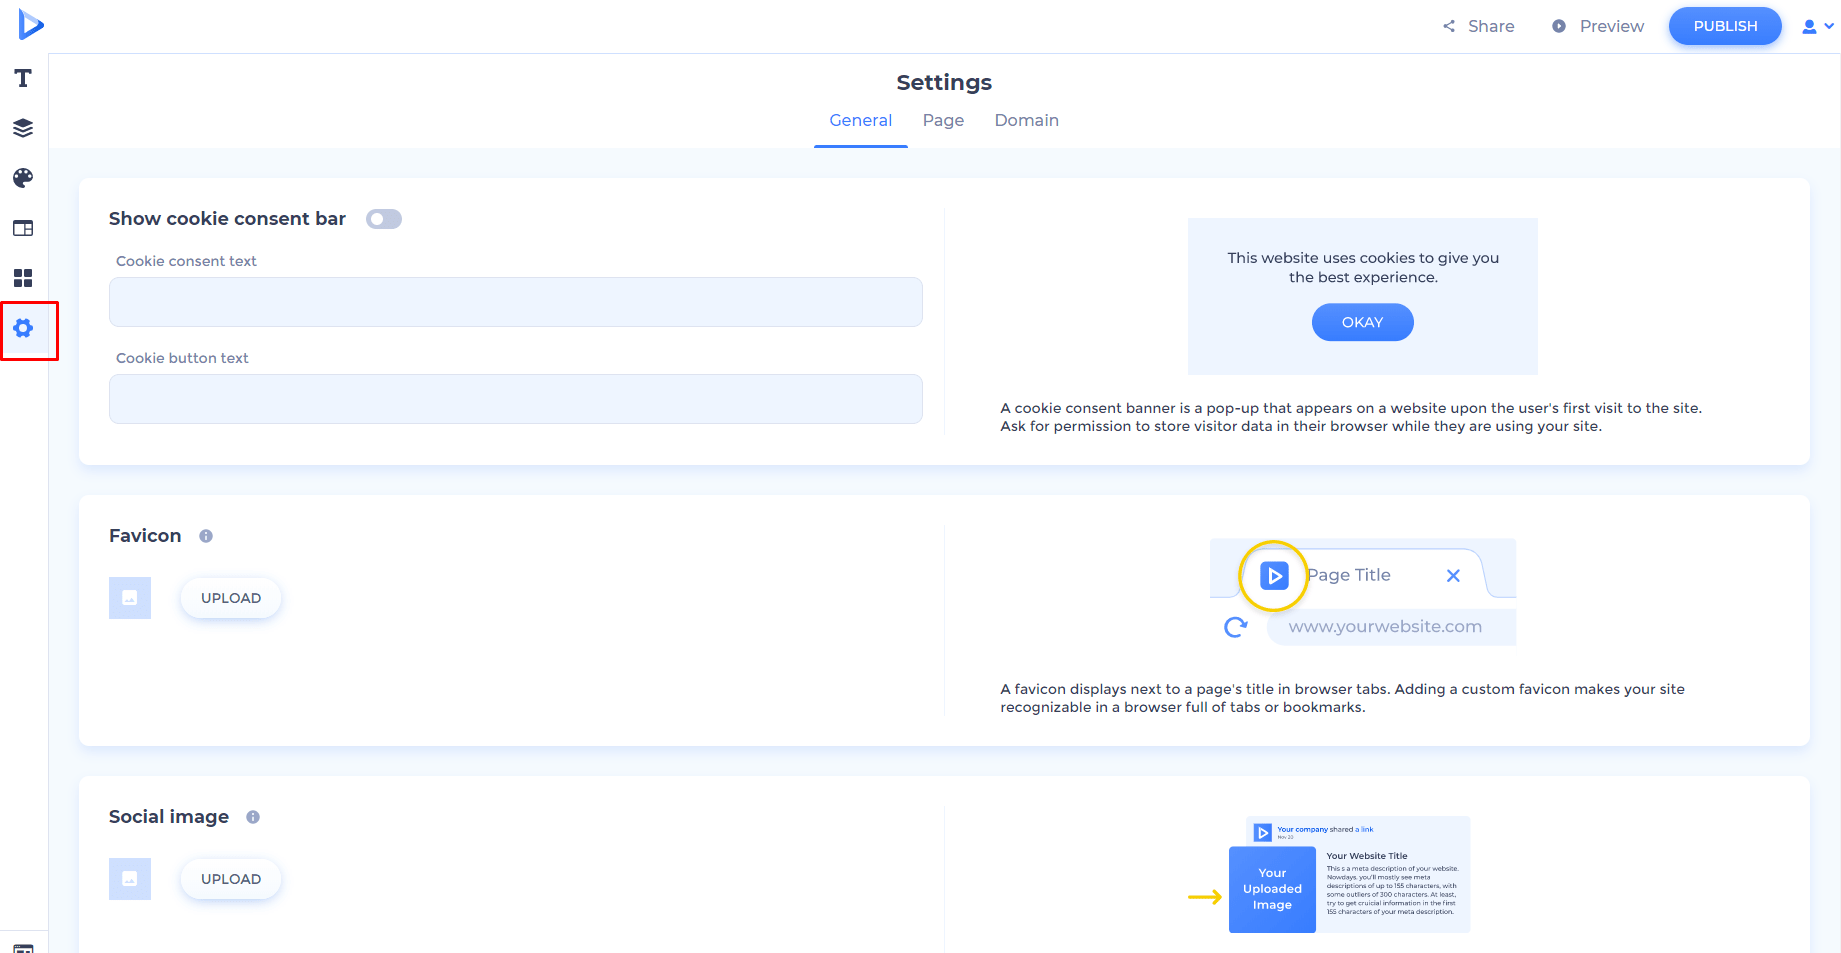
In the “Settings” section, you can edit your website’s general settings and the settings of individual pages.
From the navigation bar, select the section you want to edit.
In the “General” settings, you can manage cookie settings, add your favicon, select the social image, website email, Google Analytics ID, and Facebook pixel ID.
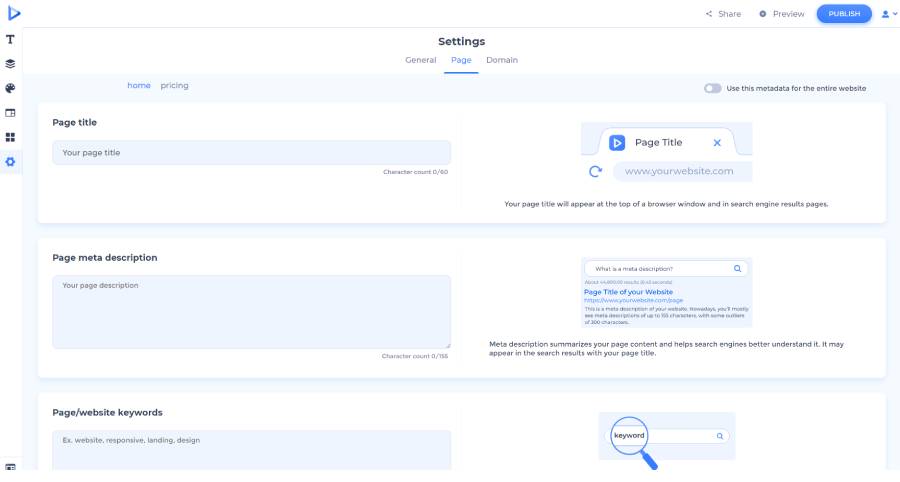
The “Page” section allows you to edit the page title, page meta description, and page/website keywords.
In the “Domain” section, you can set up your custom domain or edit your free subdomain.

Once you update your settings, don’t forget to click the “Save” them to update your settings.

Please note that some settings will be unlocked once you get a paid subscription.
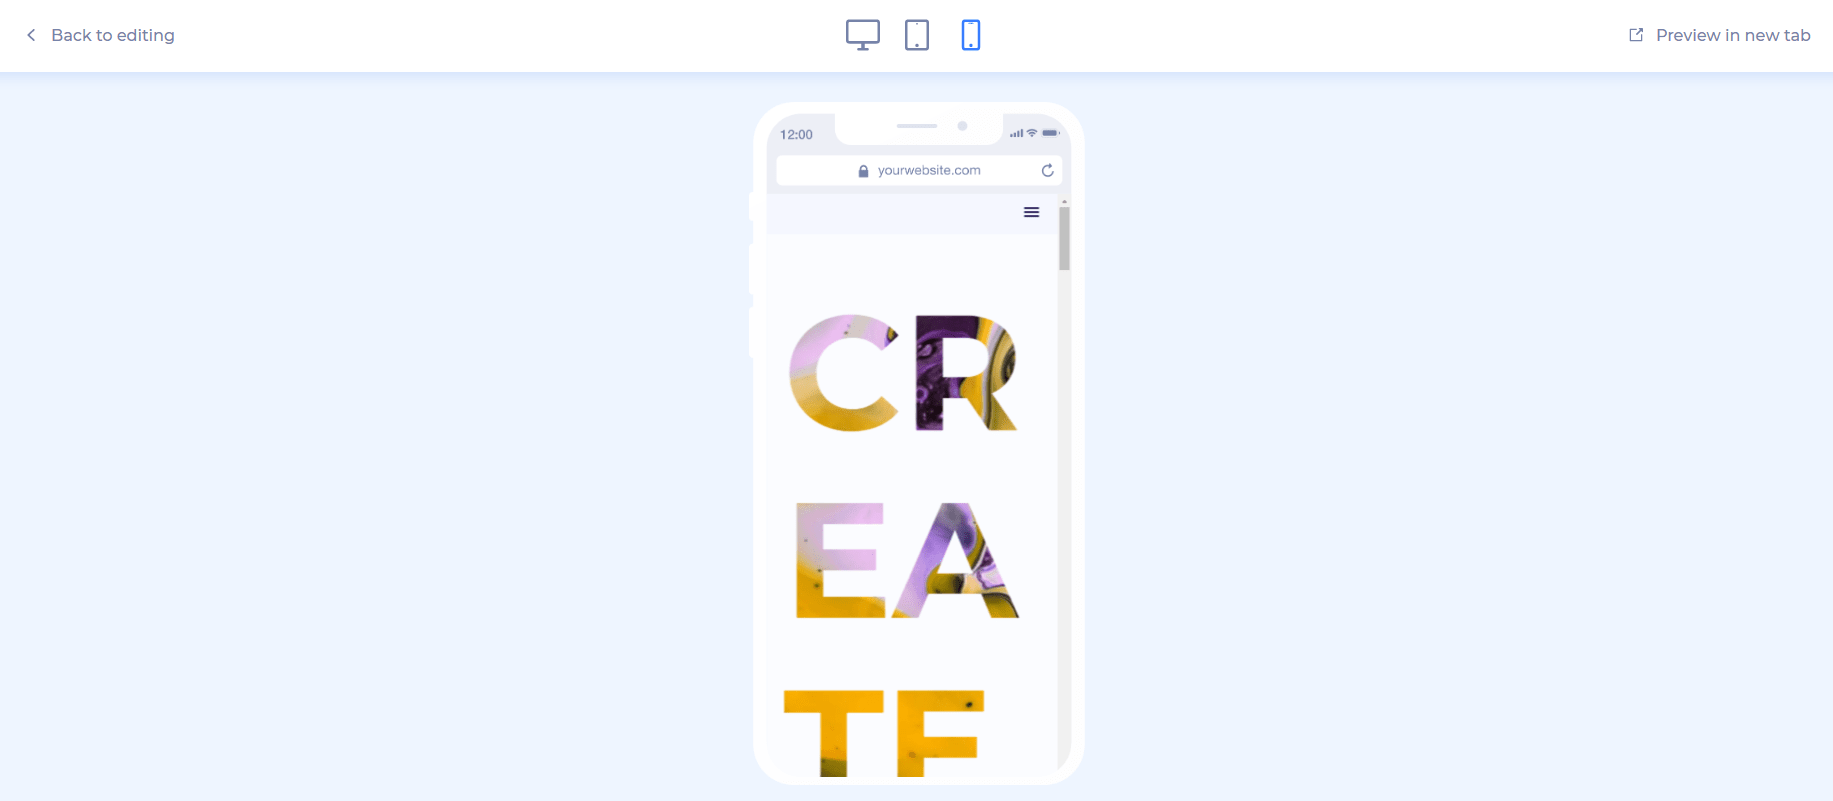
Preview your website during the editing process to see how it looks and make all the necessary changes to improve it. Click the “Preview” button at the top right corner of the editor.

View your website on different devices: desktop, tablet, and mobile. Or, click “Preview in new tab.”
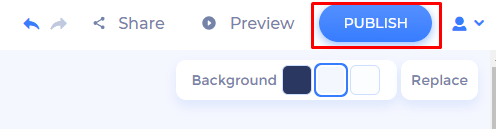
Once your website is ready to go live, preview it to see whether everything works as expected. Then, click the “Publish” button.
Congratulations! Your website is live!
Whenever you make changes to your website, don’t forget to save and publish them. All your website projects are automatically saved on the “My Websites” page, which you can access from the dropdown menu in the top-right corner of your page.
Very simple and intuitive, isn’t it? Renderforest website builder has all the tools to make the website creation process effortless and fun. Once your website is ready, go ahead and publish it. You can publish your website for free or subscribe to a monthly or annual paid plan.
Before you start designing your website, make sure to prepare wireframes for all your web pages. They will help you to find the desired components easily. Then, use our easy-to-use website builder to bring your ideas to life.
Are you ready to start?
Share this
Article by: Renderforest Staff
Dive into our Forestblog of exclusive interviews, handy tutorials and interesting articles published every week!
Read all posts by Renderforest Staff