
AI
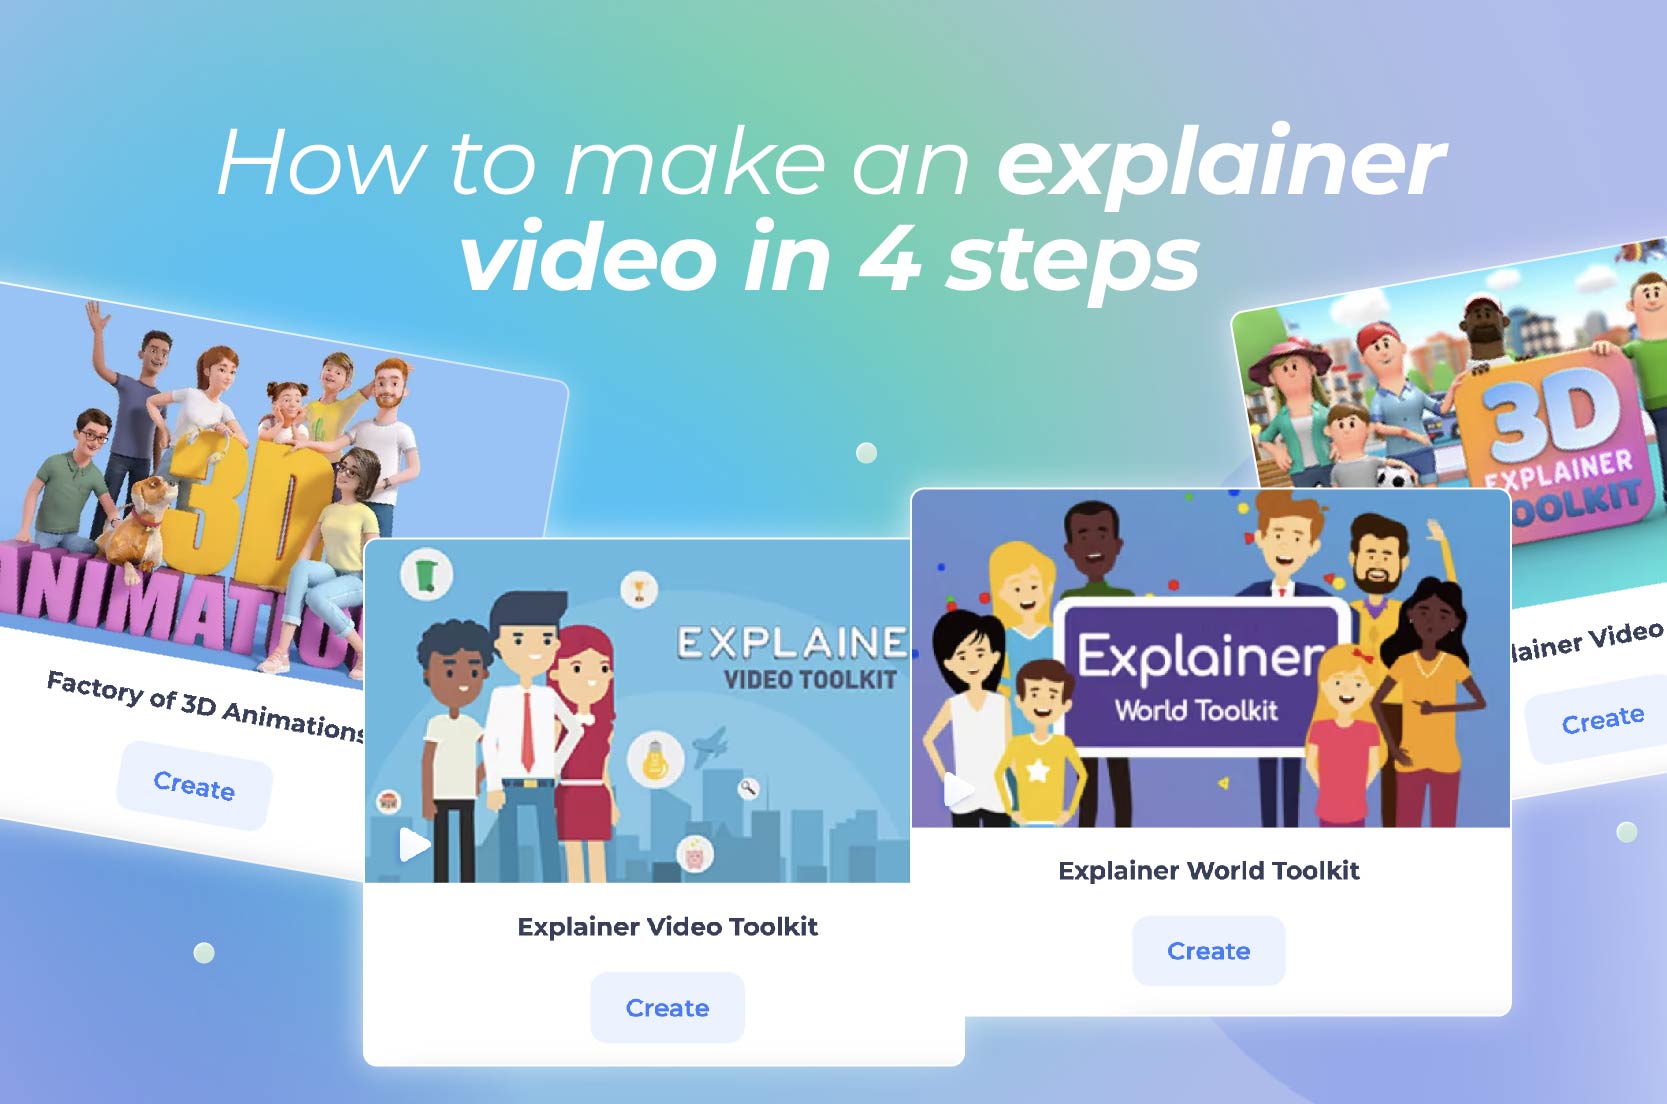
Explainer videos are a great way to turn complex ideas into simple yet attention-grabbing content. They’re ideal for breaking down products, services, or concepts in a way that’s easy to understand and fun to watch. A well-planned structure makes all the difference when creating explainer videos, helping you get your message across and keep your audience hooked. In this article, we’ll demonstrate how to make an explainer video in four steps—from scripting to final touches—so you can create videos that make an impact.
An explainer video is a simple yet powerful way to convey information clearly and effectively. These short videos use a mix of visuals, voiceovers, and straightforward messaging to break down complex ideas into easy-to-understand content. They’re designed to get straight to the point, guiding viewers through a product, service, or concept.
What makes explainer videos so effective is their ability to simplify information while keeping the audience’s attention. They’re widely popular across industries like tech, education, and marketing. With explainer animation, businesses connect with their audience more effectively. Many companies use explainer video templates to create these videos quickly and professionally. Wondering how to make an animated explainer video of your own? It’s easier than you might think.
The main goal of an explainer video is to help businesses communicate their message in a clear and engaging way. These short, focused videos simplify what a company offers, making it easier for audiences to understand the value. Instead of overwhelming viewers, explainer videos break down the key points of a product or service.
One of the biggest advantages is that explainer videos boost brand awareness. When people watch a well-crafted video, they’re more likely to remember the brand and its message. These videos are also ideal for sharing on social media, helping businesses expand their reach. Plus, explainer videos are excellent at driving conversions. By showing how a product works or why a service is valuable, businesses encourage viewers to take action.
Finally, explainer videos simplify complex topics, making them easier for viewers to understand. Whether it’s explaining a technical service or demonstrating a new app, explainer videos make content approachable. If you’re introducing a new mobile app, for example, you can create an app explainer video to show how it works. They are an ideal way for businesses to connect with their audience and achieve better results.

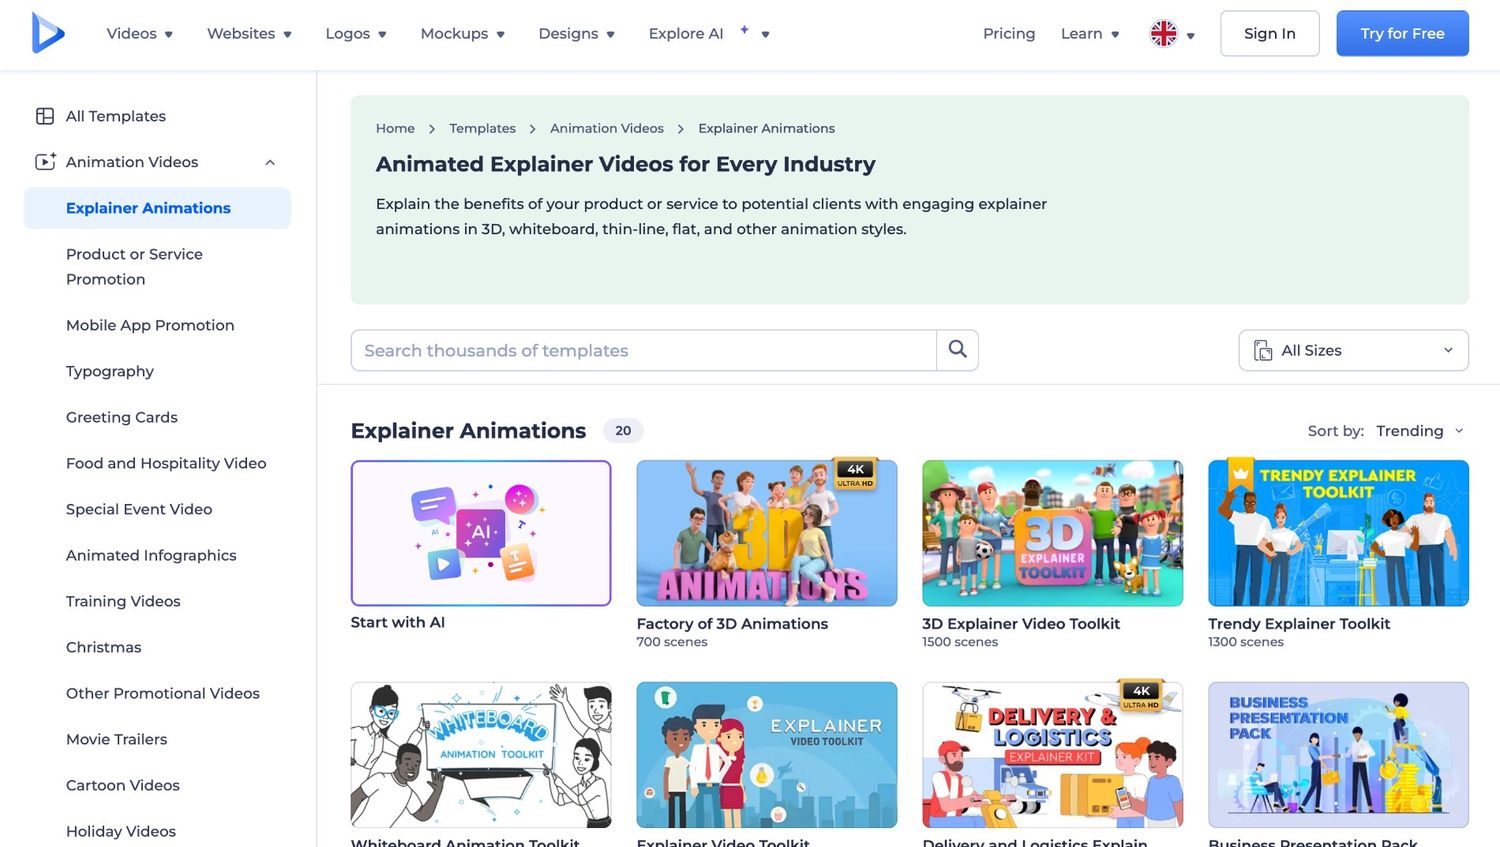
You don’t need to be an editing expert to know how to make an animated explainer video. With Renderforest’s explainer video maker, you can put together a high-quality clip in just a few steps.
Start by browsing through our large library of explainer video templates. You can search by category, style, or industry to find the perfect explainer video template that matches your needs. Whether you’re looking for something fun, professional, or creative, there’s a wide selection available to get you started.
Once you’ve picked your template, it’s time to pick the scenes for your video. Here, you can manually choose which scenes you want to include in your explainer video. Be it explaining a product, service, or concept, you have full control to choose the most relevant scenes that fit your message.

Customization is where your explainer video truly takes shape. With Renderforest’s free AI video editor, you can add or create media like your logo or video footage, edit the text, adjust fonts, and tweak colors to fit your brand’s theme. You can also add music tracks or a voiceover. Our text to video AI free feature can come in handy here.

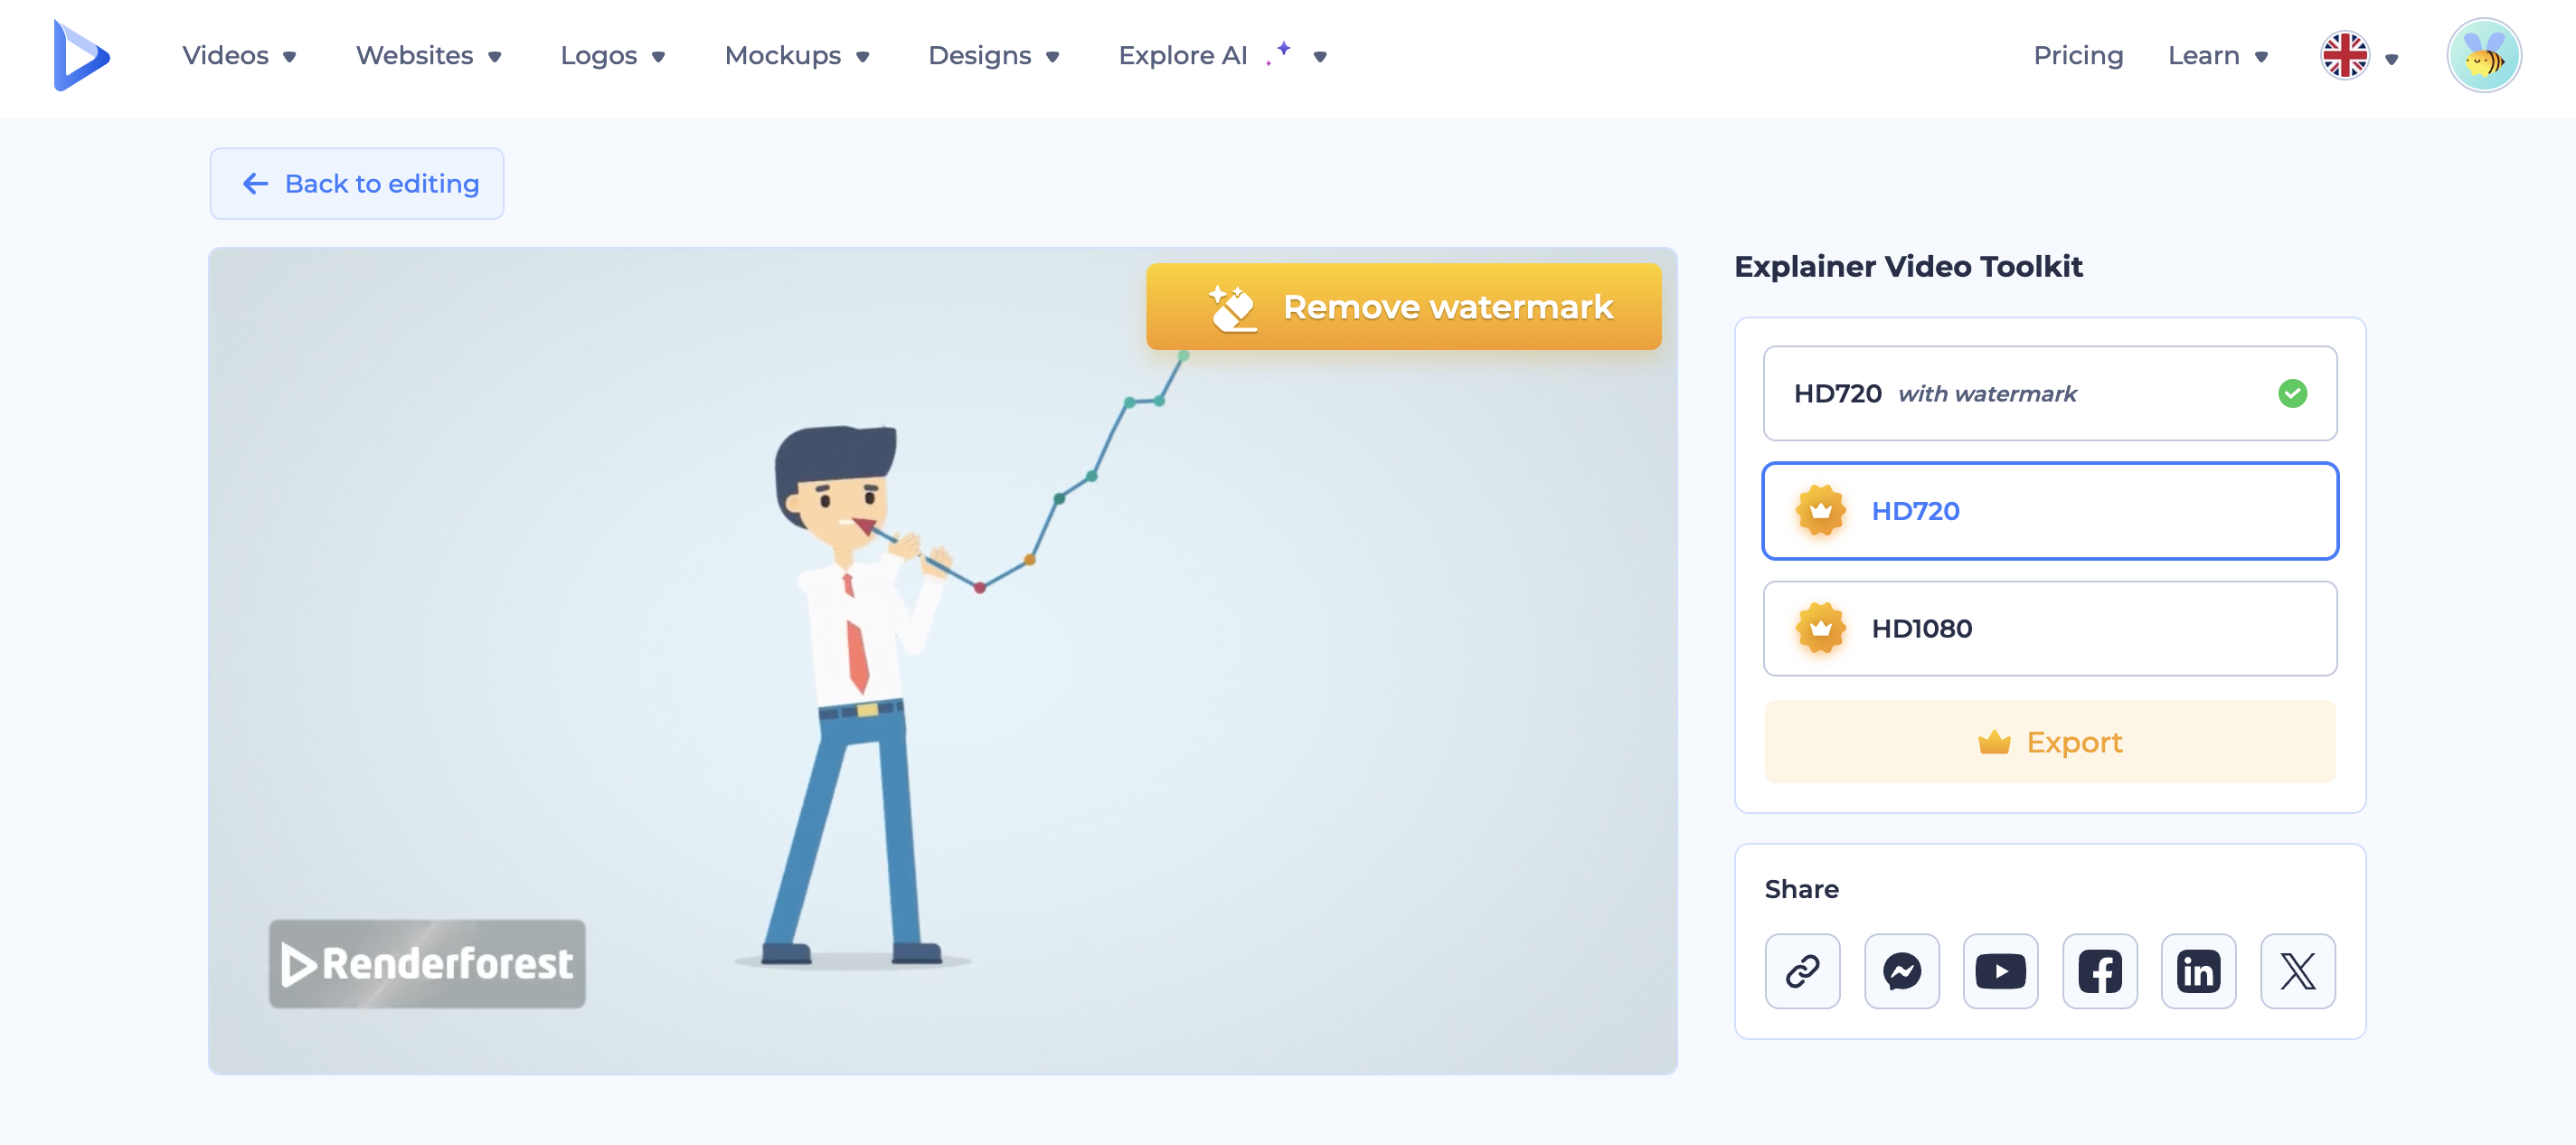
Once you’re happy with how everything looks, export your finished video in your preferred quality. You can also directly share it on social media platforms or download it for future use.
The cost of making an animated explainer video can vary depending on several factors. One of the biggest influences is the animation style. While 2D animations tend to be more affordable, 3D animations or custom graphics will raise the price.
Another key factor is the video length. Shorter videos (30 to 60 seconds) are usually less expensive, while longer videos require more work and resources. This can increase the overall cost. Then again, even a short video needs to maintain high production quality, with elements like professional voiceovers, music, and custom animations impacting the price.
Generally, animated videos can range from $2,000 for basic entry-level videos and $5,000 to $20,000 for higher-quality productions. This depends on the complexity and production quality. But if you’re looking for a more budget-friendly option, Renderforest offers a cost-effective solution. With tools like our explainer video maker, you can create a high-quality explainer video at a tiny fraction of the price. Our video presentation software can also come in handy here.
The platform’s customizable templates make it easy to produce explainer videos without breaking the bank. If you’re wondering how to make an explainer video for free, Renderforest might be the answer you’re looking for. You’ll find plenty of free tools and templates that you can use to create your explainers.
If you’re looking to explore new techniques, knowing how to make AI video content can be a good idea—especially since many of the best animation apps are now integrating AI into their platforms. This can give your video a modern look while cutting down additional expenses.
Looking to make your own explainer video animation but feeling short on ideas? We’ve put together five of the best explainer videos that are sure to inspire your creativity. Each one stands out for its unique approach, be it through humor, simplicity, or visual appeal.
If you’ve ever felt stressed about online check-ins before a flight, AzureSky’s explainer video will put you at ease. With a virtual customer support agent guiding the way, the video makes the check-in process feel smooth and simple. What’s great about this video is how it conveys without overwhelming the viewer.
The clean visuals, on-screen text, and timeline visuals walk you through each step, making the whole process seem effortless. Plus, the consistent use of AzureSky’s brand colors and clever stock images keeps things visually interesting without being too flashy. It’s short. It’s sweet. And it keeps you hooked all the way through, proving that less can definitely be more.
Miro’s explainer video takes a clever approach by comparing the old with the new. It starts by showing outdated methods like snail mail and watercooler chats before transitioning to modern solutions like email and messaging apps.
The video shows how Miro fits into this evolution, especially when it introduces its digital whiteboard tool. What’s impressive here is the pacing—there’s no wasted time. The video moves swiftly but clearly, using a screencast to show Miro in action. No need for extra explanations, because the product speaks for itself.
Plus, Miro’s end-screen on YouTube cleverly offers two options: watch a more detailed explainer or jump straight to their website. This minimalistic approach, paired with nostalgia, keeps viewers engaged.
CoachHub’s explainer video knows how to hit the emotional notes. Instead of focusing on how the tool works, the video zooms in on what it can do for you—whether you’re an individual or a business looking for growth. The 2D animation is simple but effective, using fluid movement and smart color choices to keep the viewer engaged without distraction.
Little sound effects add to the experience, signaling progress or achievement, which keeps it playful. The video also nails its call to action, clearly guiding viewers on what to do next. The use of blue and orange in the branding (symbolizing trust and positivity) helps build an emotional connection with the audience, showing how small details can make a big difference.
One Day Video’s explainer is a perfect example of how humor can take a video to the next level. The video has a cheeky, lighthearted tone, and the best part is that the founders and employees of the company star in it. This instantly creates a sense of trust and gives the viewer a behind-the-scenes look at the brand’s culture.
Much like the iconic Dollar Shave Club explainer video, this one uses humor to break the ice, all while communicating the company’s expertise in video production and marketing. By showing their skills in the video you’re watching, they prove they know what they’re doing. It’s fun and memorable and leaves viewers feeling connected to the brand.
Airbnb’s explainer video takes viewers on a virtual trip around the world, and it’s hard not to get swept up in the adventure. The video is shot from a first-person perspective, making you feel like you’re exploring different Airbnb homes yourself. With vibrant visuals, a catchy soundtrack, and a positive “feel like home” message, the video connects emotionally with its audience.
It’s not just about the service—it’s about the experiences Airbnb can offer. The narration ties everything together, emphasizing Airbnb’s mission while subtly showcasing the variety of accommodations available. The upbeat, friendly vibe of the video leaves you feeling inspired to book your next stay.
Creating your own explainer video doesn’t have to be complicated. It only takes four simple steps to come up with a killer video that conveys your message. Whether you’re promoting a product or demonstrating a procedure, a well-made explainer video can compel your audience and help your brand stand out.
Related reading:
There are plenty of software options you can use to create explainer videos, each offering various features to help you craft a compelling video—be it a whiteboard video or a presentation. These tools typically come with templates, drag-and-drop editors, and libraries of media to make the process easy. Among the top explainer video software options, Renderforest stands out for its user-friendly interface and cost-effective templates. It’s a great choice for those who want high-quality results without the steep learning curve, making it a solid assistant for both beginners and professionals.
To make a video explanation, start by writing a clear script that outlines the key points you want to communicate. This script will serve as the backbone of your video. Then, gather visuals to support your message. These can be animations, screen recordings, or stock footage. Next, use video creation software, like Renderforest, to merge the script and visuals. You can add voiceovers, background music, and text to make the content more engaging. After finalizing and reviewing your video, export it in the format you prefer and share it on your website, social media, or other platforms.
A good explainer video typically includes a few key elements. Start with a brief introduction that presents a problem or question your product or service can solve. Follow this with a clear explanation of how your solution works, using simple language and eye-catching visuals to keep the audience engaged. Visuals play a major role in grabbing attention, so use graphics or animations that support your message. To wrap it up, end with a strong call to action, directing viewers to take the next step, like visiting your website, signing up for a demo, or purchasing your product.
An explainer video is a short, engaging video designed to break down complex ideas, products, or services into easy-to-understand content. These video clips typically last between 30 seconds to two minutes and use a combination of visuals, voiceovers, and messaging to explain a concept. Explainer videos are commonly used by businesses to educate their audience, boost brand awareness, and drive conversions. They help simplify complicated subjects, making them easier for viewers to grasp while keeping their attention with high-quality visuals and storytelling.
Share this
Article by: Sara Abrams
Sara is a writer and content manager from Portland, Oregon. With over a decade of experience in writing and editing, she gets excited about exploring new tech and loves breaking down tricky topics to help brands connect with people. If she’s not writing content, poetry, or creative nonfiction, you can probably find her playing with her dogs.
Read all posts by Sara Abrams